Displaying items by tag: 14er
Climbing Mount Massive - Enjoying Colorado's 2nd Highest Peak - Again
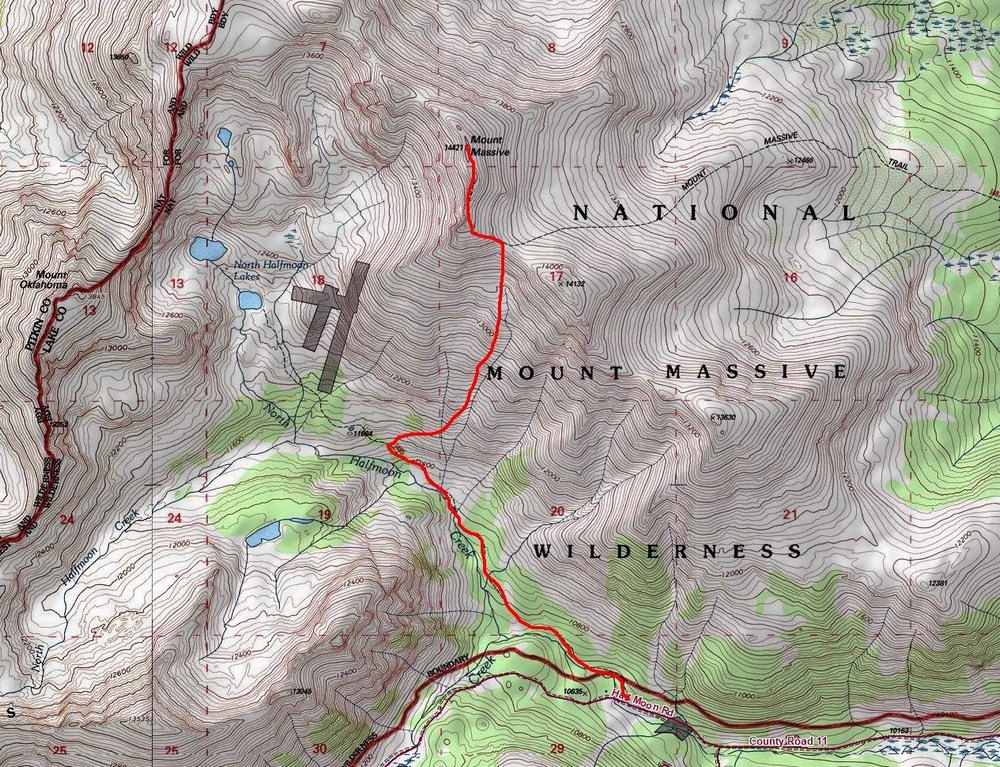
I had fully intended to climb the Centennial French Mountain this weekend, but plans change. My climbing partner Sarah and I left Colorado Springs at around 3:45 AM and reached the North Halfmoon Creek Trailhead at 6:15 or so. A pretty late start for this guy! In order to climb French Mountain, we would need to cross North Halfmoon Creek and head south. When we reached the creek, it was easily up to our waist and I had no intention of driving my Jeep through that deep of a creek crossing. A decision was quickly made to abandon our attempt on French Mountain and head up the scenic and steep Southwest Slopes route for Mount Massive. Since I had done this route back in October of 2009 (trip report here), I knew the way and was fine with repeating it, especially since my partner still needed to climb Massive. We parked the Jeep and packed up and readied ourselves for our first climb of the year. I was hopeful that I would make it to the top (you might think I'm joking) because the last mountain I had ascended was Pyramid Peak, which was my 14er finisher last year. I was also quite eager to test drive my new photography equipment, since I had not really had a chance to take it on a real climb yet. For this hike, I wielded my Nikon D800 and my Nikkor 24-70 f/2.8 lens, a heavy combination to be sure. Would the extra weight of a full-frame DSLR and the quite heavy yet amazing 24-70 be worth it? I was hoping so.
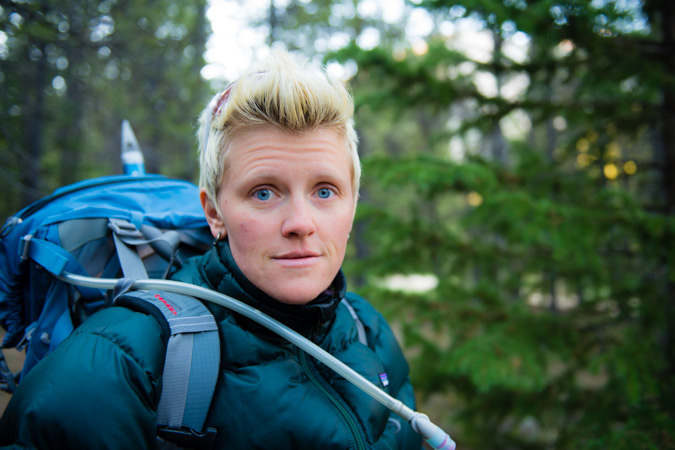
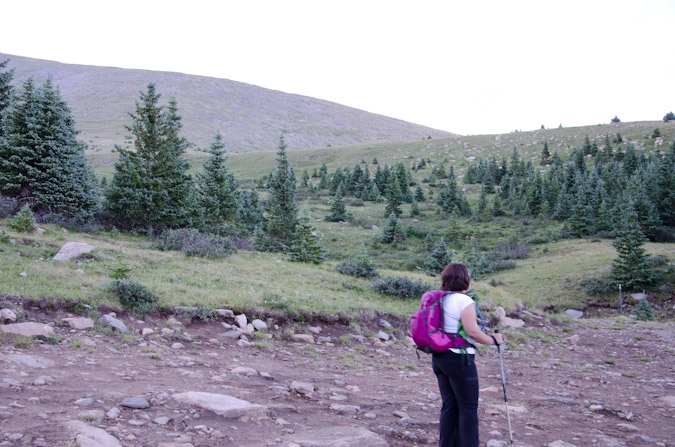
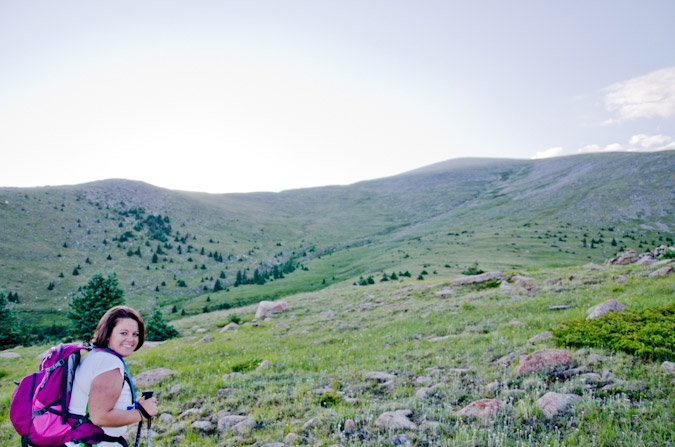
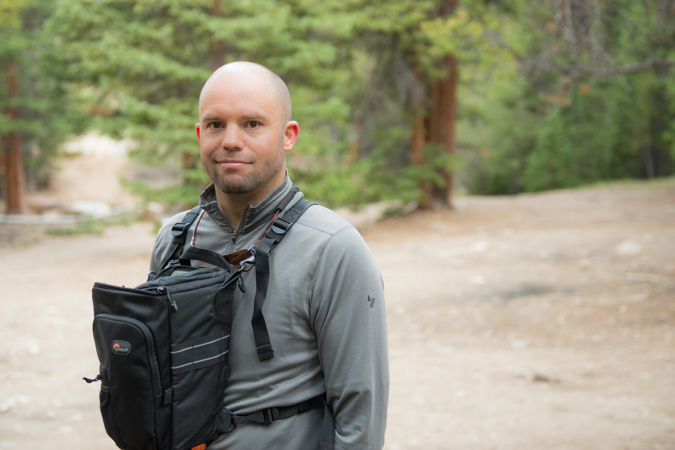
Sarah posed nicely for me so I could document the day's beginning and in turn she took a shot of me, looking weary.
For the sake of ease, I decided to leave my tripod behind. The sucker weighs 5 pounds and I figured it would not be something I could use a whole lot on this hike. Good choice.
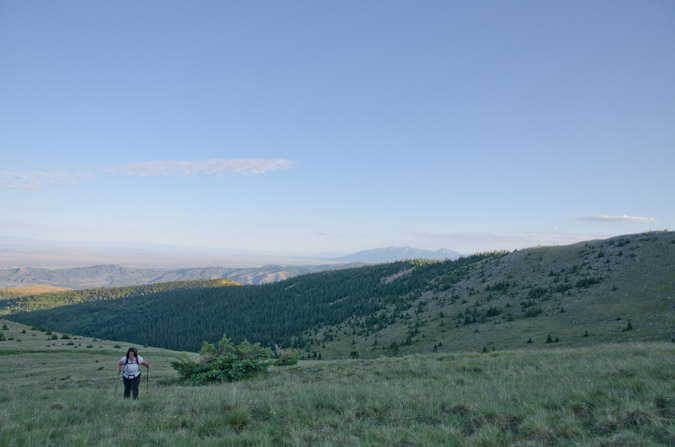
Sarah and I traveled up the basin towards Mount Oklahoma, which I climbed last year. I was beginning to get quite familiar with this area! Mount Oklahoma was looking quite nice and seemed to be holding quite a bit of snow as compared to last year, which was nice to see.
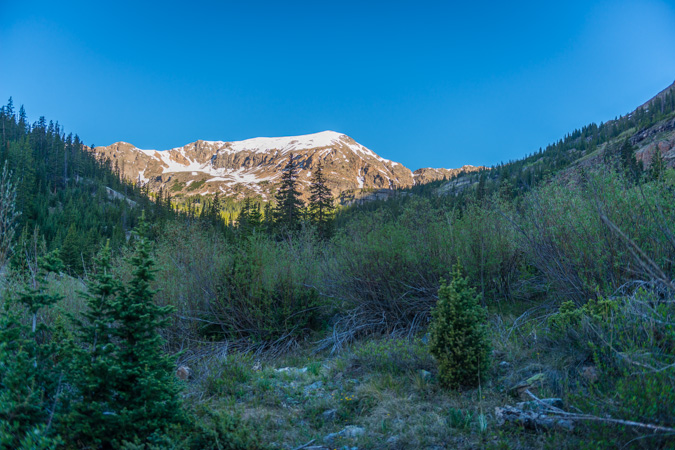
Mount Massive's south slopes are pretty darned steep but also a very pretty backdrop to the Colorado blue skies that we have been sorely missing due to all of the wildfires this year.
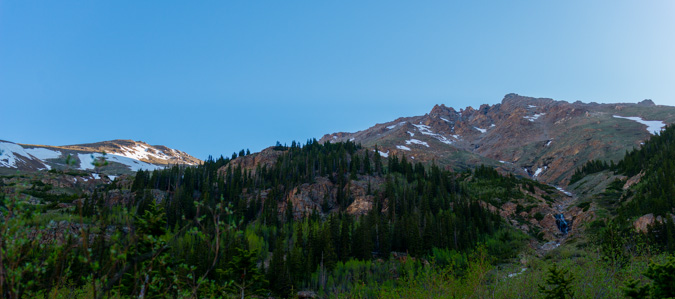
As we continued up the basin, we stopped periodically to look back up the basin that we would have gone up to climb French Mountain, pictured here.
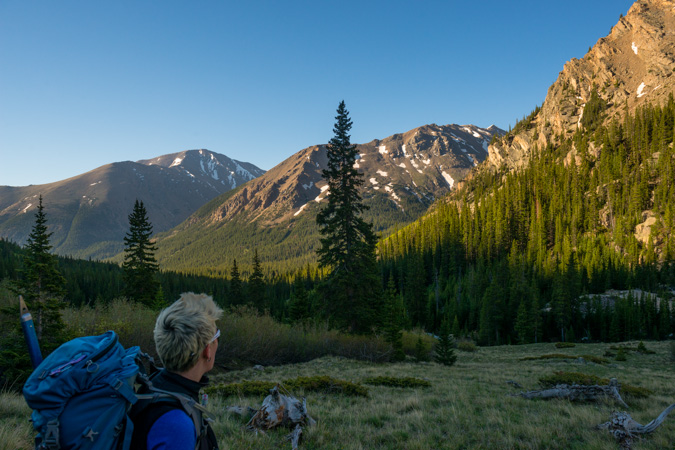
The trail going up towards Oklahoma and the turn-off for Mount Massive is very straight-forward and well- maintained. For a season starter, it was a nice change of pace.
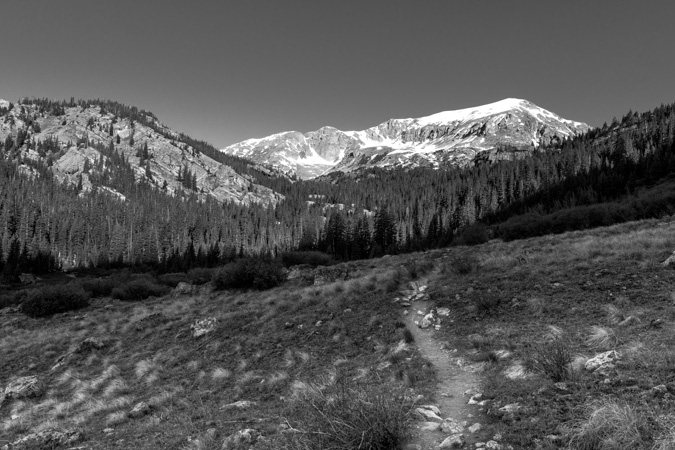
We finally reached the turn-off for Mount Massive, pictured here where Sarah is pointing up.
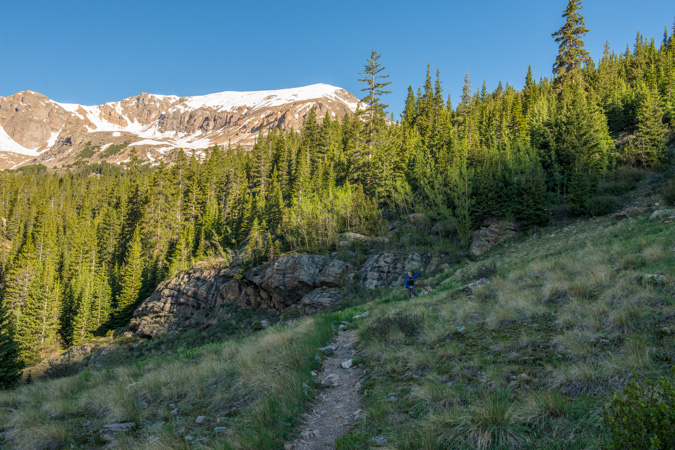
This trail gets you up Massive in a hurry, no doubt about it. It is fairly steep, but in very good condition almost the whole way up. I think that Colorado 14ers Initiative did some work on this trail some time back, and it certainly shows. The trail switches back up the side of Mount Massive several times and affords awesome views of the valley below and the awesome peaks across the way, including Colorado's highest, Mount Elbert.
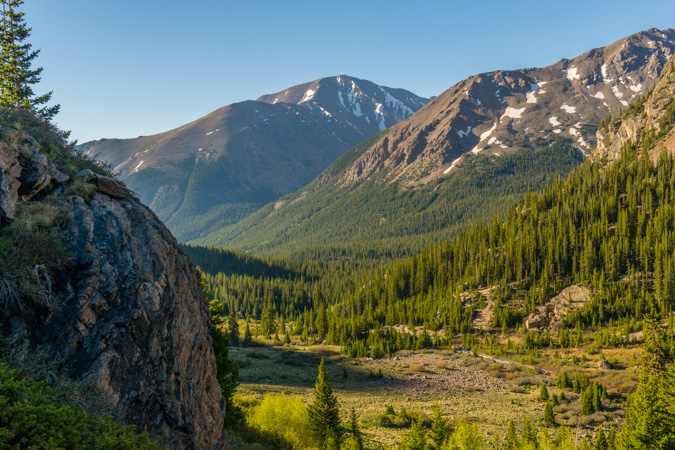
As we approached tree-line, we decided to stop for a snack and water break.
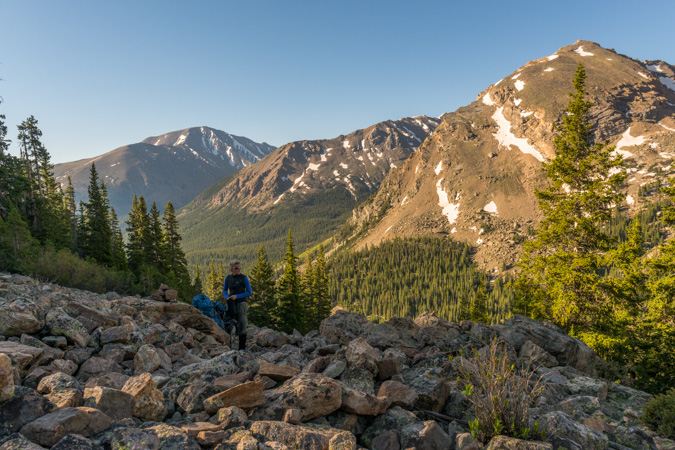
I have Sarah take a photo of me posing with my Rocky Mountain Field Institute (RMFI) water bottle. I'm a very proud member of the board of directors for RMFI. If you're not familiar with RMFI, you need to check them out! If you've ever climbed Humboldt, Crestone Peak or Crestone Needle, then you're familiar with the work they have done in the backcountry.

After re-fueling, we decide to keep on trucking. The trail winds steeply up the slopes and kept on delivering us with awesome views to our south of Deer Mountain and Mount Champion.
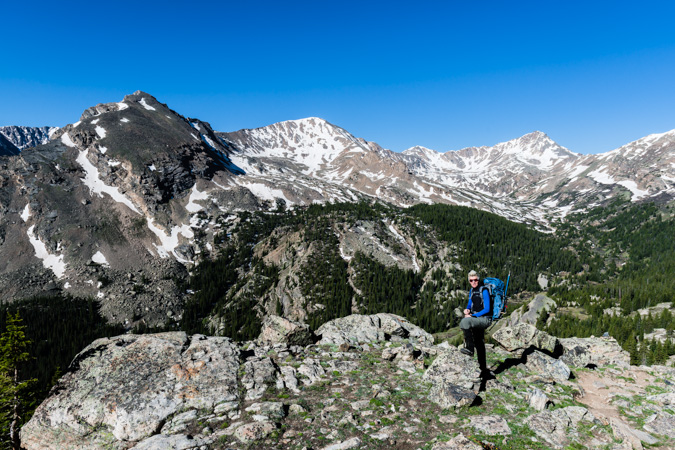
The whole valley below made for a very nice panoramic. From left to right - Mount Elbert, French Mountain, Unnammed pointy peak (but Sarah and I later dubbed this a very foul and childish name to keep up entertained), Mount Champion, Deer Mountain and Mount Oklahoma.

We took our time going up, being the first climb of the season. We enjoyed the views, the company, the conversation, the wilderness.
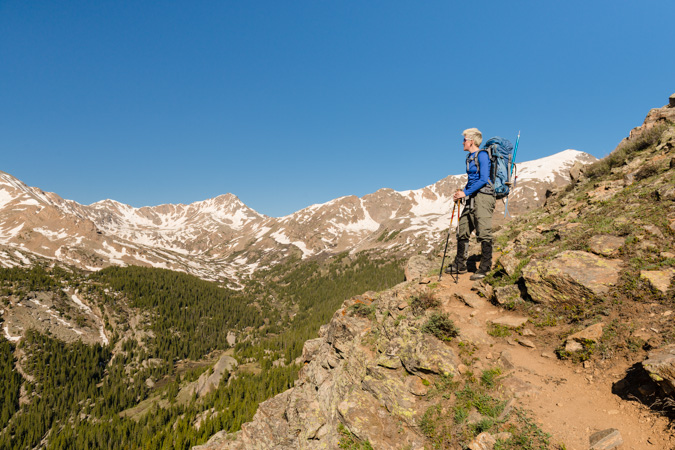
We were even able to locate some wildlife, albeit your normal fanfare of chipmunks and marmots.
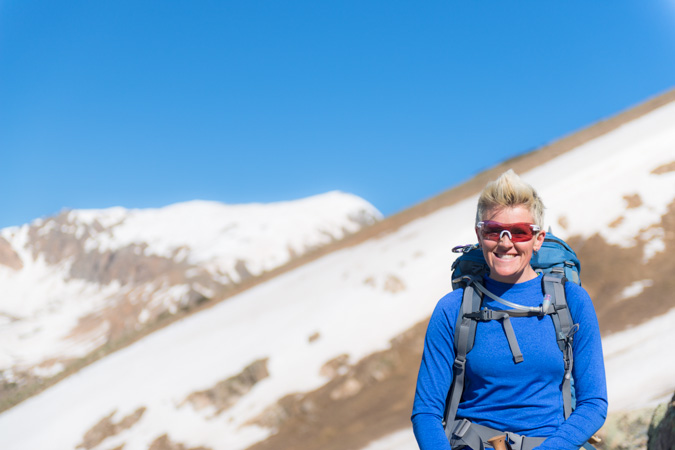
Getting a day to spend with Sarah was awesome. She's one of the most dynamic and fun people I've ever met. Our personalities go together quite nicely. It is also great to see her in high spirits when we're hiking.
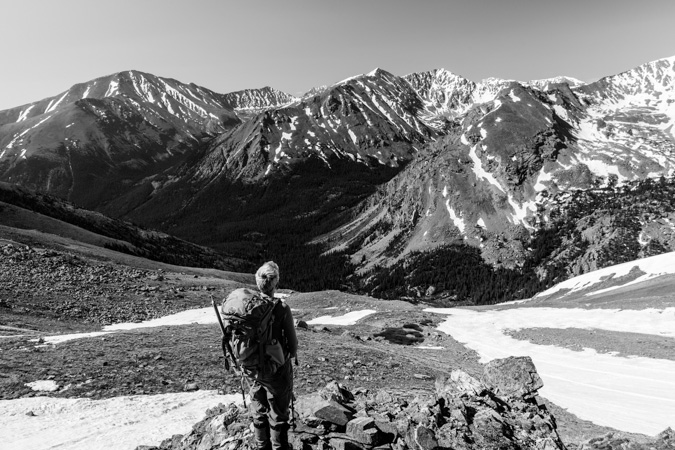
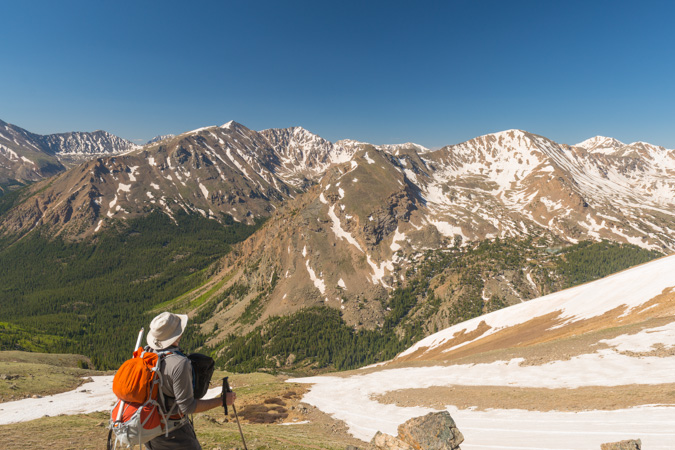
We took a lot of stops to soak in the Sawatch Range glory, and the weather was holding quite nicely.
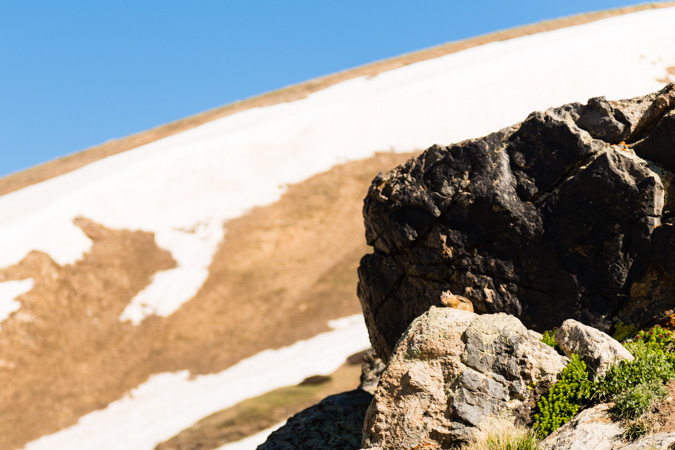
Here's that stealth marmot. I think he thought if he layed down I would not see him. Nice try pal.
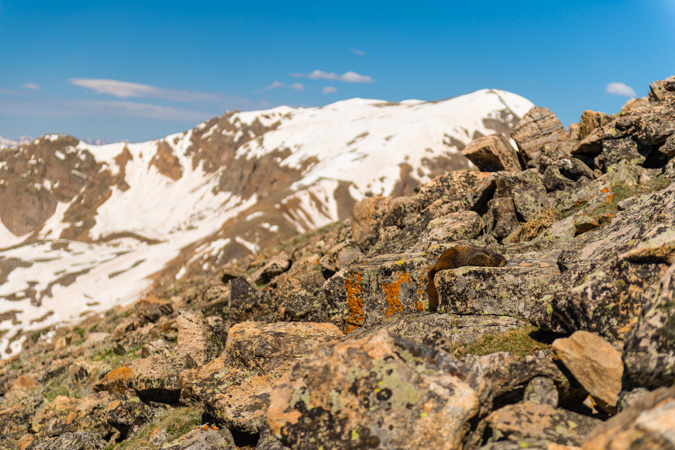
Finally the tips of the distant Elk Mountains were coming into view. They seemed like they were holding a lot of snow as well.
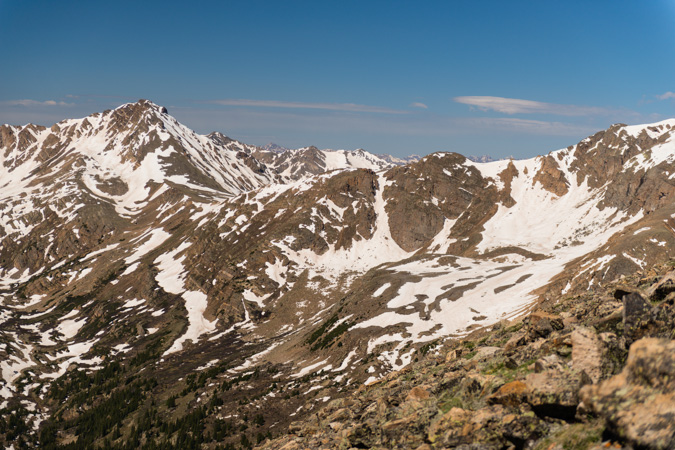
And looking back, Twin Lakes was starting to come into view.
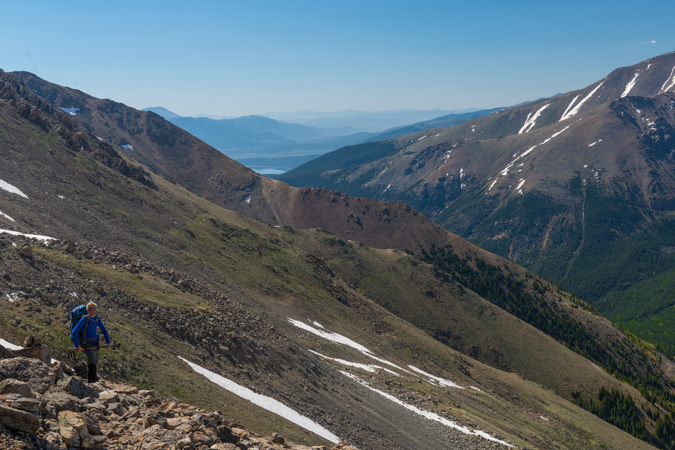
This is always my favorite part of hiking. Above tree-line, no wind, sunny day. What more could you ask for than a day like that on the side of a 14er? Sarah seemed to be enjoying the views as much as me.
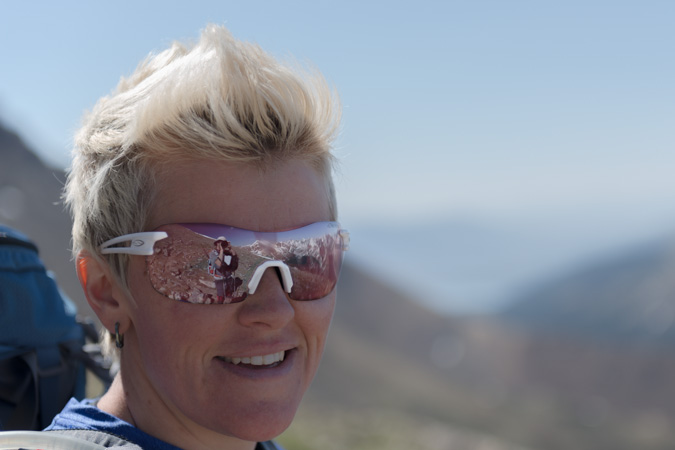
We stopped for a bit to enjoy the killer views of the Elk Mountains, which are some of my favorites. The tips of the Maroon Bells, Snowmass and Capital were poking above the top of Mount Oklahoma to the west.
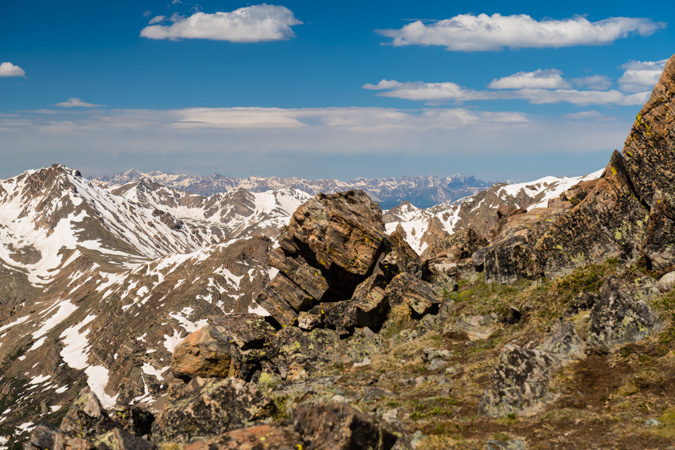
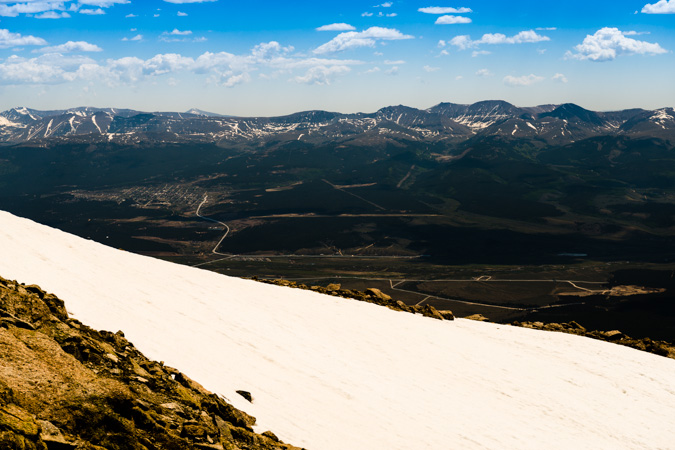
From here, the trail continues up the southwest slopes and crosses east at the ridge. The town of Leadville comes into view to the east.
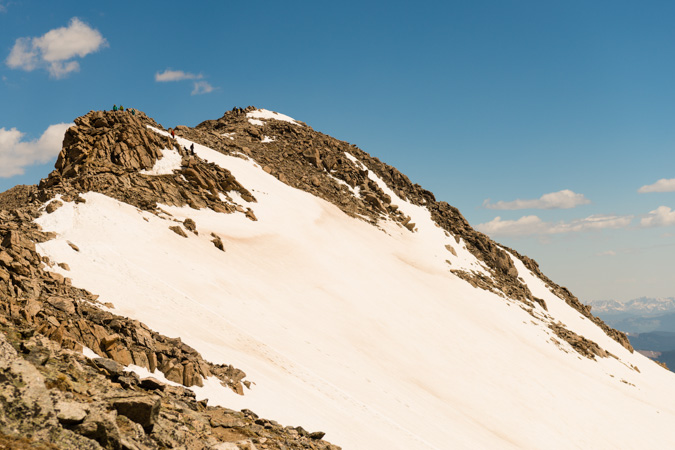
And of course the summit of Mount Massive to the north, with a lot of people coming down.
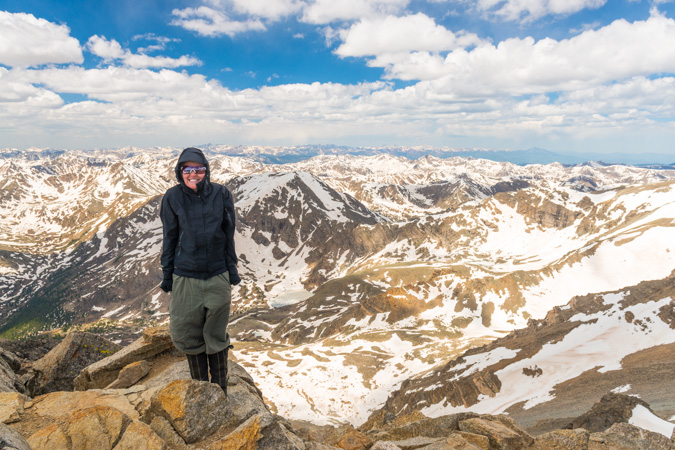
After a quick stroll over to the summit, victory was ours. We were able to almost completely avoid snow for the entirety of the hike up, minus a few snowfields below and some minor snow at ths summit. This was Sarah's 24th 14er and my 60th I think. It was awesome sharing the summit with Sarah again.
On the top, we ran into a group of gear testers from Osprey packs. We were immediately filled with envy that their job was to test the comfort of packs while hiking 14ers.
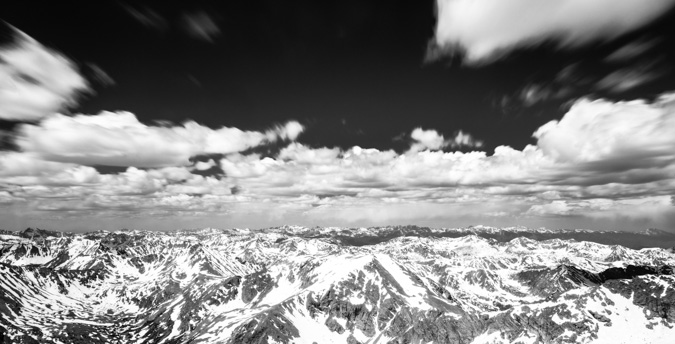
From the summit, I decided to try out some long exposure photos using a 9-stop ND filter, specifically, the Hoya ND400 77mm filter. Esentially, an ND filter is a black peice of glass that goes over you lens, which allows your shutter to stay open for a long exposure in daylight conditions. This allows you to capture photos of the clouds moving, and other awesome effects. Since I was shooting for a 30-second exposure, I would need my camera to be sturdy. To acheive this, I fashioned a flat suface out of rocks to rest my camera on.
I was also able to perform a hand-held panorama at 70mm looking west at the Elks.
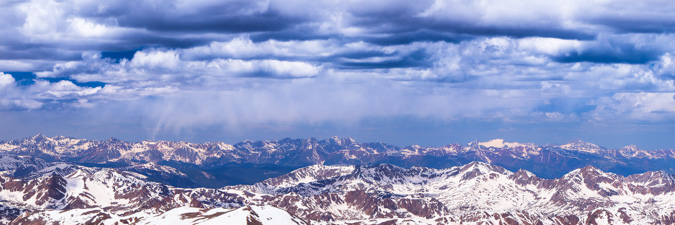
And here's a larger version looking south to north at 70mm:

And lastly, the 360 panoramic taken at 24mm:

I had Sarah snap off a few shots of me before we head back down.
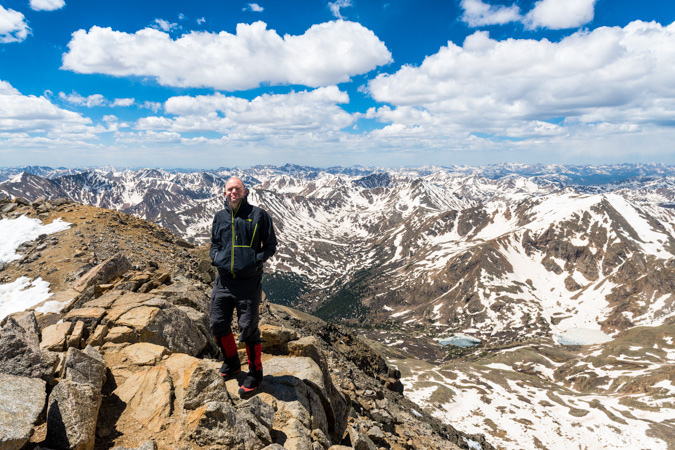
A solo gentleman joined us for the descent, mostly because he was looking for the trail, which he had lost on the way up the same route we came up. I could have sworn this guy was Taylor Lautner from the Twilight movies. A few notes about my camera and lens selection. I felt like the pairing did well. While they were heavy, it was easily mitigated by the front-loading Lowe Pro pack I used and the quality of the photos was superb. The Nikon 24-70 afforded just the right amount of flexibility in range, I rarely felt myself wishing for a longer lens. Had I saw some true wildlife, I would have loved to have my 300mm f/4 lens with me, but it would have added weight to an already heavy set-up.
After taking summit photos, we head back down pretty quickly. I wanted to travel quickly, so I put my camera bag in my main pack and did not take it back out for the rest of the hike down. Once back at the trailhead, we saw a Toyota FJ cross the stream. Go figure.
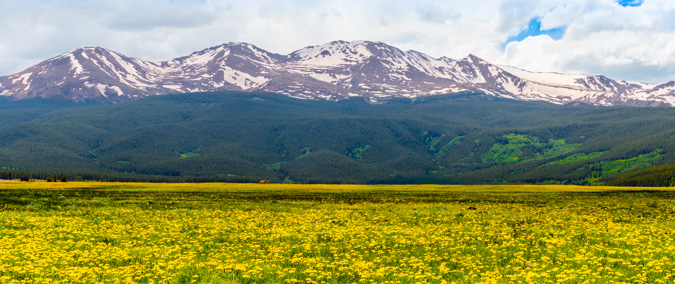
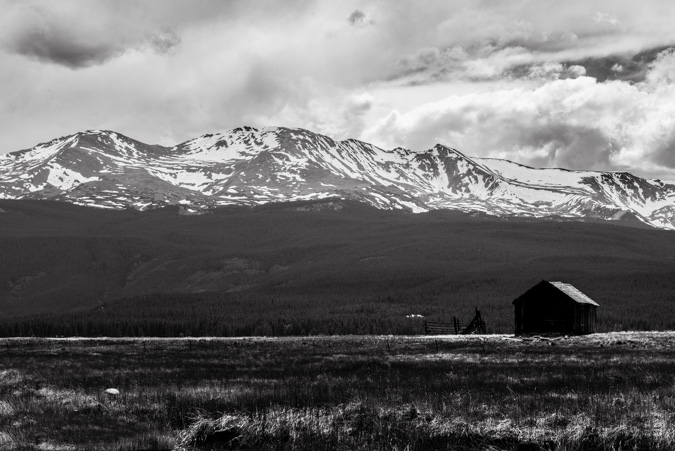
We drove back out towards Leadville and stopped to take a few photos of an amazing flower field in front of Mount Massive and an idyllic abandoned cabin. I hope you enjoy my parting shots:
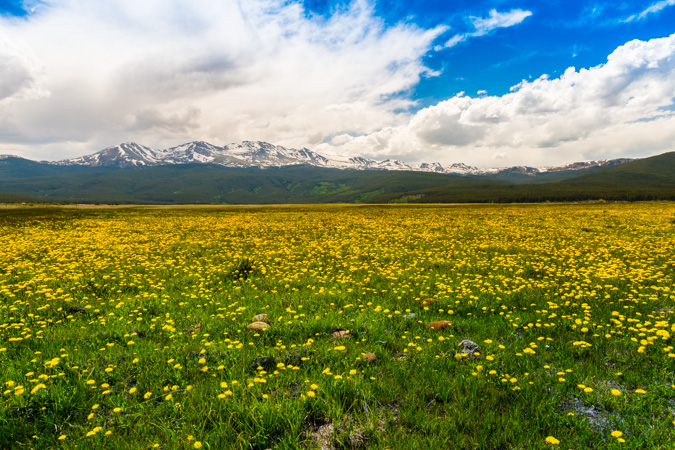
Panoramic version...
Abandoned cabin...
This concludes the first trip report of 2013. I apologize for the lack of updates lately. I have been quite busy working on my photography business, where I sell prints of my work. You can check it out by visiting www.mattpaynephotography.com
Culebra Peak and Red Mountain - Finishing the Sangre de Cristos
Quite a few people save Culebra Peak (ranked 41st – 14,047 ft.) as their last 14er; however, I wanted to just get it out of the way sooner rather than later. If you’re wondering why I am talking about this mountain as if it is like a trip to the dentist – there’s a reason – it costs $100 to climb it and another $50 if you want to do Red Mountain (ranked 70th – 13,908 ft.). The Culebra sub-range of the Sangre de Cristo Mountains has been embroiled in controversy for years. In fact, the New York Times once called it “the hottest environmental dispute in the Rockies.” Imagine – 77,500 acres of pristine alpine terrain with elk and timber in huge supply, including one of Colorado’s coveted 14ers – all owned by one person. The land used to be called the Taylor Ranch and was renamed the Cielo Vista (heavenly view) Ranch by the newest (and present) owners, Bobby Hill and Richard Welch. The story goes back to 1843, when a long series of events carved the land up into parcels, which were shrouded in controversy due to non-traditional land use rights built into the deeds of the land. Essentially, descendents of the original Mexicans that occupied the land before the Mexican-American War of 1846 – a conflict caused by the annexation of Texas – claimed that they had communal rights to the land to include logging and livestock grazing. The land was purchased by Jack Taylor in 1960 for $500,000 with the provision in the deed that the land was subject to the claims of the local people; however, Jack Taylor had no intention of honoring that issue, and many lawsuits ensued. Additionally, Jack Taylor was known to beat trespassers and arsonists that frequented his property due to the controversy.
Eventually, Jack Taylor was jailed himself for taking matters into his own hands and had an assassination attempt on his life in 1975. After that, he rarely returned, all the while the land was being poached for hunting, climbing and other uses. Eventually, Jack Taylor died in 1988 and the land was passed on to his son, Zachary Taylor, who continued to log the forest of the land, which caused even greater controversy. Long story short, climbing access to Culebra has been mixed over the years, and it has always been a sore topic for many that are on the quest to complete the 14ers. Personally, I have mixed feelings about the practice of charging money to allow someone to walk on your property. On one hand – it is a piece of entrepreneurial genius. On the other hand – it barely feels right for someone to “own” a mountain. I am sure that I am not the only person to think about this and I am sure I won’t be the last!
Now that I am done with the brief history lesson – here’s the details if you’re ever interested in climbing Culebra and Red Mountain yourself. Reservations are required if you want to pay to climb - to reserve a space, call the office in Glen Rose, TX at 254-897-7872. They usually start taking reservations in mid-May and spaces go quickly. They are quite friendly – and send you a packet of materials about the mountain and their rules. The only real downside to the arrangement (other than the rather exorbitant cost) is the fact that you are not permitted to start at your own time – you are required to wait at the property gate until 6 AM, at which time they open the gate and escort you to the ranch proper, where you are required to pay and listen to a speech on how to drive up the road to the trailhead. All-in-all the whole experience left me with a foul taste in my mouth. I felt like herded cattle – like a child being told what to do. I suppose this is out of necessity for the ranch owners; however, I cannot help but voice my distaste for the whole affair. To their credit – they are super nice people and seem to run a very clean operation. OK - rant over.
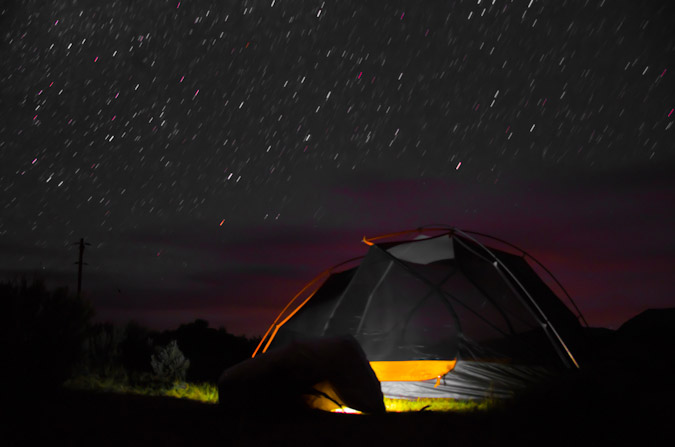
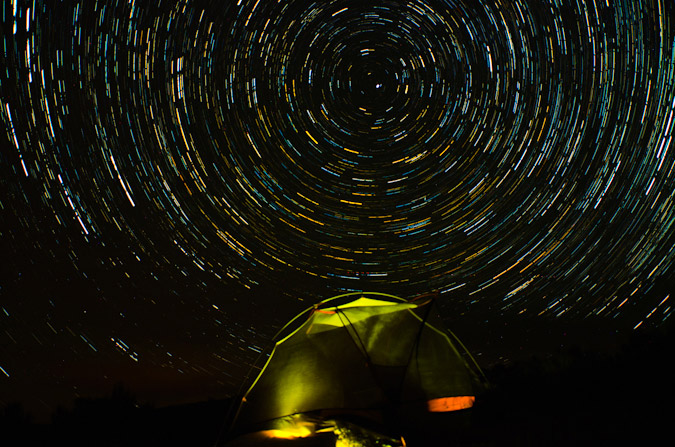
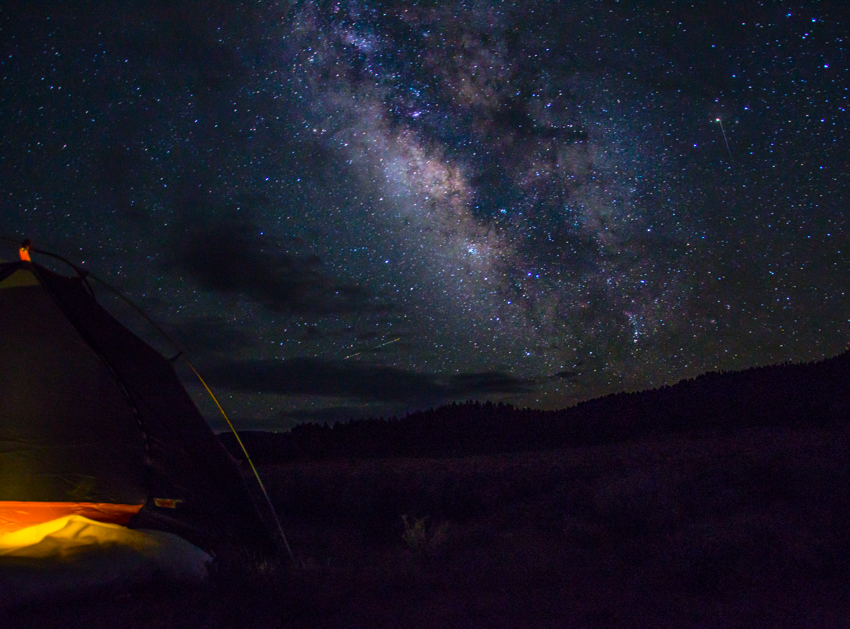
So, Regina and I made reservations back in May for both Culebra and Red Mountain. Since Red Mountain is in the top 100, I felt obliged to add it on. So – Regina and I left for the town of San Luis on Saturday - 7/23/11 to stay the night at the gate of the Cielo Vista Ranch and await for the 6 AM cattle herding to the ranch proper. We arrived rather late on Saturday and set-up our campsite in what seemed to be a desolate desert in the middle of nowhere. I was not going to let that bother me though – I wanted to experiment with some star trails photography and light painting. The results were very appealing.
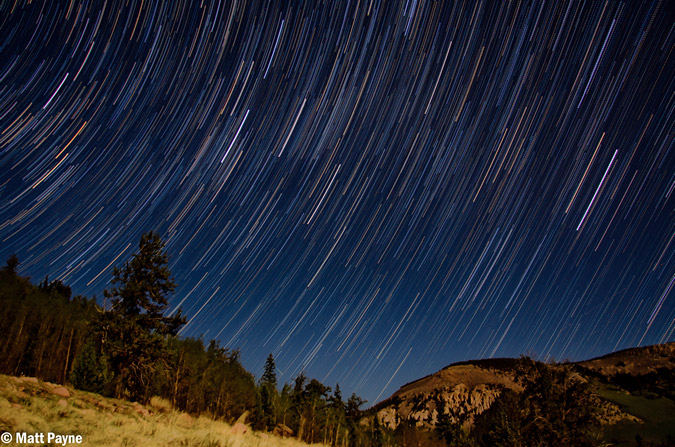
I decided to use the tent as a foreground subject and was able to locate the North Star and centered it above the tent so that the stars rotated around the North Star in a concentric circle pattern.
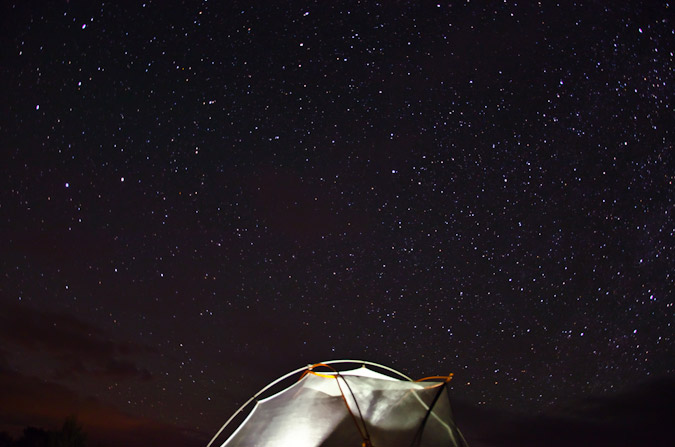
Additionally, I was able to get some pretty nice photos of the Milky Way and other night sky features.
We set our alarm for 5:30 AM and hit the sleeping bags. We got up and followed the herd of cattle at the gate up to the ranch, where we got in line to pay our fees (cash or check only) and to wait for further instructions. Once instructions on how to drive your car in 4-high vs. 4-low were given in great detail, we drove to the upper trailhead, where we found ourselves at the base of the start of Culebra Peak. On the side of the mountain were probably 40-50 elk running up the ridge – quite a sight – but unfortunately too quick for me to get a photo.
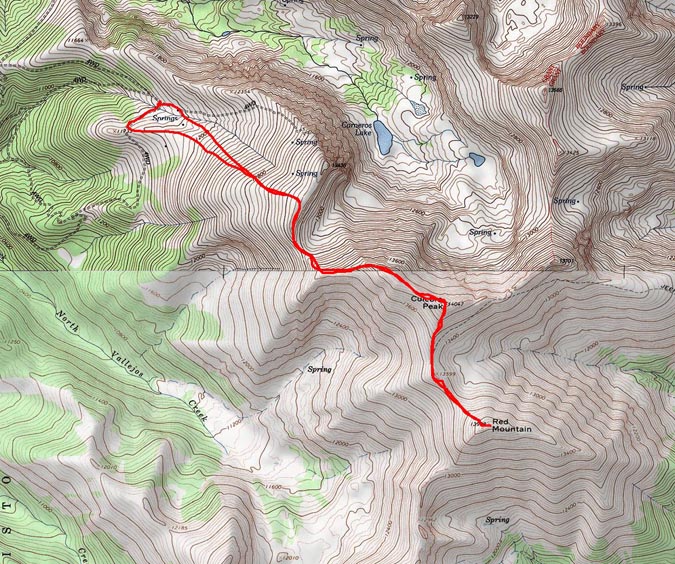
Since the ranch bills this mountain as being the most pristine 14er experience, there are no trails. We set-off up an old road to the west and joined up with the northwest ridge and began our climb, which mostly consisted of hiking on moderately steep grass and rock up the ridge to join another ridge.
I was feeling really strong, and made it to the ridge in little time, waiting for Regina periodically to catch-up.
Once the ridge is reached, you find yourself standing before a giant cairn and a lofty view of Culebra Peak.
The route from here was quite obvious – follow the ridge to the top, which is just what we did. I found the route somewhat pleasant, with minor scrambling challenges here and there, but mostly the route was class 1 and quite boring, in all honesty.
Contributing to the relative boring nature of this hike, Culebra lacks much in terms of scenic opportunity. The only notable mountains in view from Culebra are Blanca, Little Bear, and Lindsey far to the north, with some minor 13ers nearby (Trinchera to the Northeast, Vermejo and Purgatoire Peaks to the South).
Needless to say, I was not terribly impressed by much of the views from Culebra – which is not to say it was ugly – it just was not spectacular or notable in comparison to many other mountains I’ve climbed. About ¾ of the way up, I decided to take a 360 degree panoramic set, which turned out great.
The rest of the hike up to Culebra’s summit was easy, with one minor false summit to go over and some fairly easy boulders to navigate over.
Once on top, I waited for Regina for about 30 minutes and took some photos. The summit was full of quite friendly marmots, which were not afraid to come right up and try to eat my backpack.
Once Regina arrived, we took a few more photos and then Regina explained that she did not feel well, so she hung out on the summit and told me to go ahead and hit Red Mountain real fast.
I hustled down the ridge and up to Red Mountain in no time at all – making it over in just under 25 minutes from Culebra. Views from Red Mountain were a little better, so I took a nice 360 panoramic from there, signed the register, and headed back over to Culebra.
With Culebra and Red Mountain complete, I was left with 34 of the highest 100 and the 15 from the Sangre de Cristo Range completed. It felt great. I hustled back over to Culebra in just over 30 minutes and was pleased to see that Regina had already headed back down.
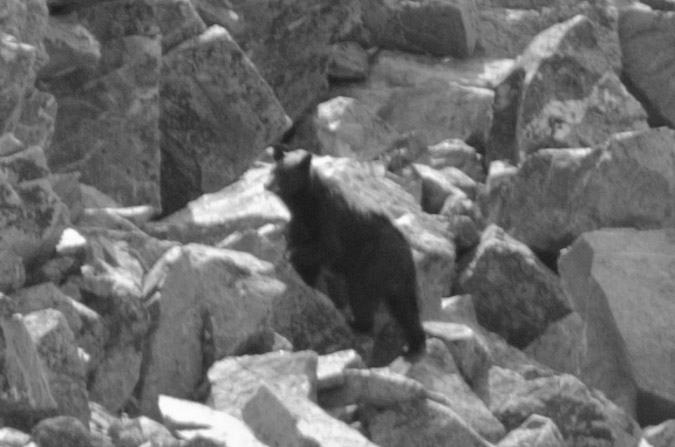
I embarked back down the ridge and was greeted abruptly by yelling from below. Two women were screaming: “There is a bear 40 yards to your left – stay on the ridge!” WHAT!? I’ve never heard of a bear above treeline before, nor have I seen one in the wild, period. That says a lot considering how often I hike. I looked at my altimeter watch and I was at 13,600 ft. Unbelievable! What the hell was the bear doing at 13,600 ft? I did not want to stick around and find out, so I quickly headed for the two women and saw the bear rummaging in the boulders – I presume he was looking for bugs to eat. He was a young bear – maybe 2 years old.
I kept on hiking and eventually rejoined Regina on last section of the down climb from Culebra. We were able to make it back to the car just before hearing the first thunder from a storm that had quickly built above Culebra. We were both thankful to be off the mountain and headed out. We stopped a few times to get photos of Culebra and also of the Blanca massif from the town of San Luis.
Next up – Snowmass Mountain and Hagerman Peak!
Just a reminder - this site costs me time and money to maintain - if you find it useful, please consider supporting the site by remembering to use the affiliate links, especially if you purchase photography related gear from Adorama. Thanks!
{fcomment}
Sunrise from 14,015 feet: Wetterhorn Peak
The adventure of my July 4th weekend for 2011 just wouldn't end on its own. After spending the morning in Telluride sulking about our partial defeat in Navajo Basin, Regina and I decided to drive back to Colorado Springs and lick our wounds. As we drove closer and closer to Blue Mesa Reservoir, I got a wild idea in my brain. Since both Regina and I still had three days off for climbing, I figured that it would be a total shame to waste that time off and gas money on only one climb up Wilson Peak. Even though we opted to not do El Diente and Mount Wilson, I still felt that we had more gas left in the tank, so to speak, so... I suggested to Regina that we head to Lake City and climb Wetterhorn Peak instead of driving home. At first Regina was more focused on a warm shower and a soft pillow, but it did not take long for the idea to set in and Regina enthusiastically agreed. Perhaps my tactic was not fair, since I knew that Wetterhorn Peak was Regina's favorite mountain of all time. Once Regina agreed, my mood increased dramatically and we set-off for Lake City and the Wetterhorn Peak Trailhead.
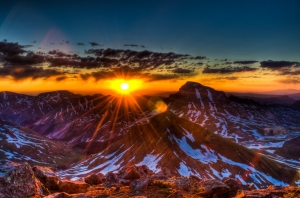
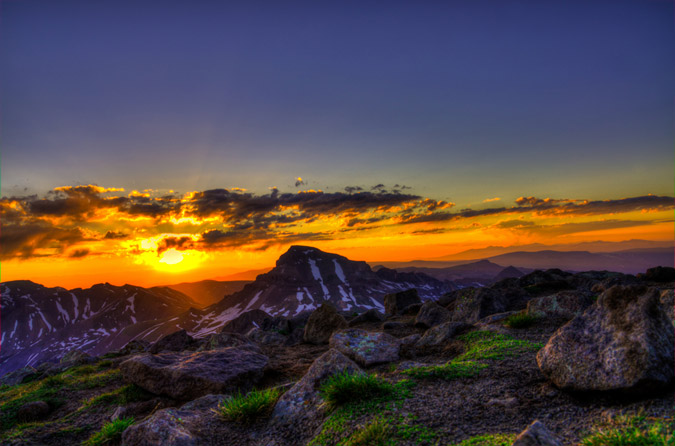
To make matters even more epic, I convinced Regina that we should start from camp at 2 AM so we could watch the sunrise from the summit. Climbing up the class 3 summit block of Wetterhorn in the dark sounded pretty fun too... We arrived at the trailhead and found a perfect campsite next to Matterhorn Creek. All night long, I had visions of a most epic sunrise over Uncompahgre Peak that looked something like this:
We quickly went over the game plan and Regina explained the route to me. Regina had been up this trail 3 times last year, so she knew all about it. The first time she went, she was pushed off before reaching the summit because of exhaustion. The second time, she was scared off the trail by actual mountain lions (true story), and the third time, she finally succeeded in reaching the top. She has never shut up about Wetterhorn in all of our trips together, so I figured that either she was exaggerating or that Wetterhorn was truly one of the best climbs in Colorado. 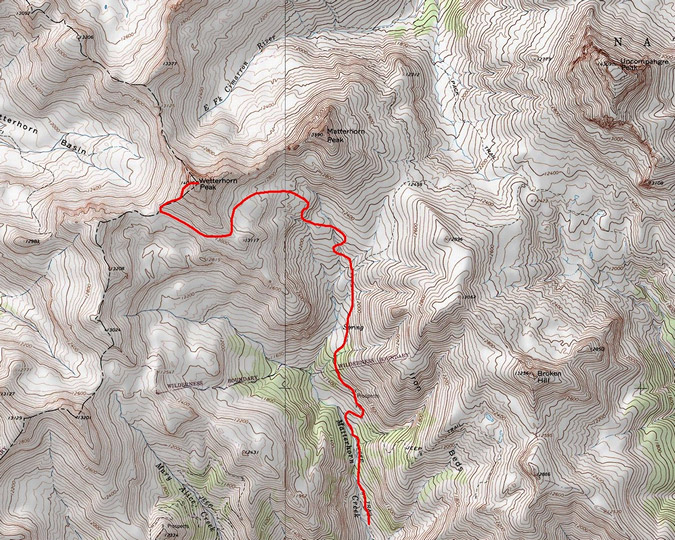
Our campsite was pretty awesome, and we were both thankful for our Mountain House meals that we had packed with us for Navajo Basin. 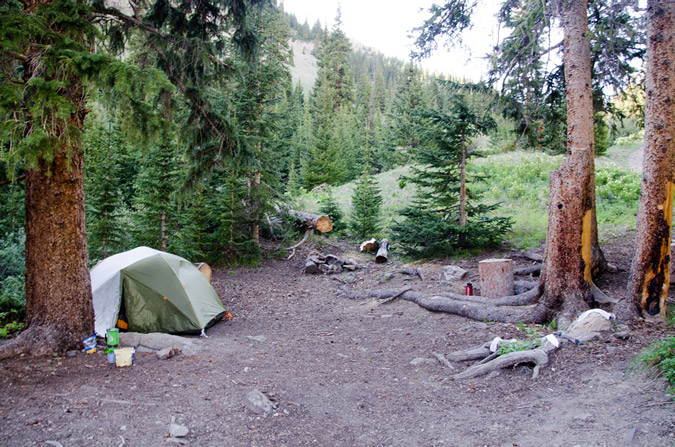
We went to bed, set the alarm for 2 AM, which arrived pretty quickly. I felt totally rested though, so we equipped our packs and opted to not pack up our tent so that we could hopefully reach the summit by sunrise. The trail was really easy to follow in the dark, but I could not help but think about the mountain lions that Regina encountered last year. Would they totally thwart our efforts? I really hoped not, and focused on the task at hand. We finally reached the area where Regina had encoutered the mountain lions last year, and wouldn't you know it, we looked down the hill to catch the gaze of three sets of eyes illuminated by our headlamps. Crap! Fortunately, we were able to realize pretty quickly that they were just deer, so we continued on up past treeline. It was not until we reached the final ridge of Wetterhorn that there as any light whatsoever in any direction, save the star light.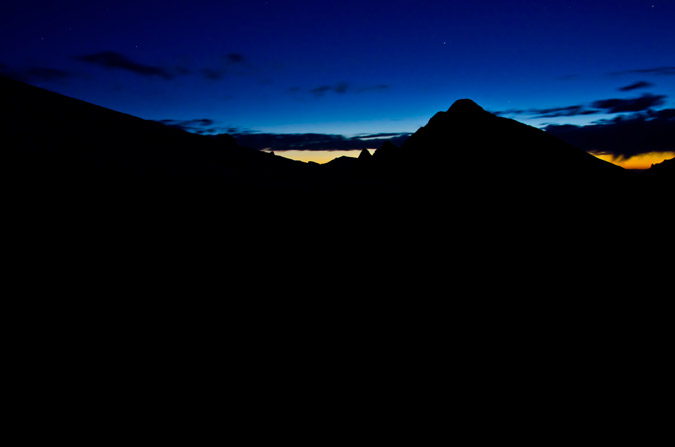
We continued on up Wetterhorn's ridge, enjoying the progressive light show that was starting to erupt to the east.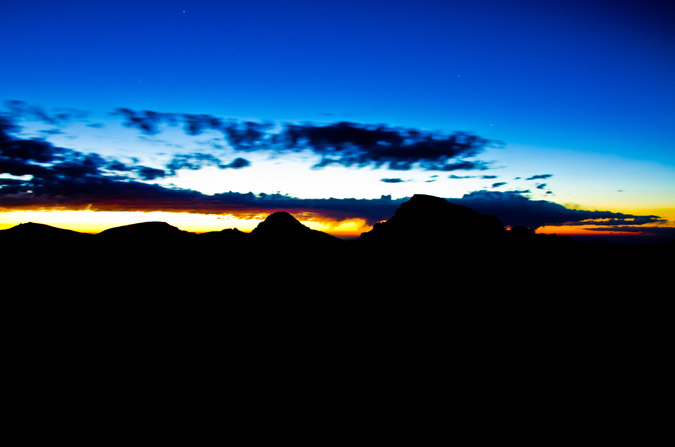
Just before we reached Wetterhorn's final section, the sun began to get closer and closer to emerging... would we make it to the top before the sunrise? I was getting nervous in anticipation.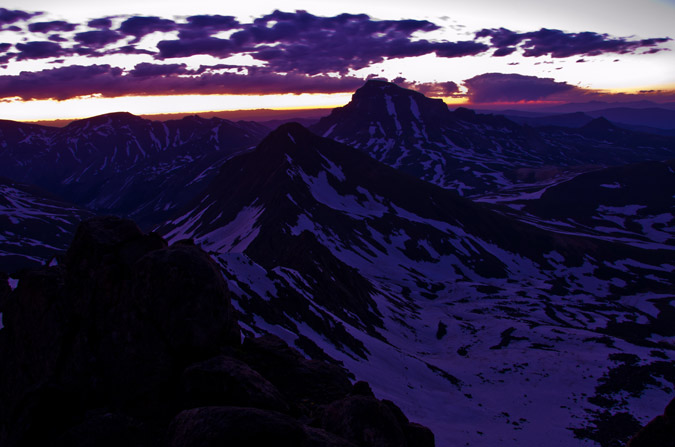
I was really having fun with my camera, firing off several bracketed shots for HDR, using rocks as a tripod and the self-timer to prevent camera shake. 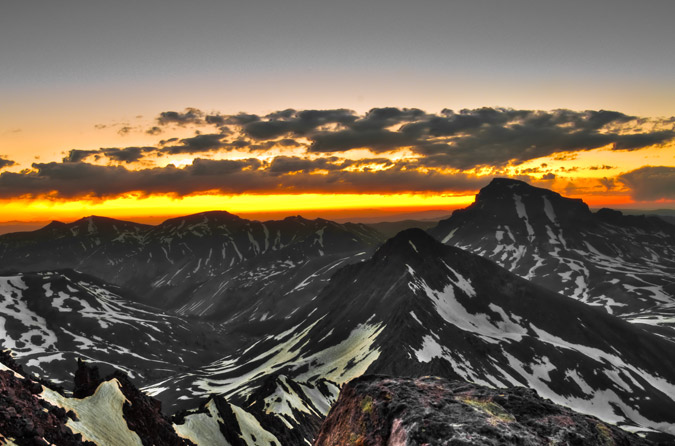
We finally reached a small snowfield that was in a small flat area before the top. The snowfield was at the base of the huge cliff walls of Wetterhorn and lead us to a notch that was a portal to the super fun Class 3 section of Wetterhorn.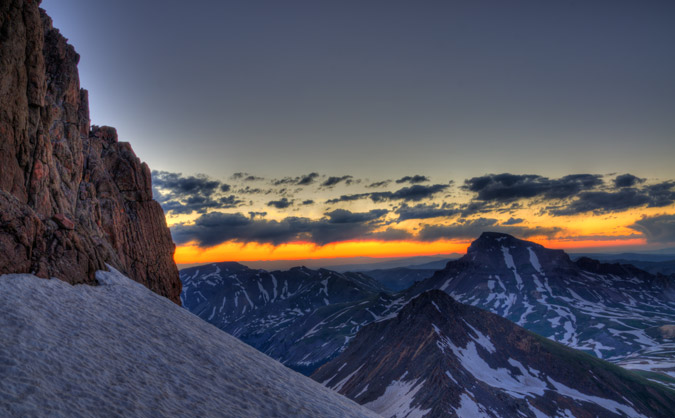
At last, we reached the final summit pitch and Regina went first. Her enthusiasm for Wetterhorn was impressive and nothing like her lack of enthusiasm two days prior on Wilson Peak.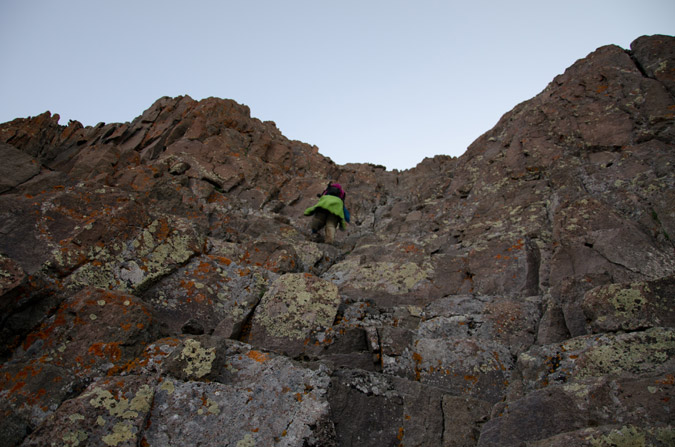
I was even able to take some video of Regina climbing up this section.
I followed Regina after she had secured herself above, and quickly made it up within a few seconds of fun climbing. We were literally about 20 seconds from the top and I told Regina that the sun would be rising in any second. I crested the summit and it was quite possibly one of the most amazing thing I've ever witnessed. The sun literally crested the horizon THE EXACT MOMENT that I crested the summit. The timing was insane. I ran as fast as I could to the other side, built a rock tripod, and began shooting. I knew that this was gold.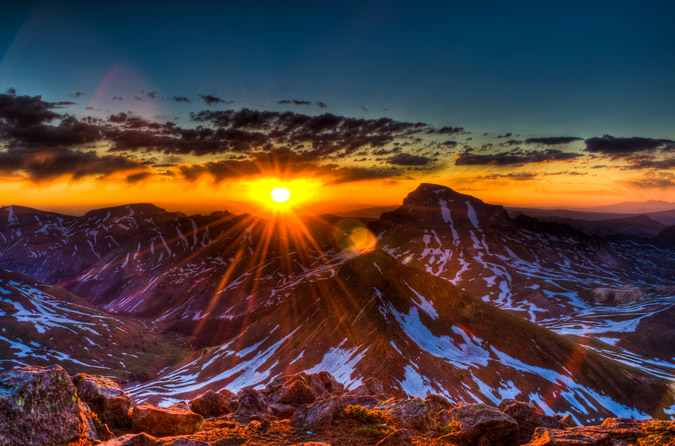
These two are HDR and almost the same except for some slightly different processing techniques.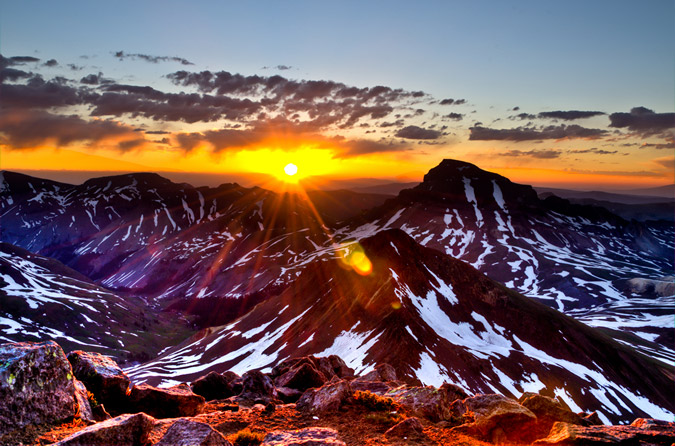
I was like a little kid on Christmas. I had no words to describe it. I didn't even realize it, but it was pretty cold up there. I think it took me a good 20 minutes to even feel it.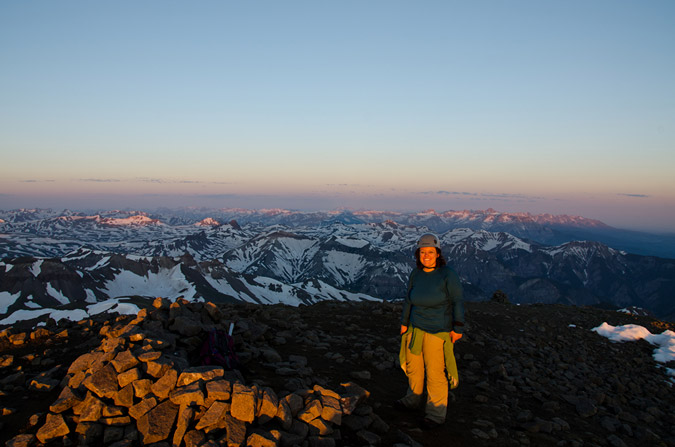
Regina was pretty excited too, being that it was the first time she had seen the sunrise from the top of the mountain.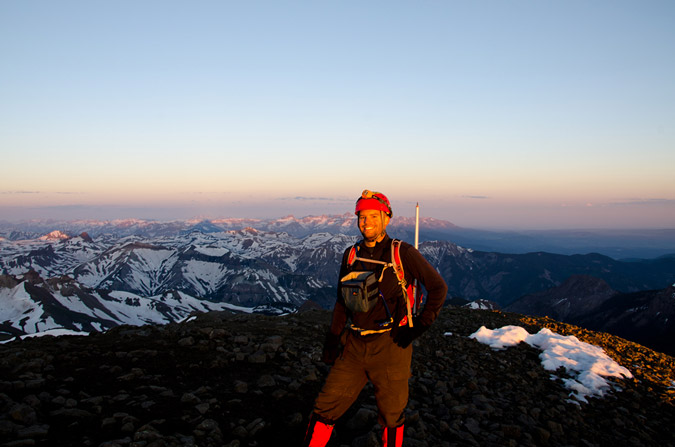
The views were simply incredible... including this 360 degree panoramic.
The lighting was perfect for High Dynamic Range (HDR). I knew that this would be the best chance I'd get in a long time to put together an HDR pano, so I gave it a shot. The results were mind-blowing. I can't wait to get one printed for my house.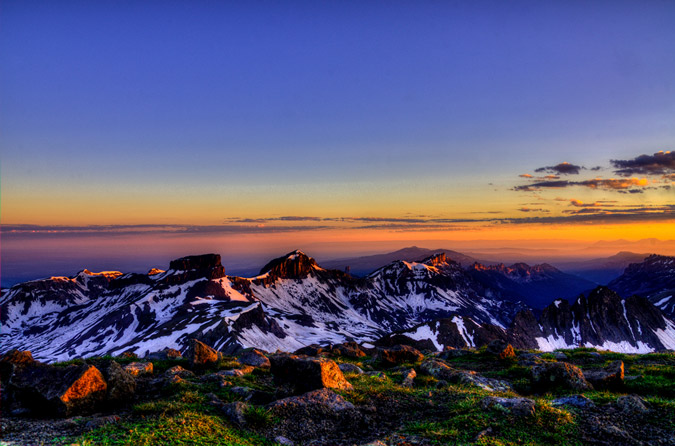
The views of Coxcomb and Redcliff were crazy!
Hey, the summit shelter even makes a good tripod in a pinch! I decided to take a few HDR shots of Sneffels and the rest of the rugged San Juan Mountains to the west.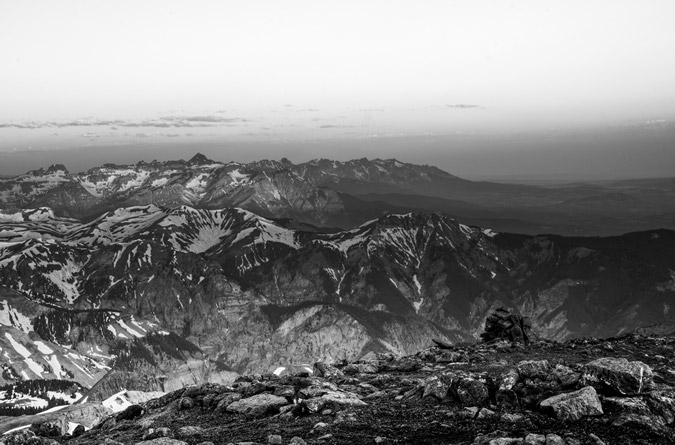
Uncompahgre Peak was truly an amazing feature to photograph from Wetterhorn.
I had always admired both Uncompahgre and Wetterhorn as a pair, especially last year from Handies Peak (Wetterhorn on the left, Uncompahgre on the right):

Is there really such a thing as too many sunrise photos?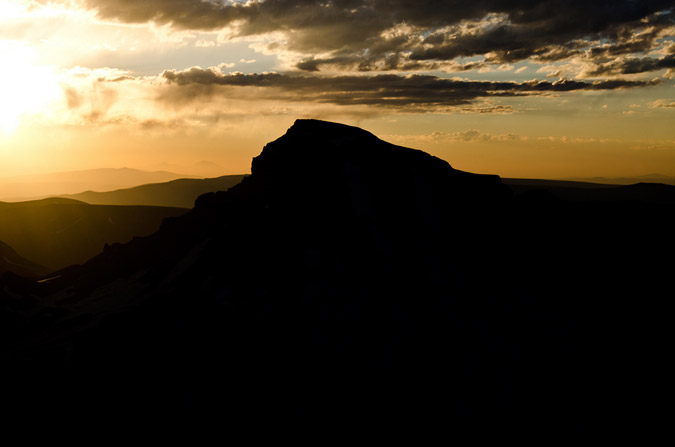
Or panoramics for that matter?

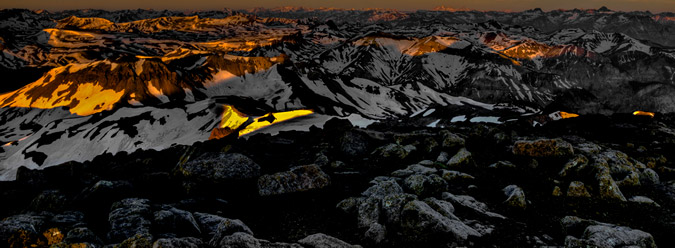
The craggy features of Redcliff to the North were quite impressive as well!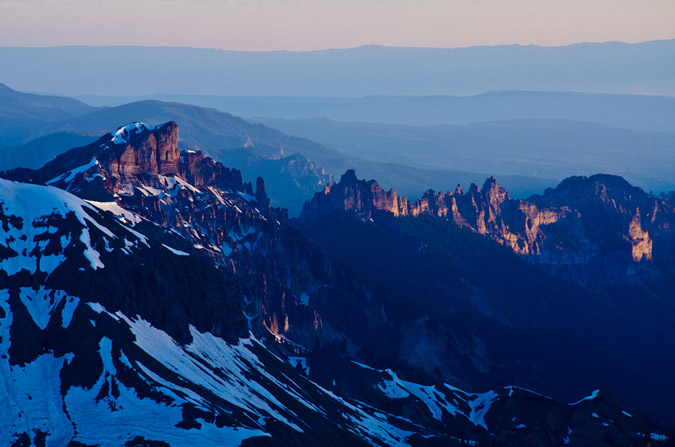
All this photography and I had almost forgotten that Regina was with me, obviously a bit chilled!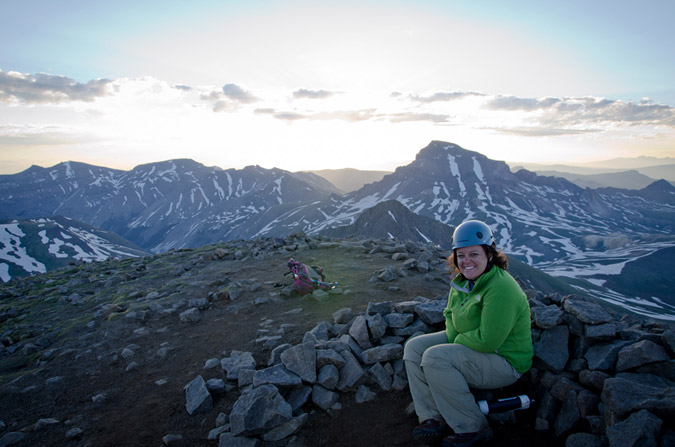

So, we decided we had enough amazing views for one morning and then departed the summit.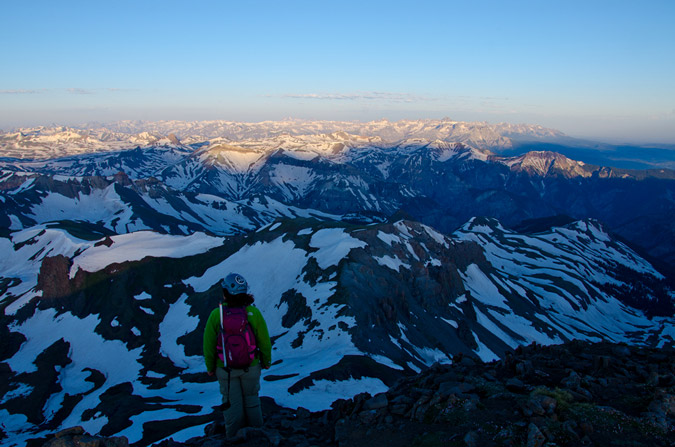
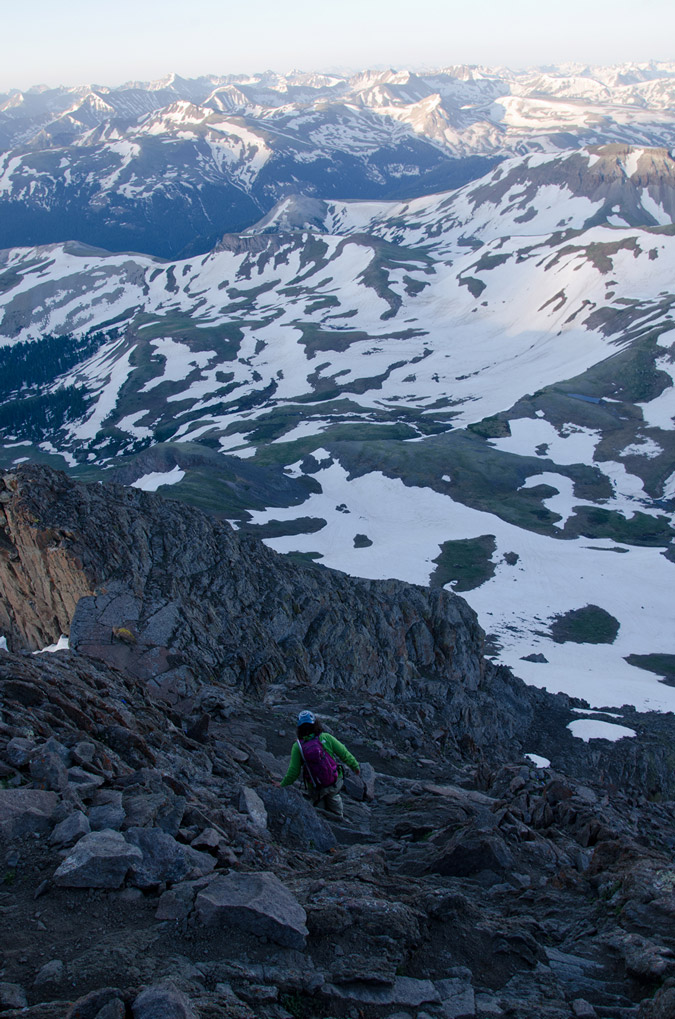
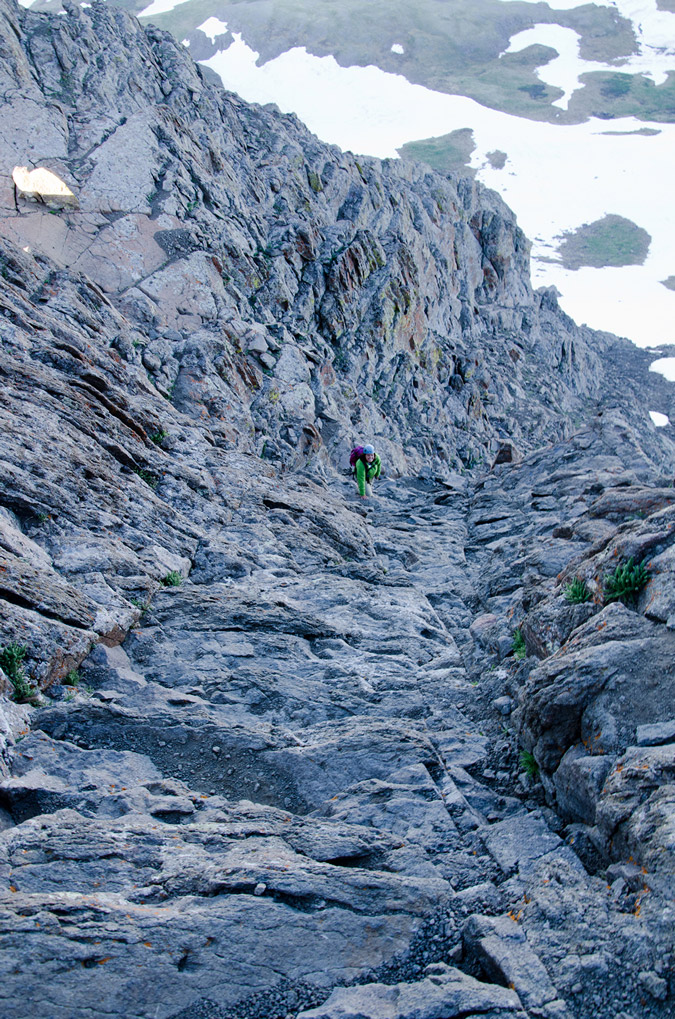
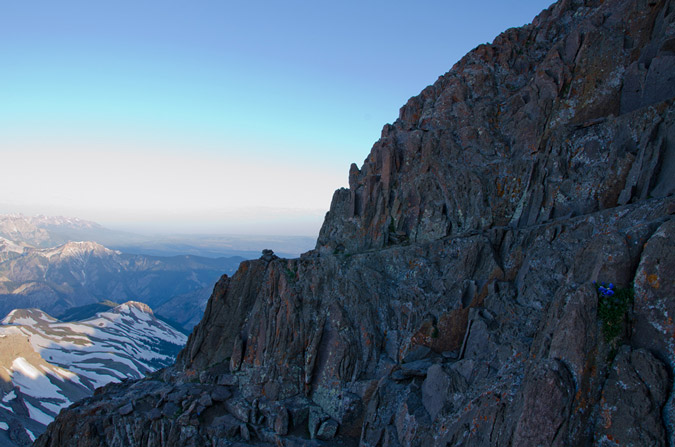
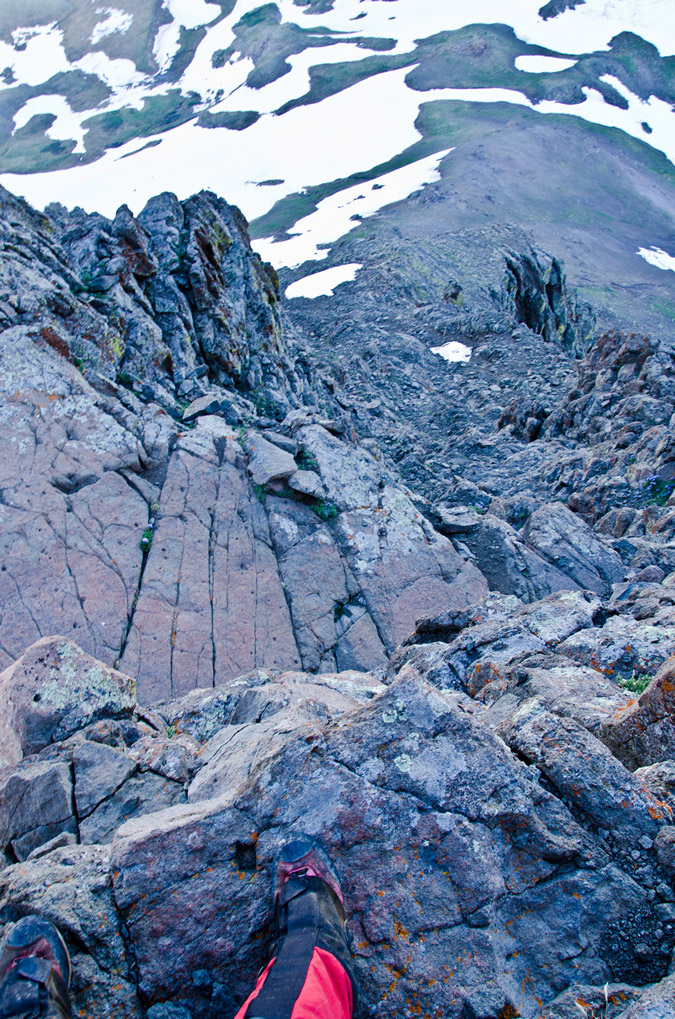
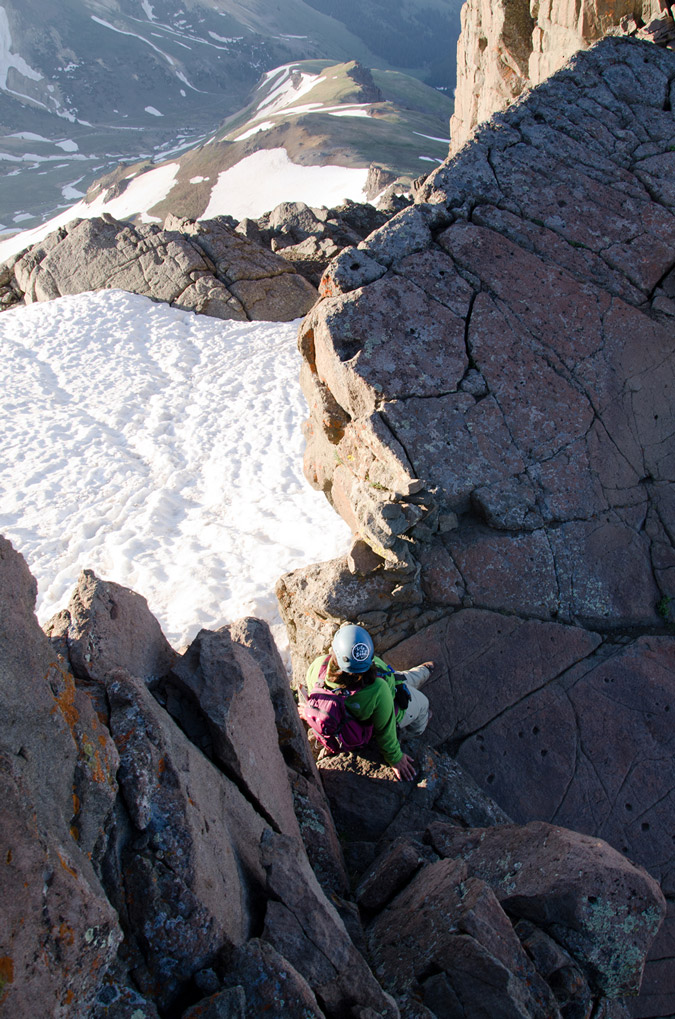
The downclimb was a little more tricky than the upclimb, but nothing worth worrying too much about. As long as you take your time and stagger your group, it is very safe.
 |
 |
 |
 |
It never fails to amaze me what will grow on the side of a mountain...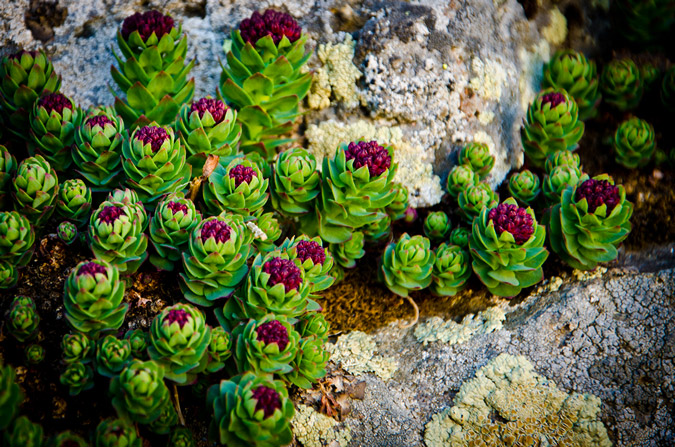
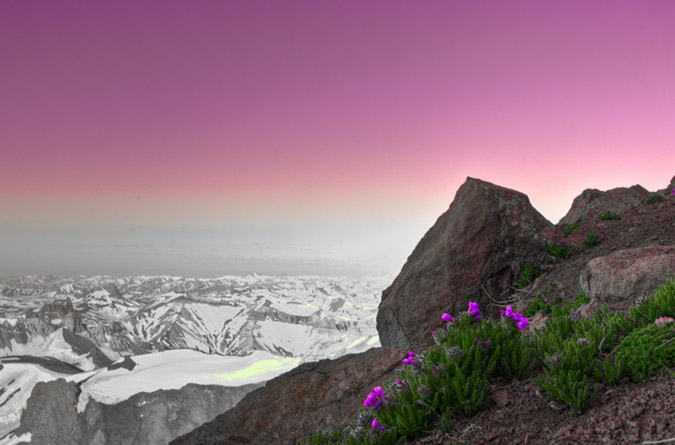
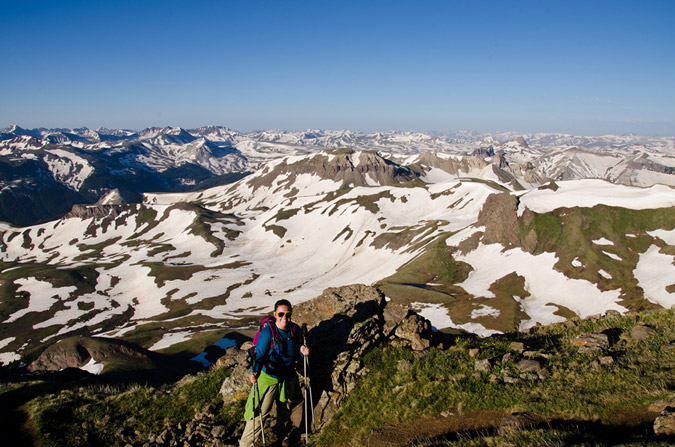
Naturally, Uncompahgre kept me in a state of wonder...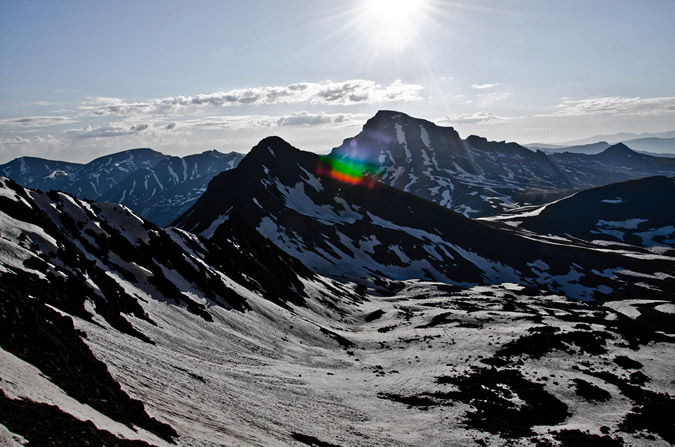
As did Sneffels...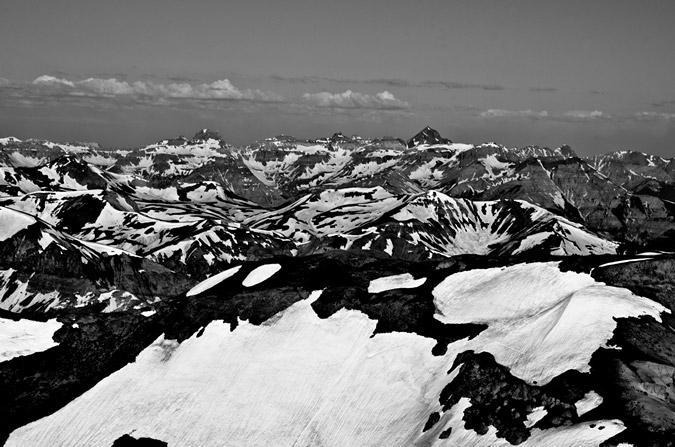
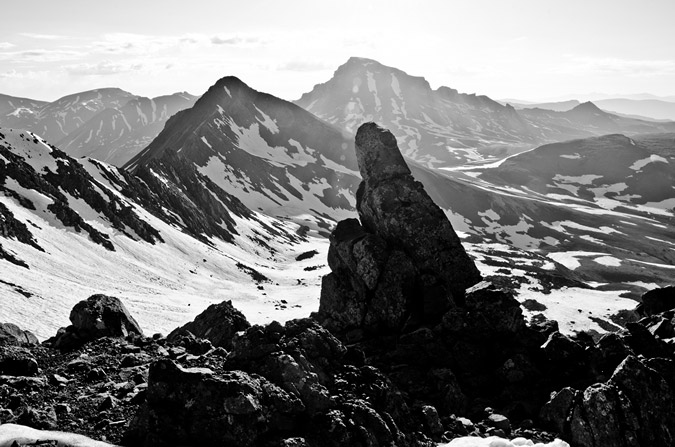
Wetterhorn was pretty awesome looking for below, which was awesome since it was completely dark when we headed up.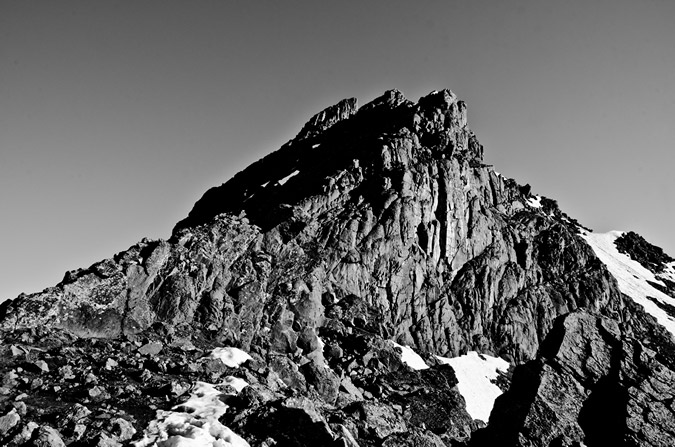
Also, a set of lower peaks kept my attention to the west, near Ouray. They were so impressive and gnarly looking! I was convinced that it could only be Bighorn Ridge, just east of Ouray. I believe I have confirmed this by looking on the Impressiveness List on my website.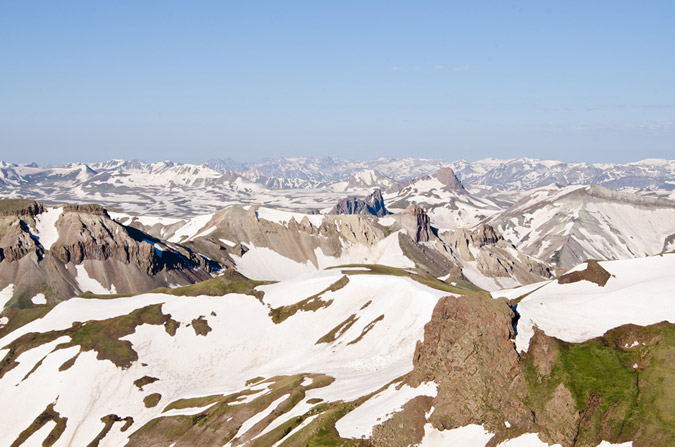
All this photography set me back from Regina quite a ways, and before I knew it, Regina had reached the Golden Saddle.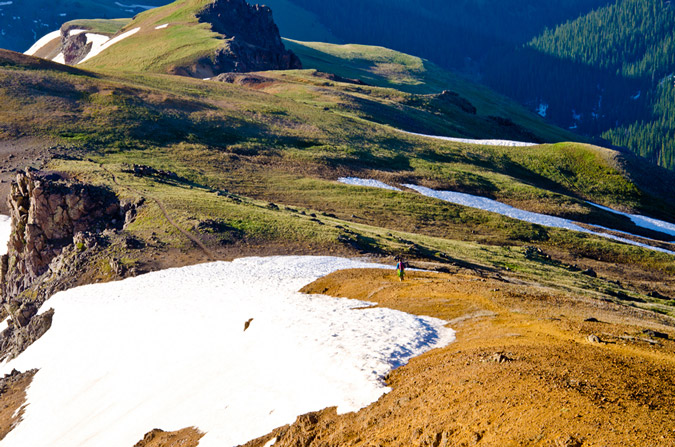
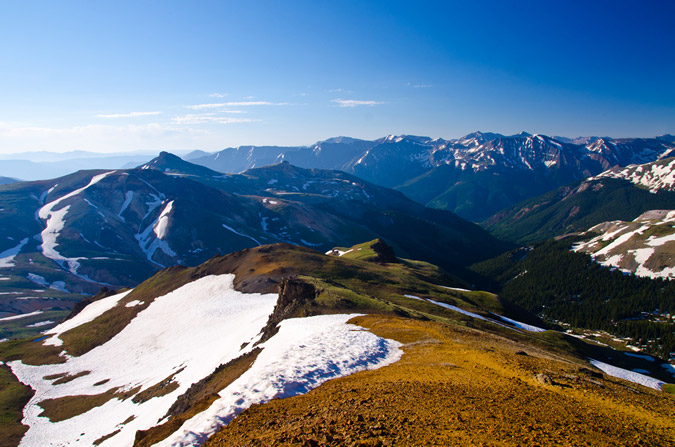
We finally ran into some early hikers just after the ridge, who turned out to be none other than "Kitten" from 14ers.com. 
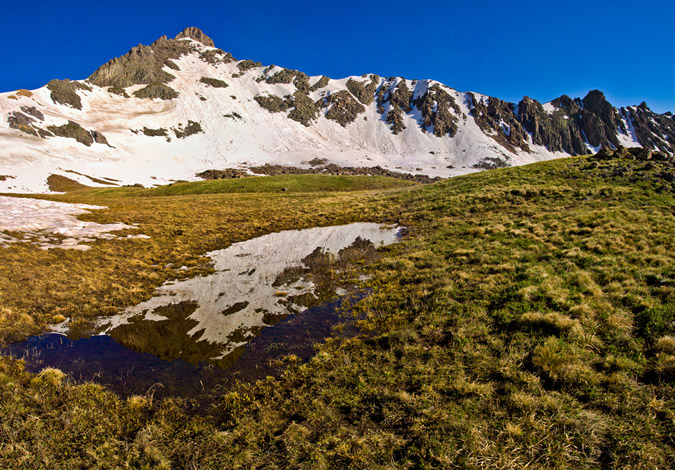
Regina and I both spotted this awesome little pool below and I knew it would make for an interesting shot...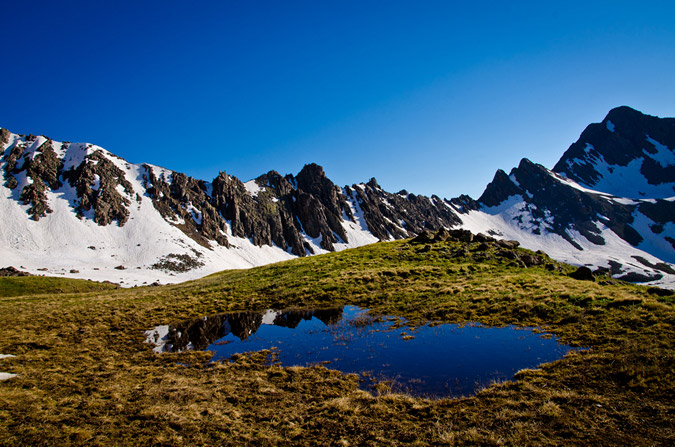
Funny thing - unknown to me at the time, "Kitten" shot a photo of me taking that photo, as I discovered it in her trip report.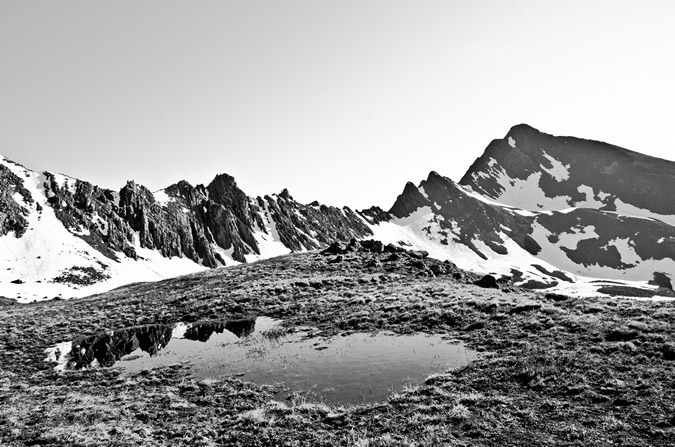
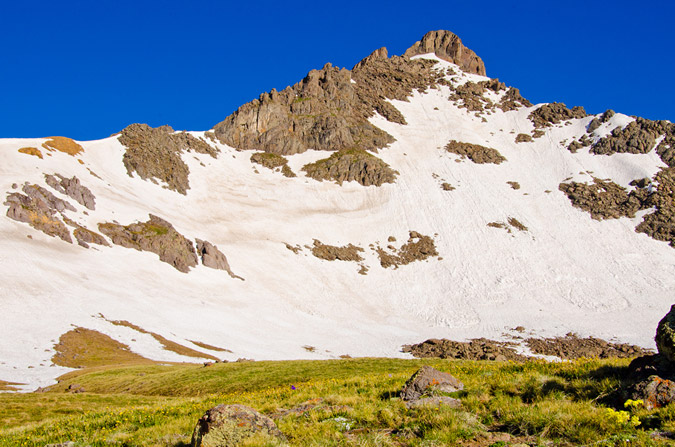
I even got a picture of Regina, and Wetterhorn, plus the pool.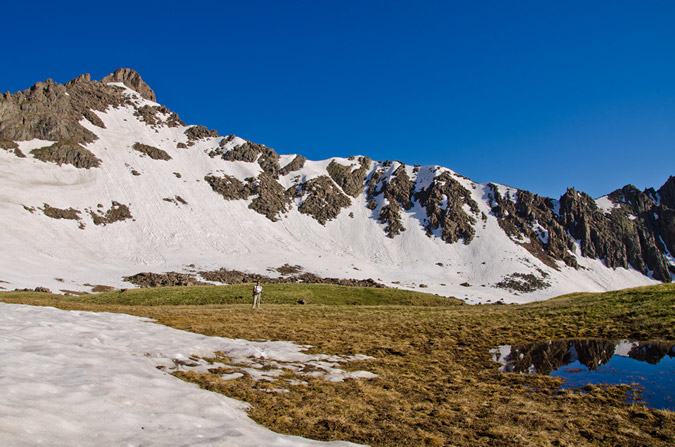
I spotted some interesting flowers off-trail and figured they might make for a cool shot with Uncompahgre behind them...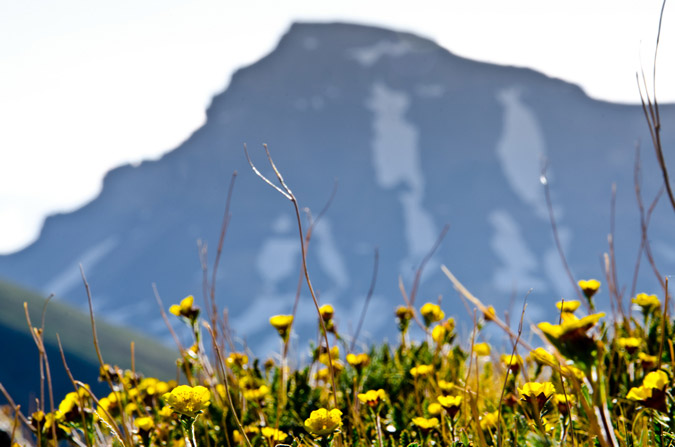
And, out of nowhere, a plane went zooming by over Wetterhorn...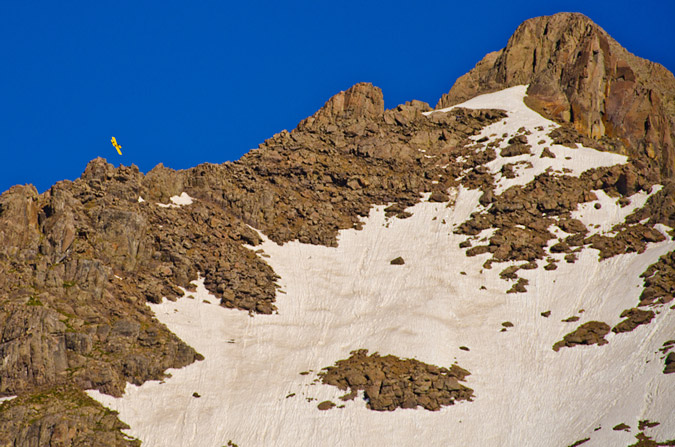
The hike out was pristine. The views never got old. Wetterhorn and Matterhorn painted such an incredible vista.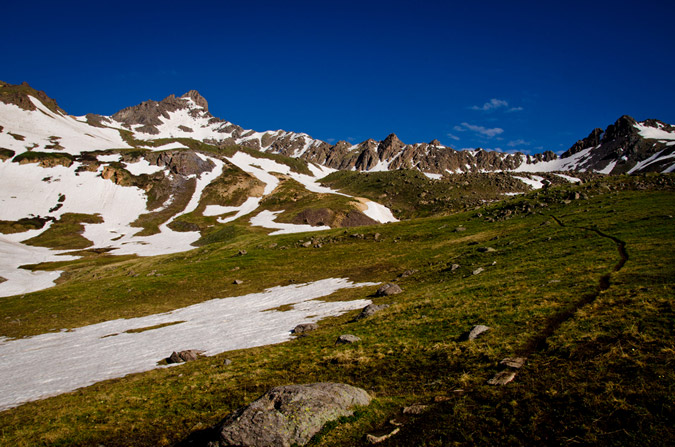
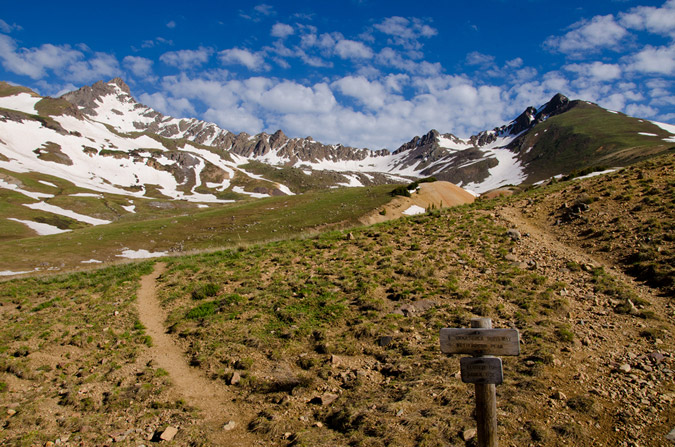
Wetterhorn looked pretty awesome from the valley below...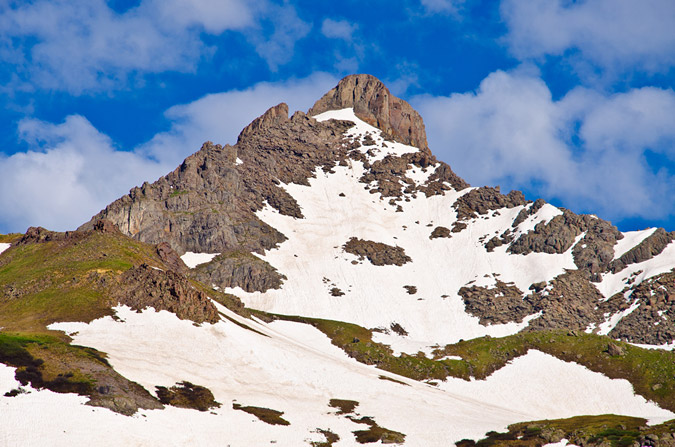
And of course, the weather started to move-in as we were heading out. The clouds were really intense, so I figured it might be fun to take some HDR shots of them.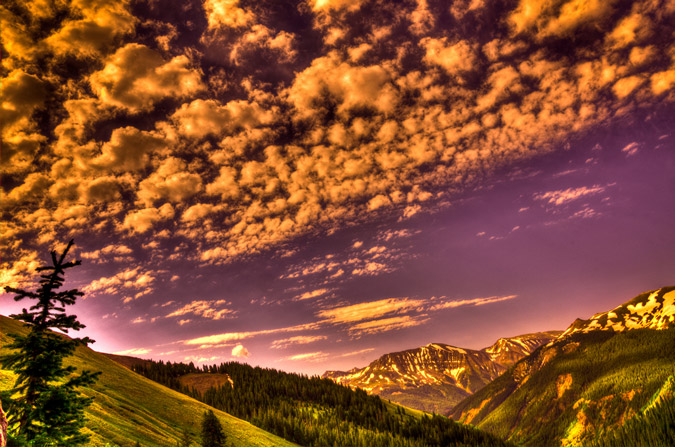
In case you were wondering, at the first trail junction, seen below... you go right. I barely noticed this one on the way up since Regina has this mountain memorized.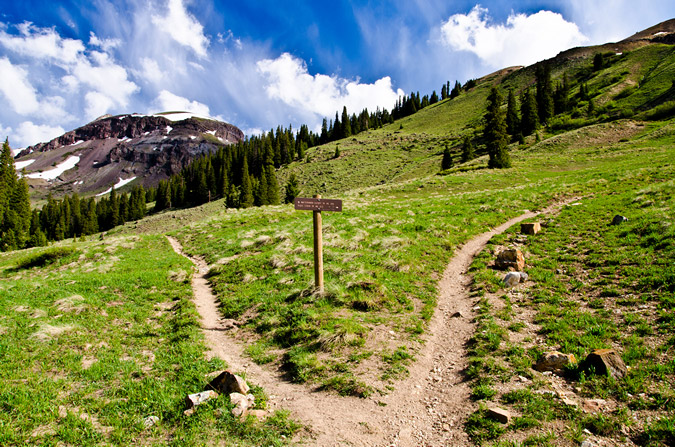
Matterhorn Creek provided some amazing opportunities for photos as well, having a ton of water in it.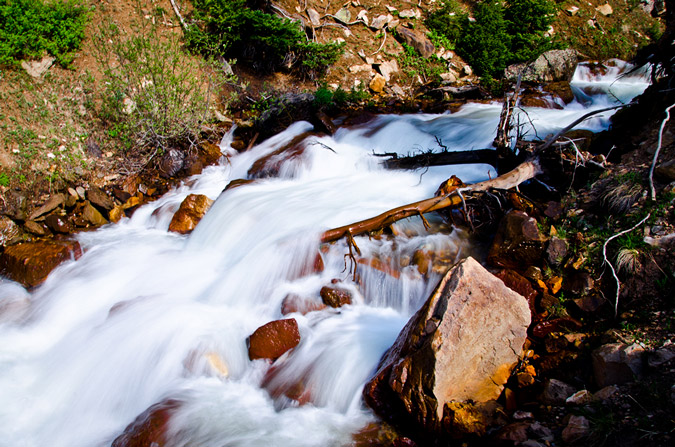
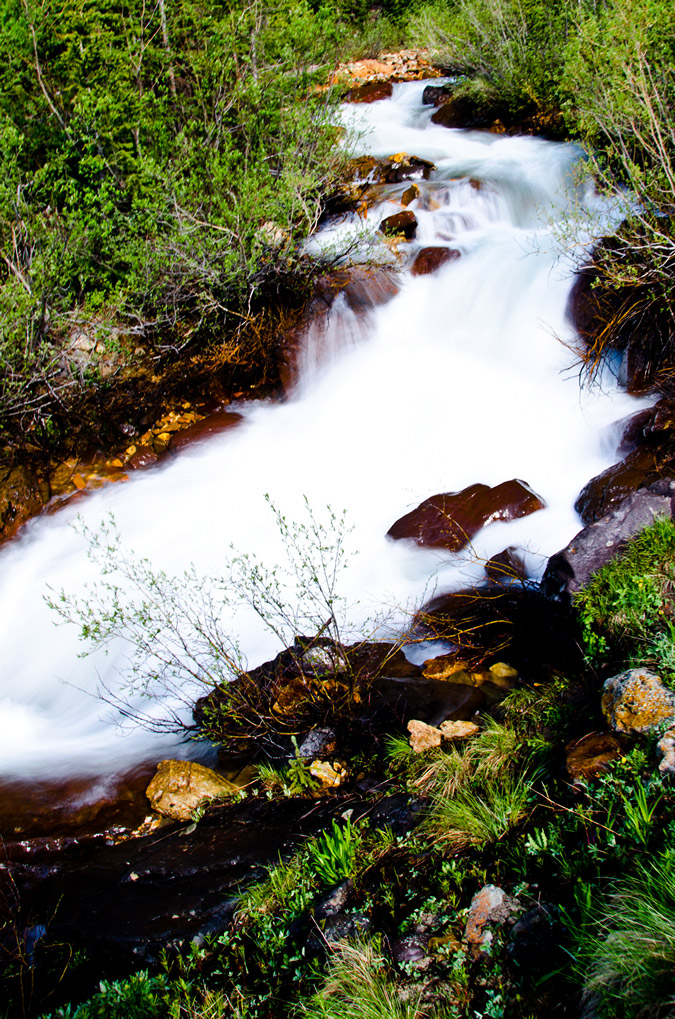
What else can be said about Wetterhorn? It is probably the perfect mountain. Here's why:
- The approach is short and easy, accesible to even the most novice of hikers.
- The route is solid - it is a terrific introduction to Class 3.
- The views are INSANE.
The only bad thing about Wetterhorn is that it is not closer to my house! I would rate it a 10/10.
I hope you enjoyed the photos! Please contact me if you would like to purchase any. See this page for more details.
{fcomment}
Wilson Peak - An 'Airy' Scramble Above Navajo Lake
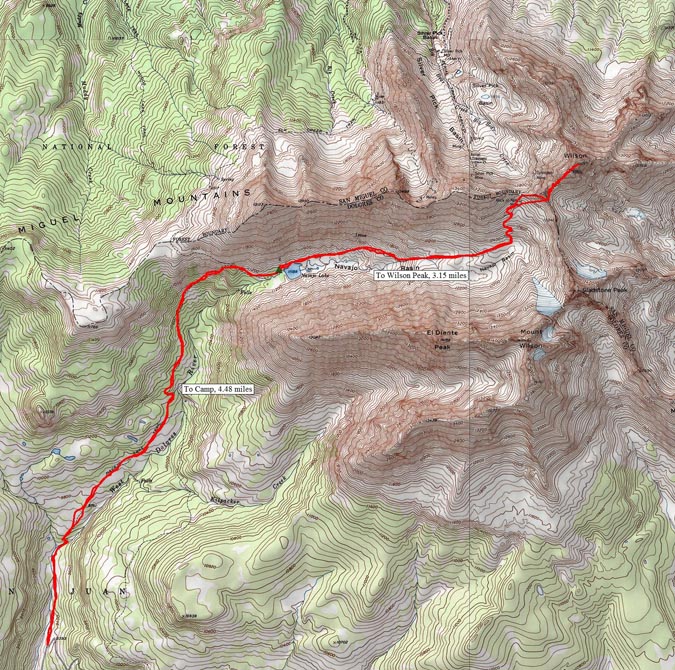
Fourth of July weekend always provides a tremendous opportunity for mountaineering, and this year was no different for me. Early in the year (January), I was eagerly planning my summer's climbs and saw this weekend and knew it would be both tremendous and controversial. You see, my wife's birthday is July 3rd. I begged her to allow me to climb on this weekend, knowing that it would probably be the only way I would be able to successfully complete the 14ers this year, which was my goal. My wife was really cool about it and said I could go. With that being said, I knew that the perfect match for this date range would be the Wilsons (Wilson Peak, El Diente and Mount Wilson). I set aside a total of 5 days for the trip and hoped I would not need all 5 days, but knew that weather could necessitate the use of all 5 days. My climbing partner, Regina and I roughly sketched what we thought would work best earlier in the year and when June 30th finally arrived, we were both excited to get out of town and up into the mountains! The plan was to drive to the Navajo Lake trailhead on June 30th and camp there, backpack up to Navajo Lake on July 1, establish camp, climb Wilson Peak and go to bed. After this, on July 2, we would do El Diente via the North Slopes route in the snow and then traverse over to Mount Wilson. This would leave July 3 for completing Gladstone Peak (a centennial 13er) and for the hike out. It even factored in one extra day for weather or for kicking it in Telluride for a bit.
So, with all that being said, Regina and I embarked for the Telluride area, a good 300 miles away. We drove through the Blue Mesa Reservoir area during dusk, and I was able to get one decent photo from the car while Regina was driving. I have always really enjoyed that part of the drive and someday I'll time it just right to get a gorgeous sunset photo there. Until then...
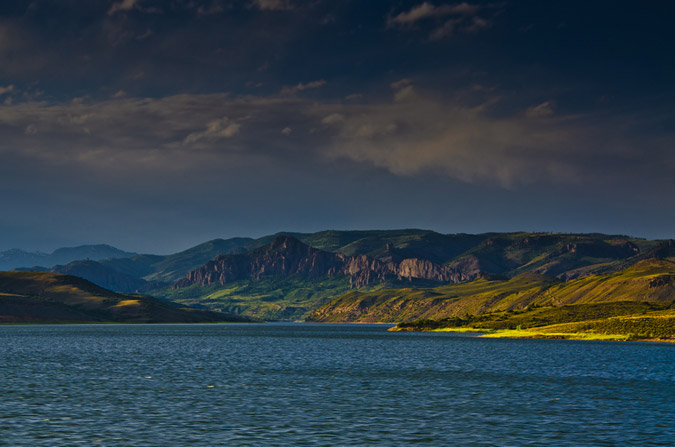
The plan unfolded perfectly and before we knew it we had arrived at the trailhead for Navajo Lake at around midnight. We set-up camp away from the trailhead and set the alarm for 7 AM since we were looking at a good 4.5 miles or so to the lake and an additional 8 miles to Wilson Peak and back to the lake for our itinerary. The alarm went off and we sprang out of the tent and packed up quickly, eager to hit the trail. The weather was absolutely fantastic. This week, I decided to try something I've never done before and pack my tripod with me. While this added some additional weight, it would allow me to get some great photos at Navajo Lake and even try my hand at some more star trails photography.
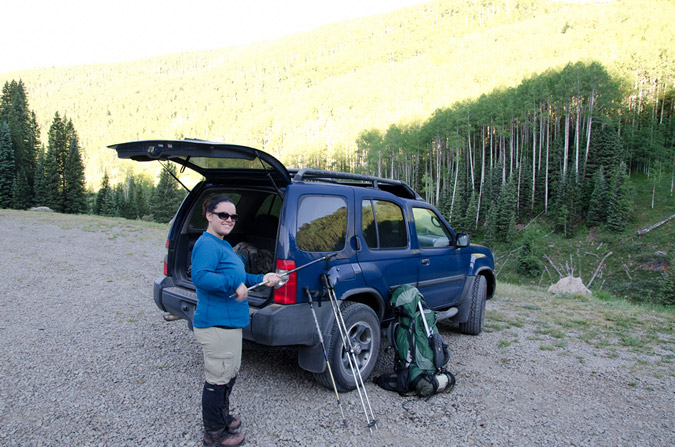
The Navajo Lake trail was really quite fantastic - it weaves in and out of huge groves of corn lilies (Veratrum Californicum), but I like to refer to them as Indian Toilet Paper since back when I taught Leave No Trace we would always use them for, ahem, wiping.
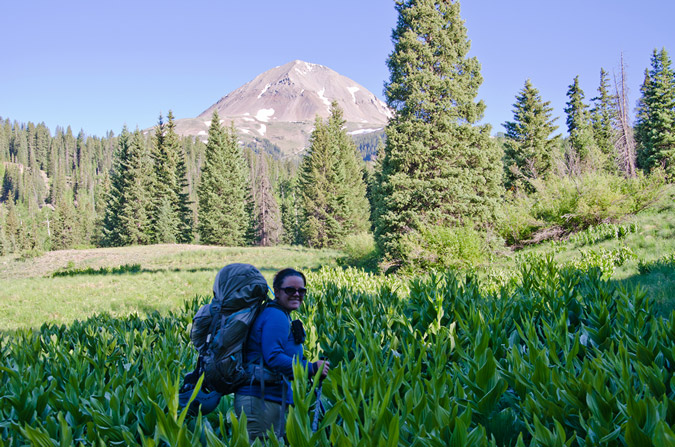
Pretty quickly, the trail leads you up the long meadows and into view of El Diente, which by the way was one of the most deadly mountains last year.
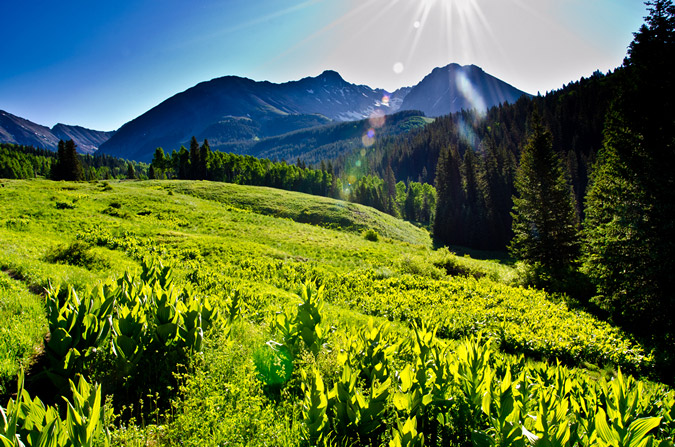
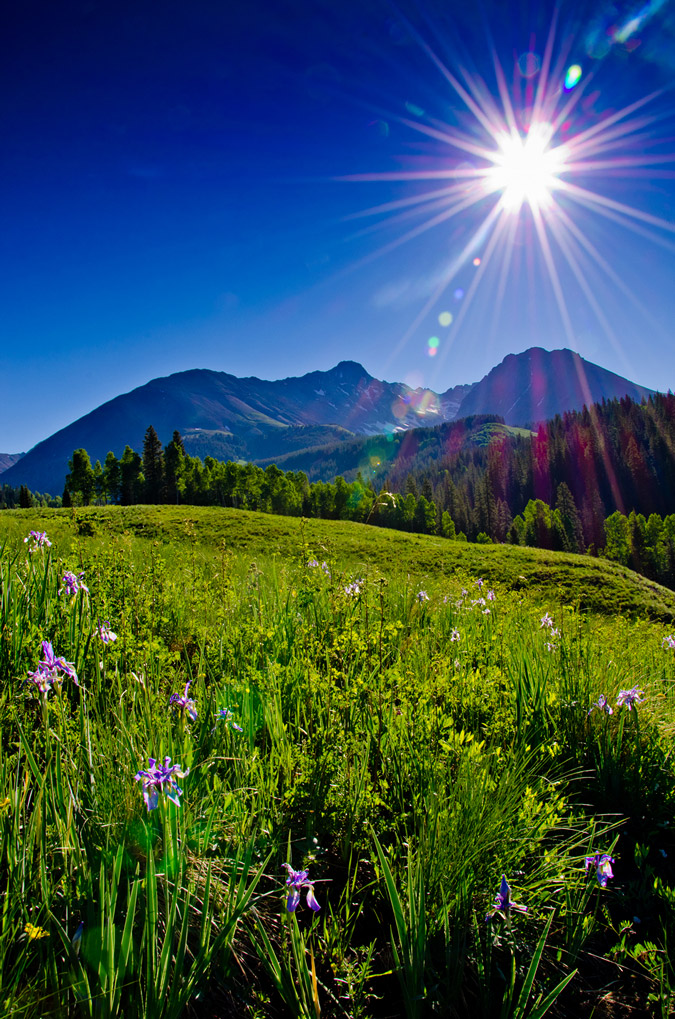
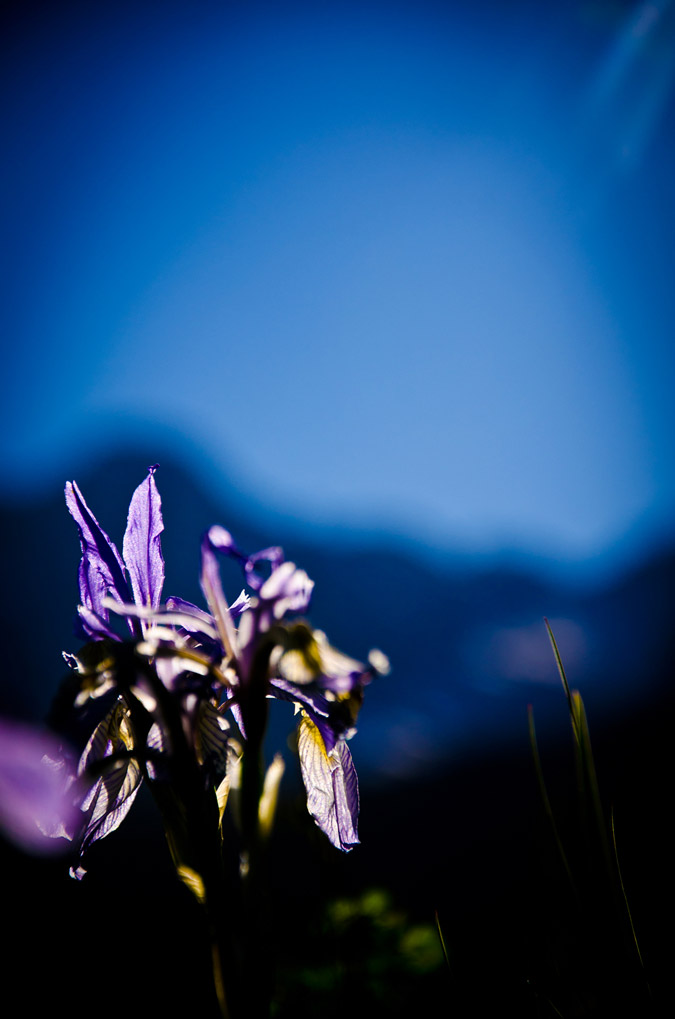
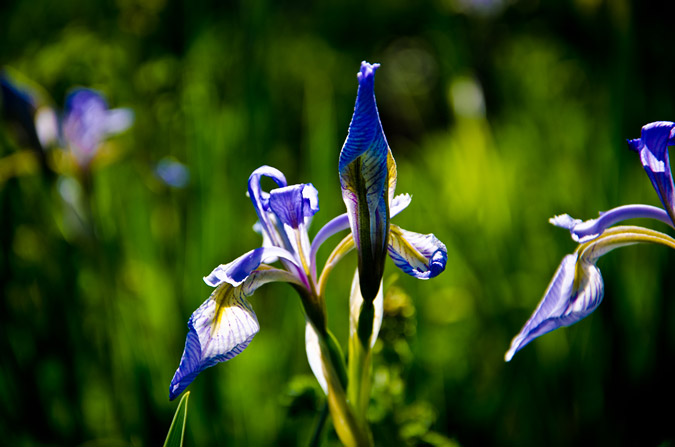
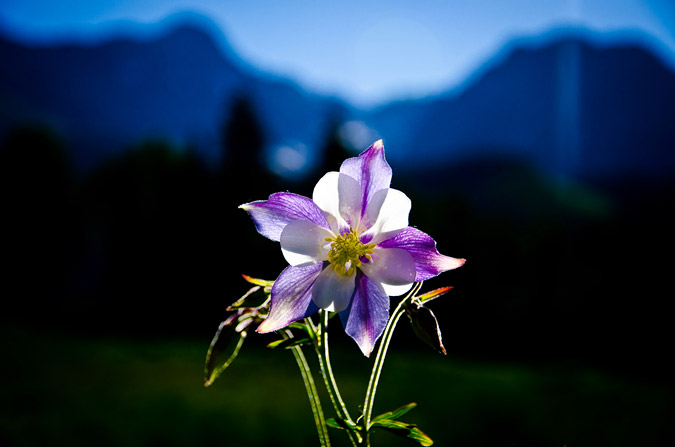
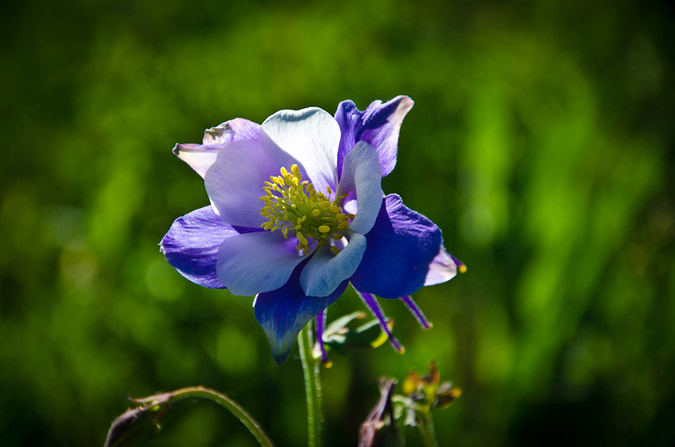
The whole area was covered in those corn lilies and wildflowers, which slowed me down a bit due to me wanting to take a ton of photos. I think I have a serious photography problem or something... what do you think?
 |
 |
 |
 |
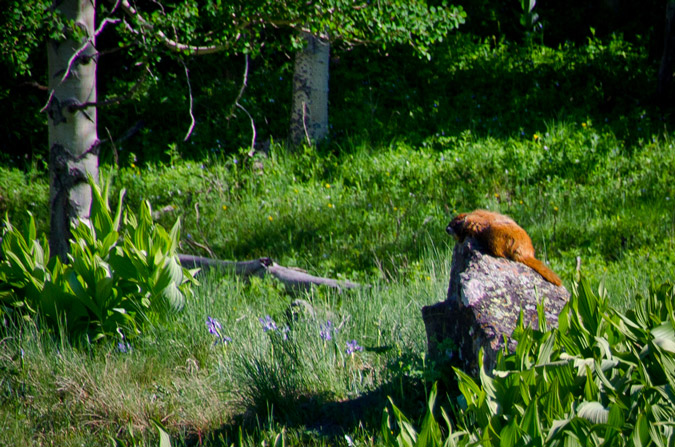
Naturally, a hike in the San Juans and the Lizard Head Wilderness Area are not complete without a sunbathing marmot!
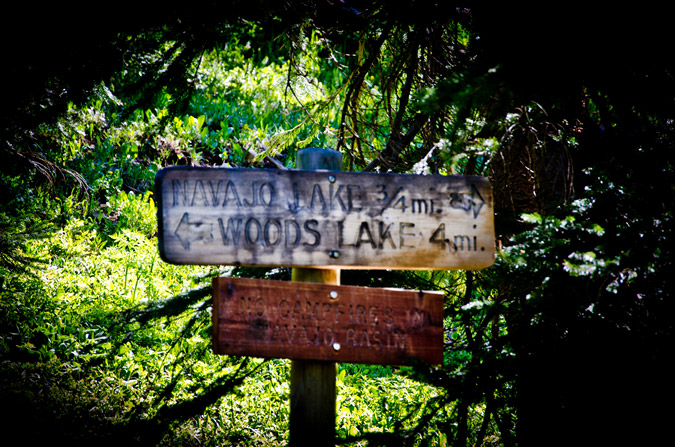
The trail kept winding up towards Navajo Lake and eventually we reached the trail junction for Woods Lake.
The closer we got to the lake, the more vibrant and ubiquitous the wildflowers became and I could not help but take more photos. What can I say, I'm a sucker.
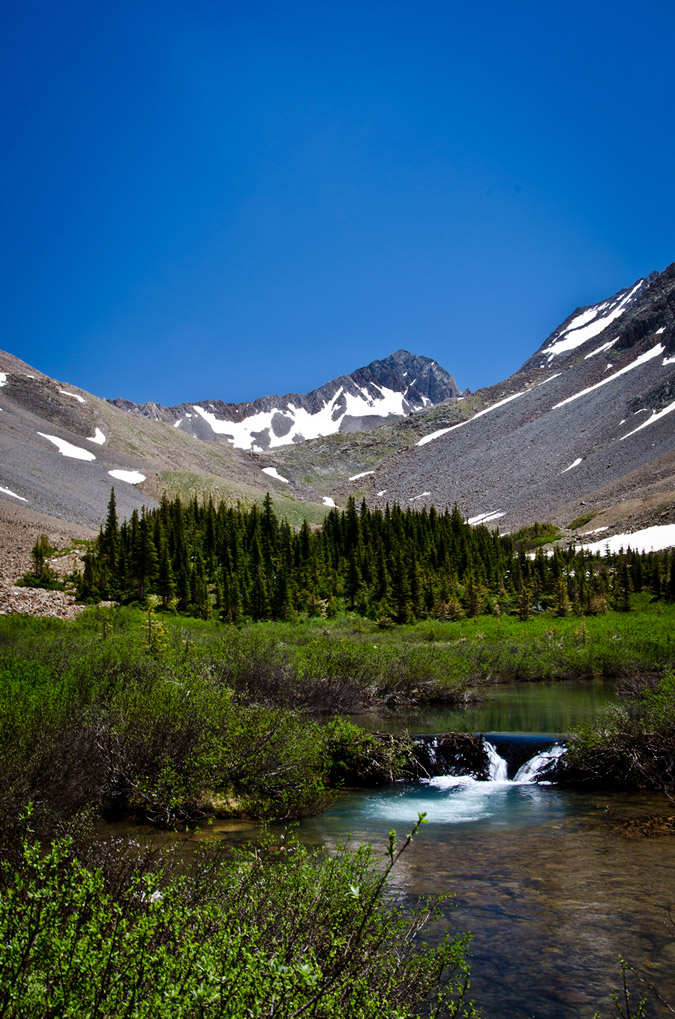
A mere 3 hours later we finally arrived at Navajo Lake. The view of the lake and Gladstone Peak was absolutely stunning.

We were able to establish camp about 300 feet away from the lake up on a small plateau - it was an absolute gem of a campsite. After setting up our tent and getting everything else situated, we packed up our daypacks and headed on up the trail with the objective of Wilson Peak in mind. Our departure time was 12 PM. Normally, I would not attempt to climb a mountain so late in the day, but the weather was superb and I knew the forecast was totally clear, so we opted to give it a shot. Worst case scenario, we could always head back down to the lake if the weather turned on us.
Now, Wilson Peak has never held much status in my mind, purportedly being the easiest of the group's 14ers, so I never did much research on the route. Sure, I read the route description and printed off a few photos and paragraphs, but I felt pretty confident that it would be a fairly easy climb. Boy - I was really pleasantly surprised and wrong about that assumption, as you'll read later on.
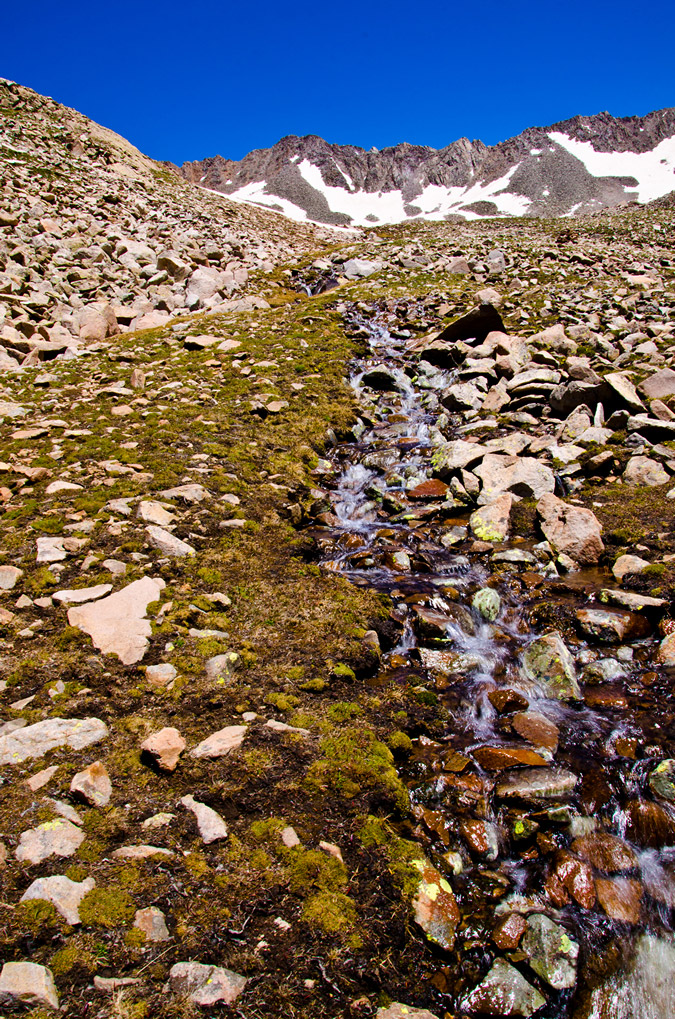
The hike up into Navajo Basin was really enjoyable from the lake.
 |
 |
After awhile, the trail finally brought us even with El Diente to our right, the view of the North Slopes route came into view nicely. Mount Wilson sits at the top of the basin, right of Gladstone Peak, and is connected to El Diente by a massive, spiny ridge, as seen in the below pano.

Additionally, the blue hues of Navajo Lake kept me looking back, enjoying the vistas of the valley.
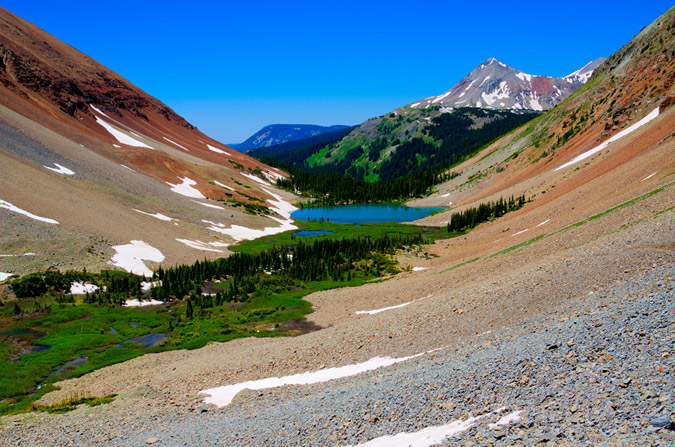
The trail was not terribly steep but it did weave in and out of large snowfields, making it a bit more interesting but nothing too dicey, so far.
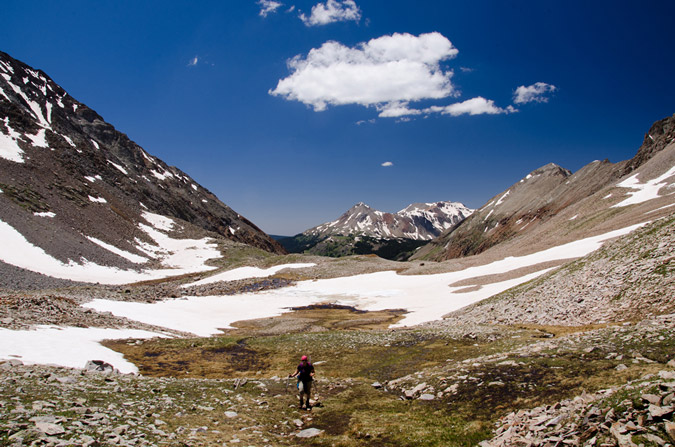
Finally, we reached the headwall that leads to the Wilson Peak - Gladstone Peak saddle beneath the Rock of Ages Mine, which required us to head up a giant snowfield. The snow was quite firm and easy to hike through.
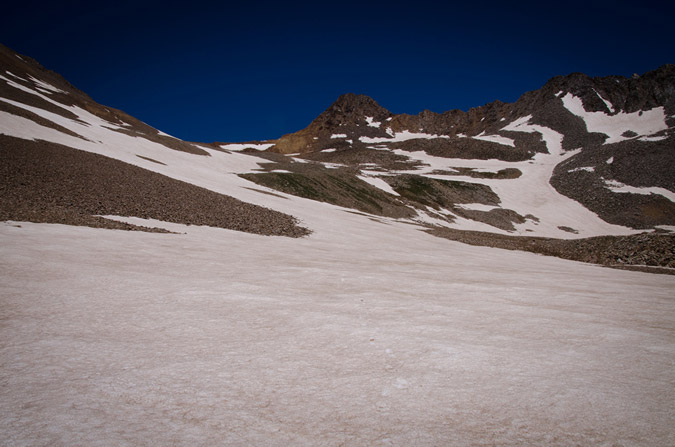
I was feeling really good and had gained a bit of distance between Regina and I, so I periodically stopped to let her catch up.
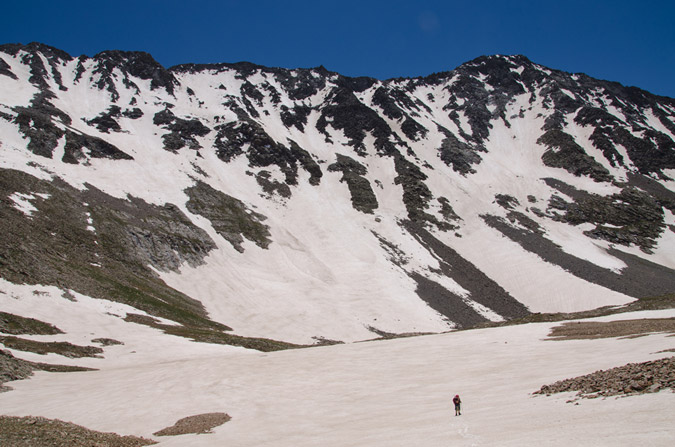
The snow in the North Slopes Couliour for El Diente looked superb and I was a bit excited to see how that would work out on the following day.
At 2:30 PM, we both reached the Rock of Ages mine, which felt quite like something out of the 1800's. An old wooden mine shack still sits on the mountainside along with a small wooden bench, a mining cart and some other odds and ends.
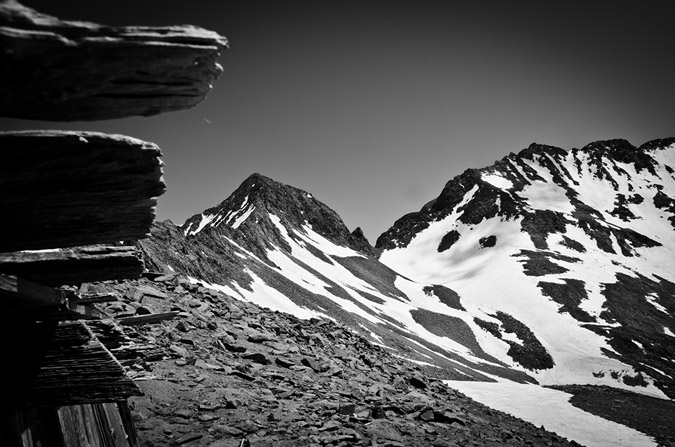
We rested at the mine, ate some food and discussed the next steps. The trail continued on up towards the Rock of Ages saddle to our left, but I knew from reading the route description that the trail winds back across the mountain just above the mine itself, so I figured it would be a good opportunity for some off-route exploring up through some easy class 2 boulders above us to the Wilson Peak - Gladstone Peak saddle.
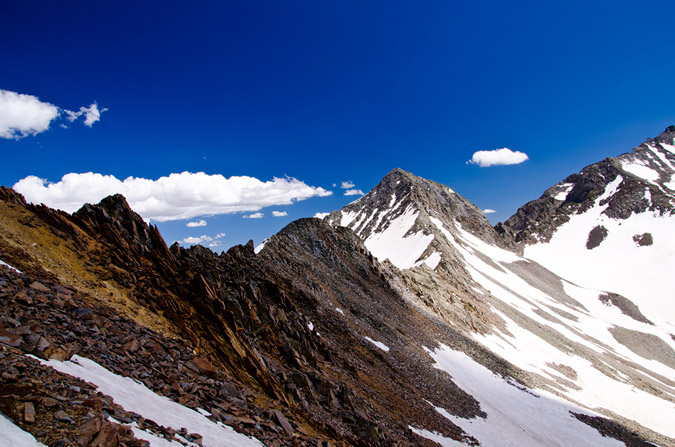
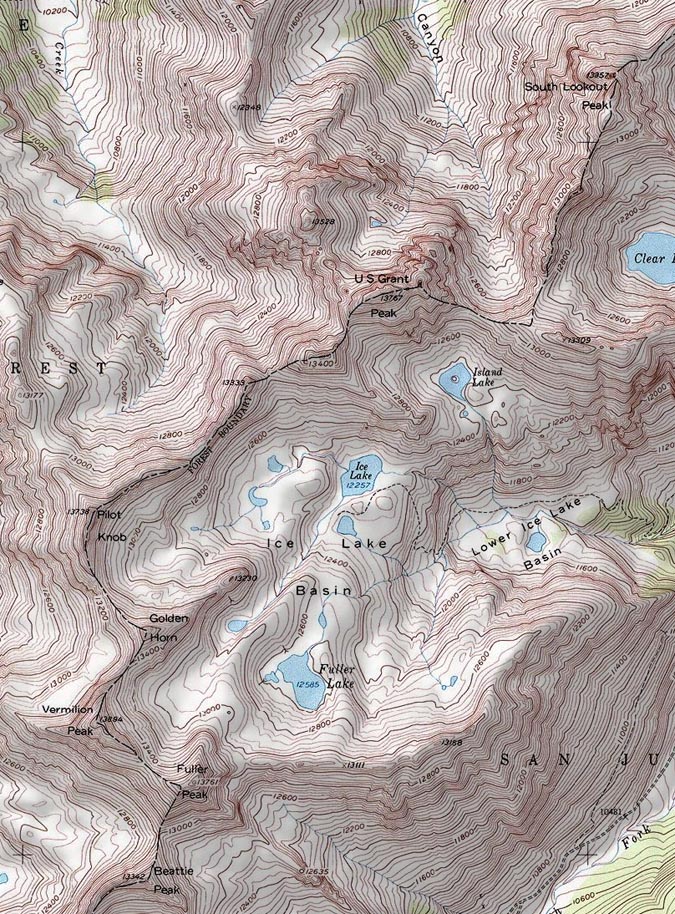
Personally, this terrain is a playground for me - the rock was somewhat loose but not too crazy, and it was fairly obvious which rocks were stable and where you needed to go. Regina on the other hand, not having grown up climbing off-route like me, felt a little less comfortable on the boulder field and was starting to have some doubts about the rest of the climb. I assured her that she would be fine and that she needed to treat the rocks with respect, expect that they will move, and be nimble about her movements. Eventually we made it up to the saddle without incident and were greeted by the first insane views of the day to our east. A cornicopia of San Juan mountains laid before our eyes and I was excited to finally get views of Lizard Head Peak, Fuller Peak, Vermillion Peak, Golden Horn, Pilot Knob, U.S. Grant Peak and South Lookout Peak, which all rest at the head of Ice Lake Basin - one of the most gorgeous locations in Colorado. Can you identify them all?
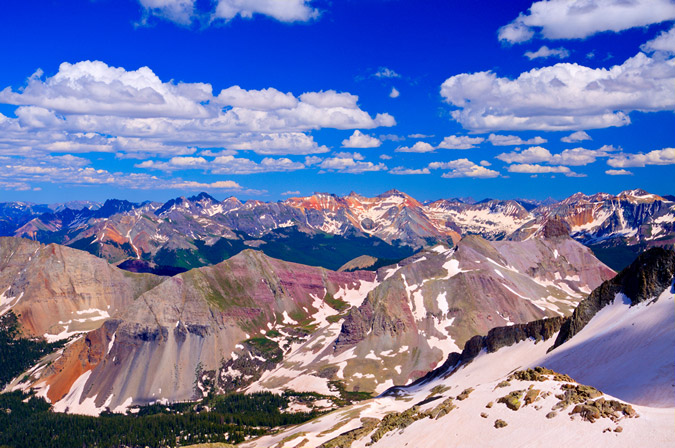
Here, let me help you!

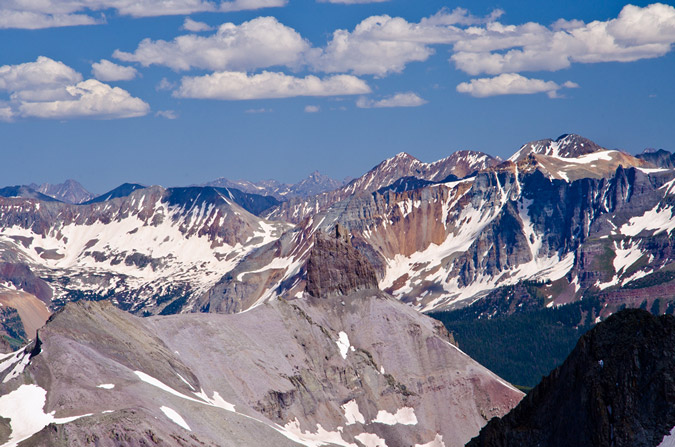
Of particular awesomeness was the view of Lizard Head Peak, which will likely forever rest on my unclimbed list!
At this point, Regina and I had to make a decision. The weather was great. Barely any clouds in any direction. But - Wilson Peak was still a long ways off and it was already 3:30 PM. I still felt strong but Regina was fairly demoralized by how far away Wilson Peak looked still. From the saddle Wilson Peak was still a half mile away and a good 600 feet up across insane snowfields and rotten rock. I encouraged Regina to give it a shot with me, so we did. Right off the bat, we were greeted by a pretty intense snow field at the base of a cliff that was quite run-out, meaning, if you fell down, you were going to travel a long way down and probably die. We deployed our ice axes and secured our helmets and crossed, using extreme caution. Soon, a second and then a third snow field of equal danger were presented to us as well as crumbling rock and difficult trail-finding. Regina became really sketched out by the whole thing and decided that it was as far as she would travel and told me to keep going and that she would wait there. I was fine with that idea, so I continued on. I'm not going to lie - I was not mentally prepared for this climb. I thought Wilson Peak would be a walk in the park. Having much of the route obscured by steep and dangerous snow that had softened considerably throughout the day, my mountaineering skills were certainly challenged. The route before the false summit was chossy at best, with huge loose boulders cascading above and below me on a regular basis. Oddly enough, I was calm in this environment. I have an odd knack for loose rock and when my footholds and handholds gave way, I went with it, almost like walking onto an escalator. I chose my route carefully enough so that I could avoid the larger messes, but a few rocks did manage to take huge chunks of flesh out of my finger and hand. No worries though, the bleeding stopped quickly and I didn't even stop to apply a bandage. All in a days work. I was finally able to reach the ridgeline that connects to the false summit, and was able to catch views of a small wildfire that had broken out to the north-west of me.
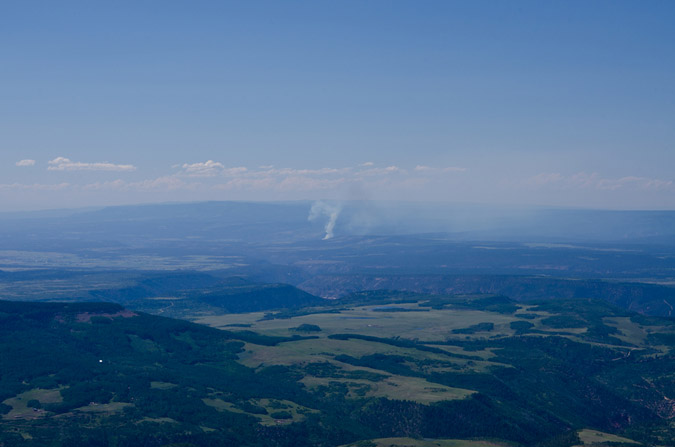
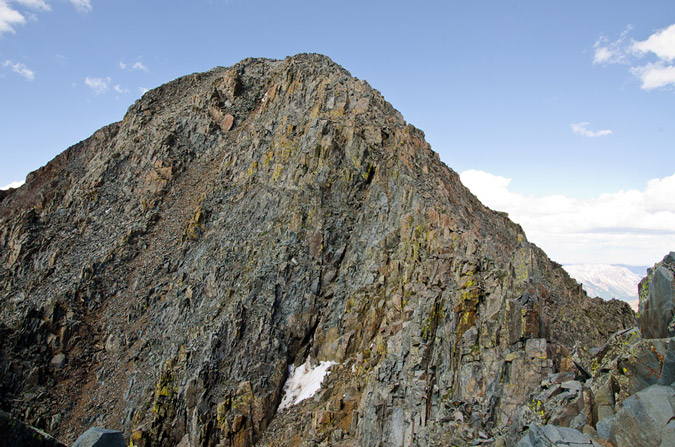
Of even more interest at the time, Wilson Peak's daunting summit block stood before me like some ancient pyramid. Again I found myself thinking - wow - really? I never expected this much awesomeness from this mountain. I was excited. Was this going to turn into a class 4 scramble? I sure hoped it did! The exposure looked inviting, but the rock was crumby and resembling of tiny pinnacles. I knew that I needed to choose my route carefully. The route description from 14ers.com stated that there was two ways to skin this cat - go left and downclimb to some safer class 3 sections, or continue on the ridge and challenge yourself with some nuts class 4 stuff. I chose the class 4 stuff and it did not disappoint me in the least.
In the interest of weight and balance, I decided to take a huge drink of gatorade and leave my pack on the false summit, bringing along my camera, which was attached to my chest by my new Lowepro Toploader bag. Yes, I realize that I broke one of the key tenets of mountaineering by leaving my pack behind, but I still feel it was the best decision.
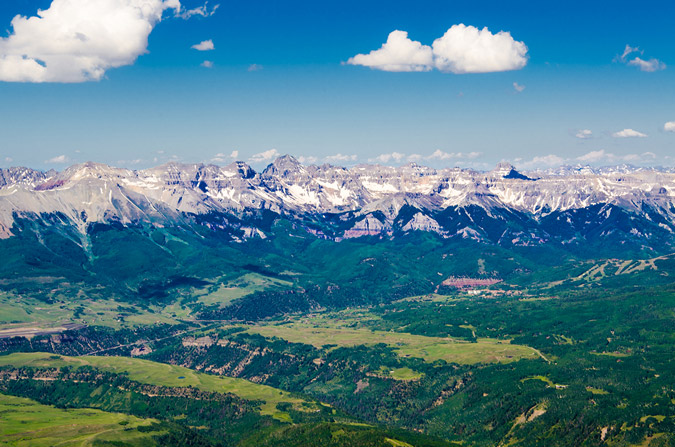
After carefully finding my way down and through the class 4 section, I reached the summit at 4:50 PM. I was still feeling great. Naturally, the views were absurd and rediculous - in a good way of course! Sneffles towered to the north-east alongside all of her insanely shaped neighbors. All-in-all I would rate the Wilson Peak views as a 8 or 8.5. Pretty amazing.
Sneffles and her friends:

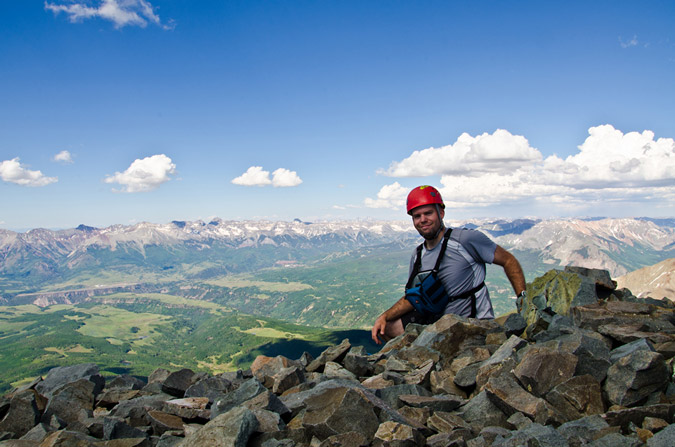
I was able to set my camera up to take a quick self-timer too - how fun.
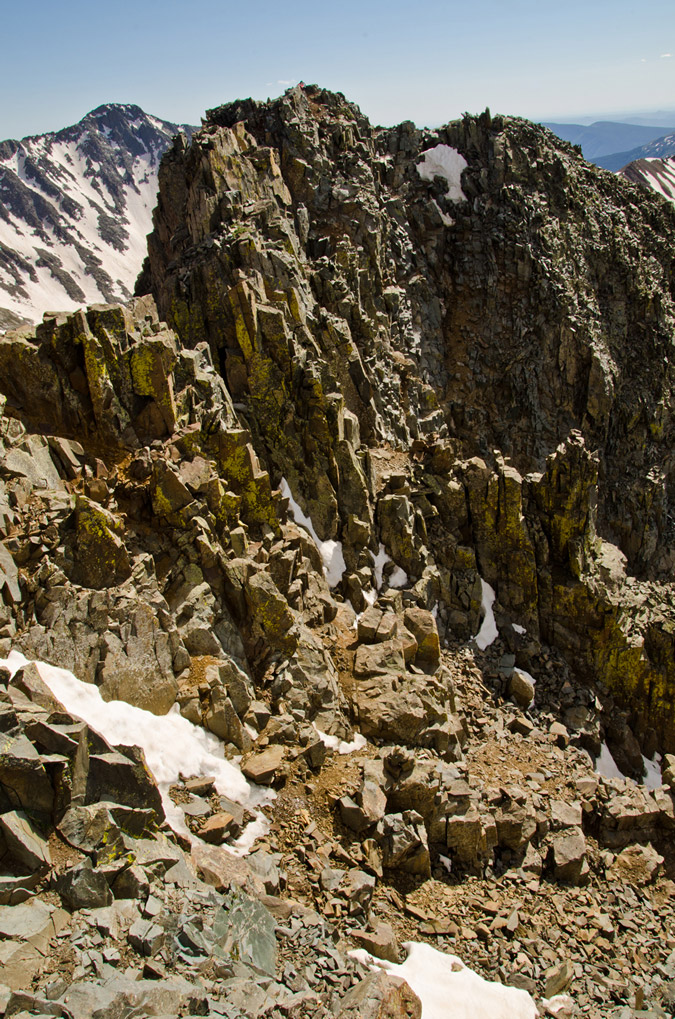
I figured with Regina waiting below, I should get off the summit pretty quickly, and so I did, leaving at 5:03 PM. In the distance, I spotted my pack and I thought it was neat to see the nastiness of the downclimb I did earlier as well as my pack for a dose of perspective. I basically went straight down from where my pack was at.
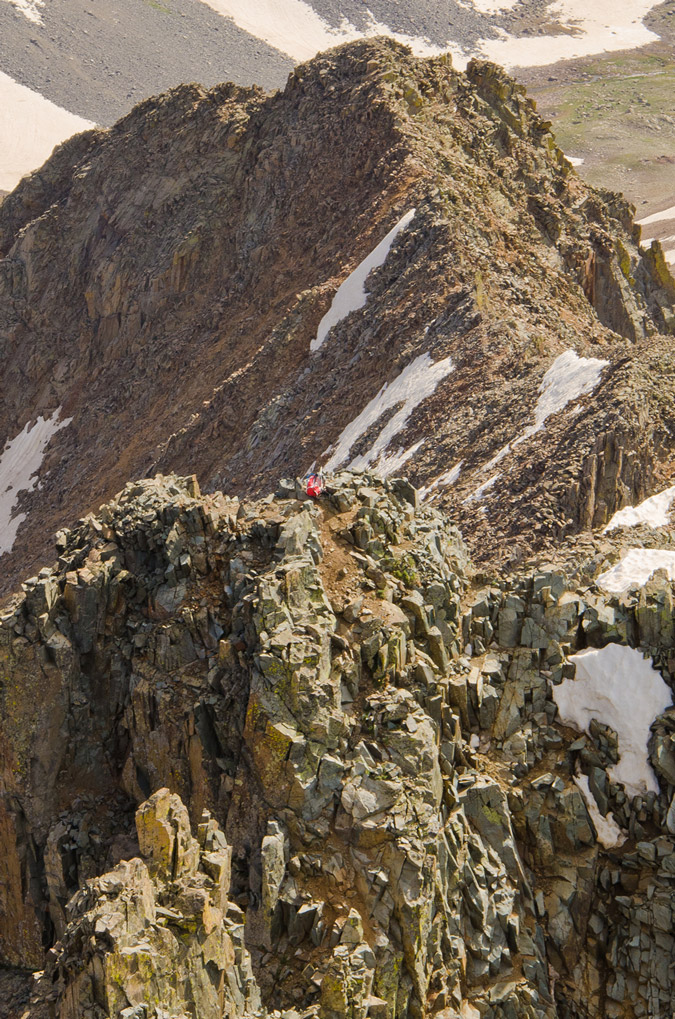
Zoomed out, you can see that the saddle where Regina was waiting for me was a long ways off. I believe she was waiting for me just where the snow was starting to end.
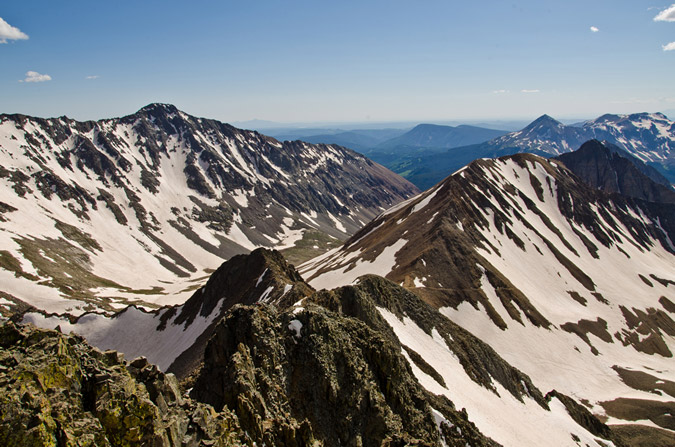
Another view of the climb back up to the false summit from Wilson Peak with my backpack at the top:
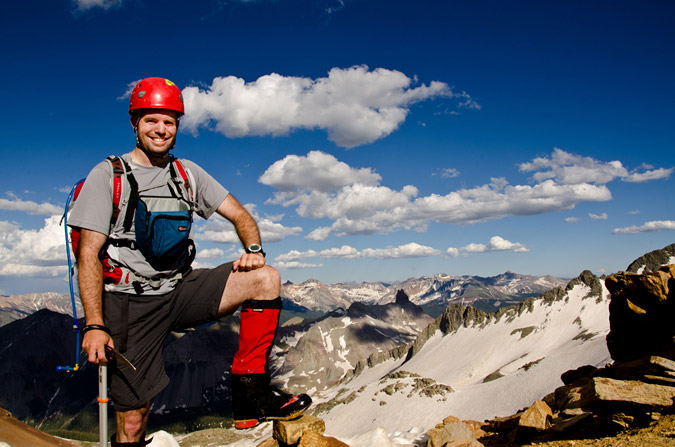
The downclimb back to Regina went much faster and I was able to reach her in just 30 minutes from the summit. She had safely crossed back to the saddle and had waited for me there. She also took a shot of me on the Gladstone Peak - Wilson Peak saddle:
We opted to head back down the standard way to the Rock of Ages Saddle and had a long conversation on the way down. I knew that Regina was probably feeling pretty bummed about not getting to the top of Wilson Peak, especially after the absolute disaster that was our Snowmass Mountain attempt the week prior. I was pretty proud of the way Regina handled this situation. We talked about how this type of climbing just was not fun for her and that if she was feeling uncomfortable on the rock that it was not worth getting killed just to check off a box on a list. I knew that Regina had a strong goal to finish the 14ers this year, but I think she has a much richer appreciation for mountaineering and all of its challenges. I think that in time she will grow more and more comfortable on class 3 and class 4 climbs, and will complete the 14ers; however, there's no sense in getting killed because you don't feel comfortable! Kudos to Regina for having a clear mind about this issue. All too many climbers lose sight of this important perspective in their quest for glory.
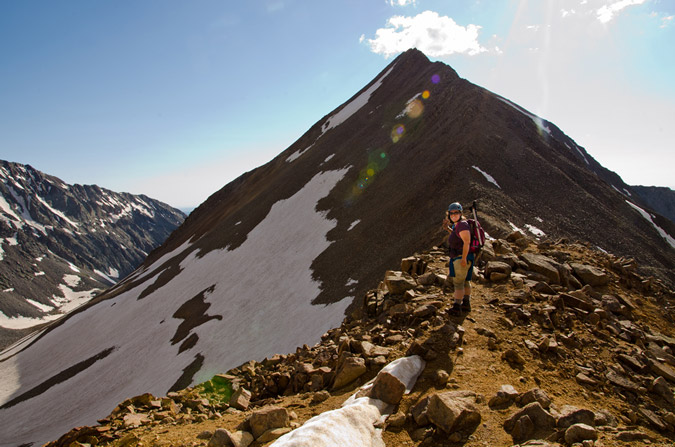
The Rock of Ages Saddle proved to be a nice location to capture a nice panoramic of the Navajo Basin, with Gladstone Peak (center) at the head and continuing on down the ridge to El Diente.

We took pause back at the Rock of Ages Mine for some good 'ol fashioned mining fun. Regina took a more conservative approach to her mining pose:
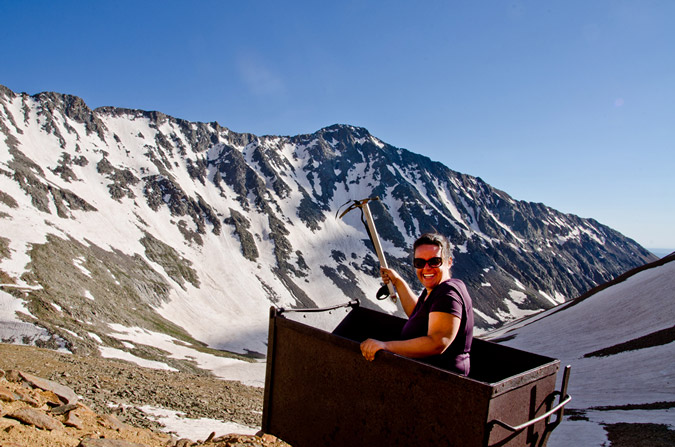
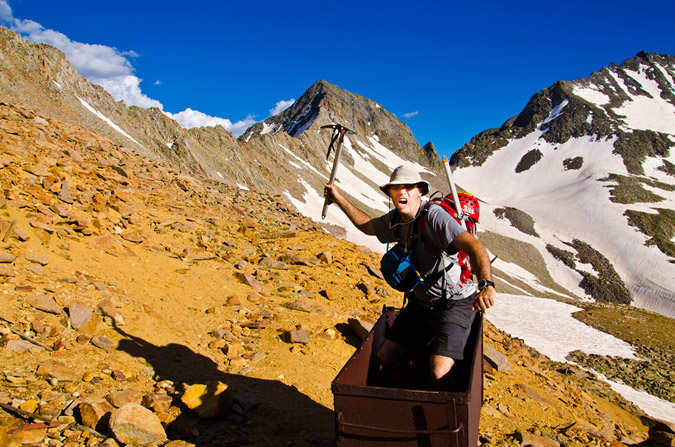
But... I was still pumped from doing Wilson Peak, plus I wanted to give my best Miner-49-er impression! I think the result was more of a hybrid between pirate and crazy guy...
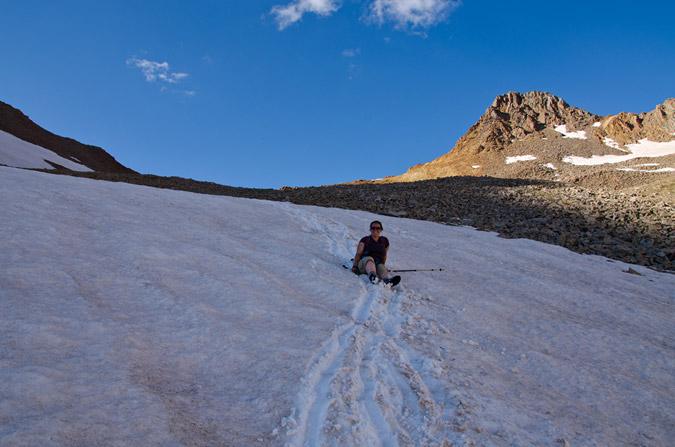
Cruising back down the Navajo Basin was quite fun since the snow had softened up just enough for some glissading and boot skiing.
However, the sun was beginning to set, and my photographic funny bone started to shake. I knew that the Golden Hour was approaching and that there would be some amazing opportunities for some killer shots soon.
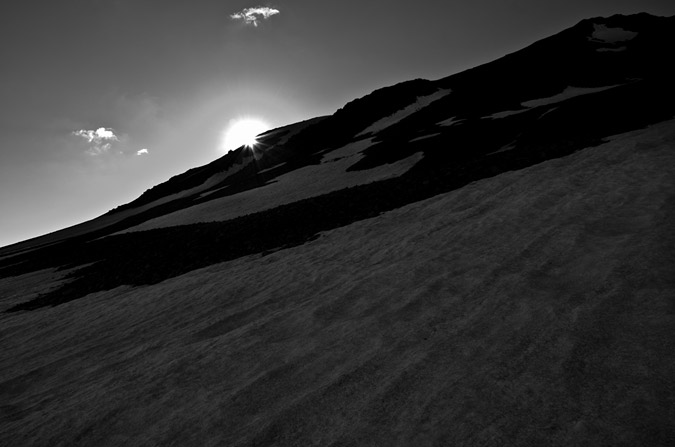

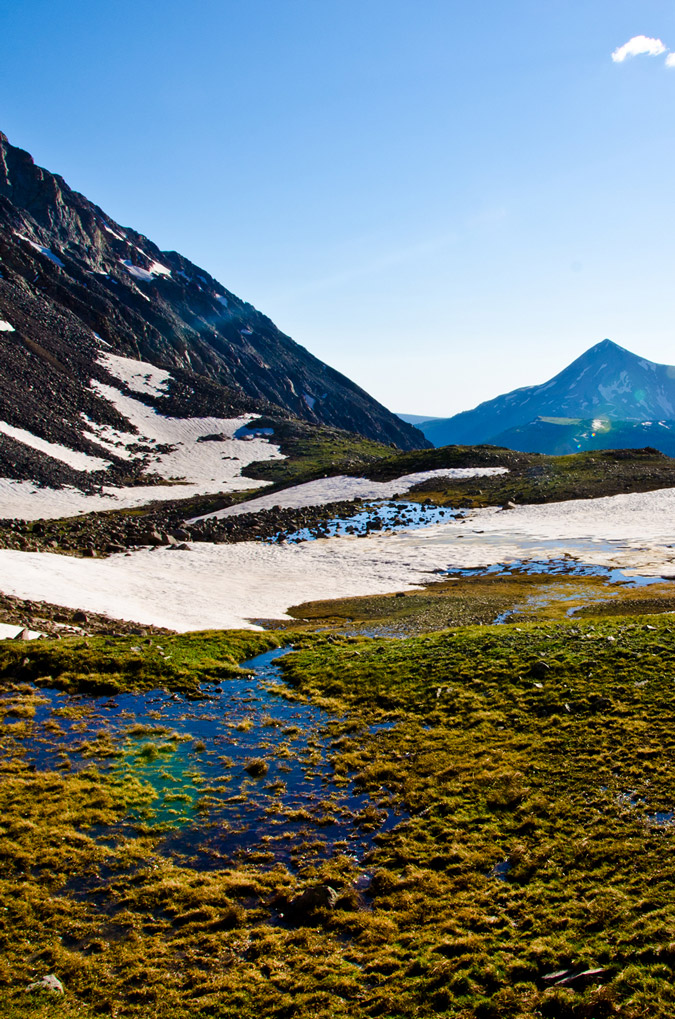 As we worked our way down the snow fields, I was getting more and more anxious for the photography opportunities. I kept looking down at my altimeter watch to see what time the sun was setting. According to my watch, the sun would set at 8:45 PM. I was really pushing myself to get down to Navajo Lake before then so that I could take advantage of my tripod and the sunset.
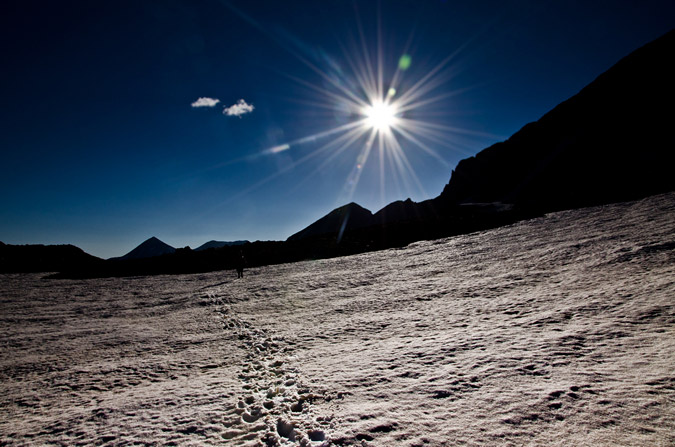
Unfortunately, there were just too many awesome things to take pictures of on the way down!
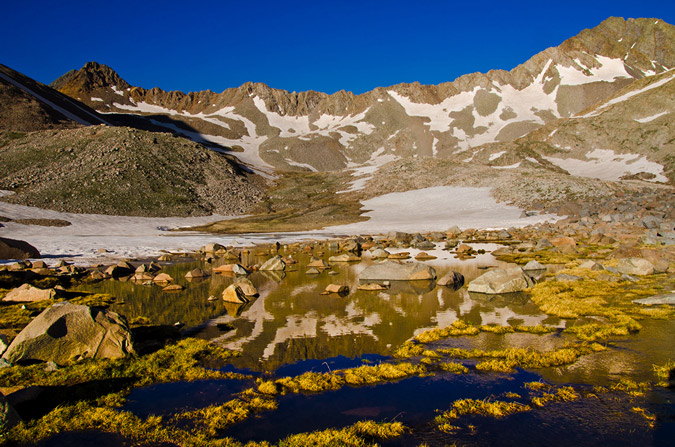
I even found a model marmot to pose for me - how kind of him!
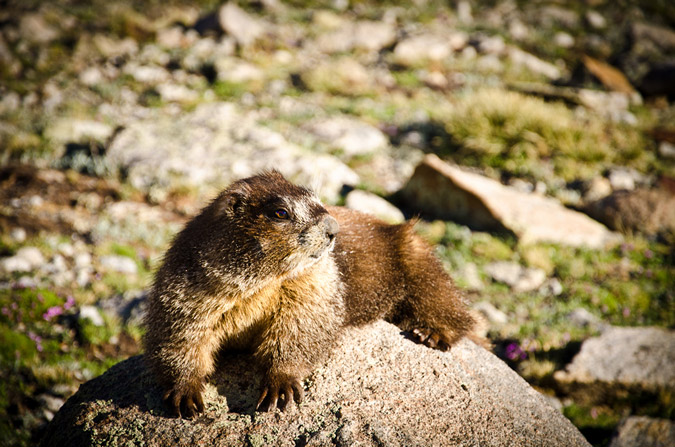
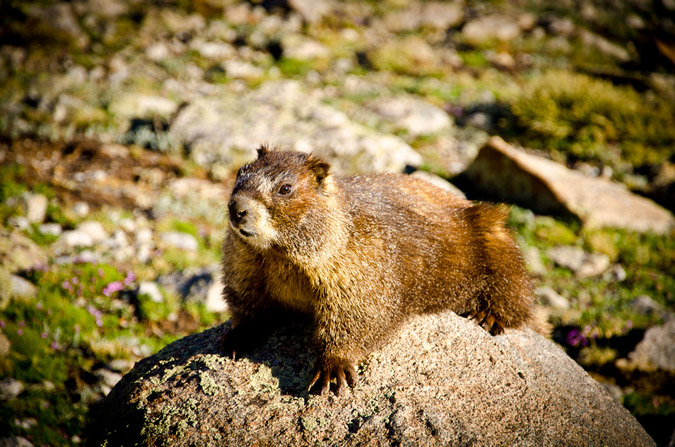
I thought he was pretty funny! He even gave me his best "oh crap" look! Haha.
As the sun set further and further, I kept pushing myself to hike faster and faster. Would I make it?
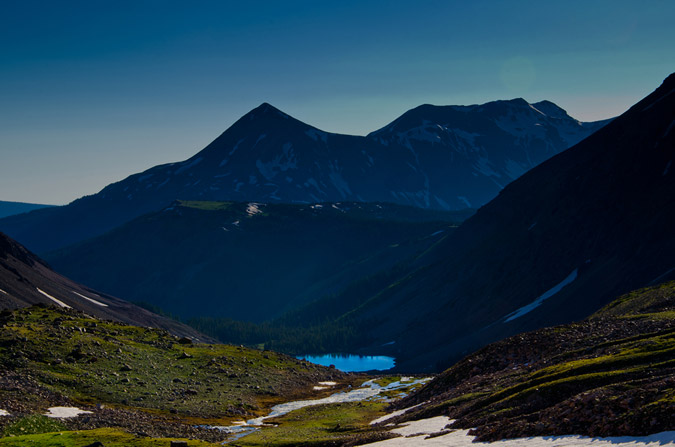
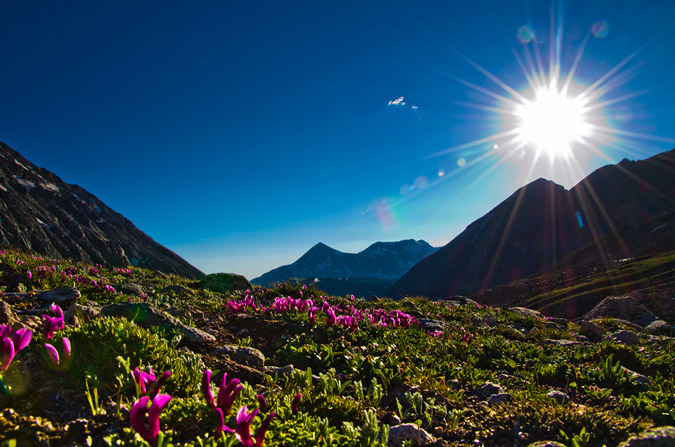
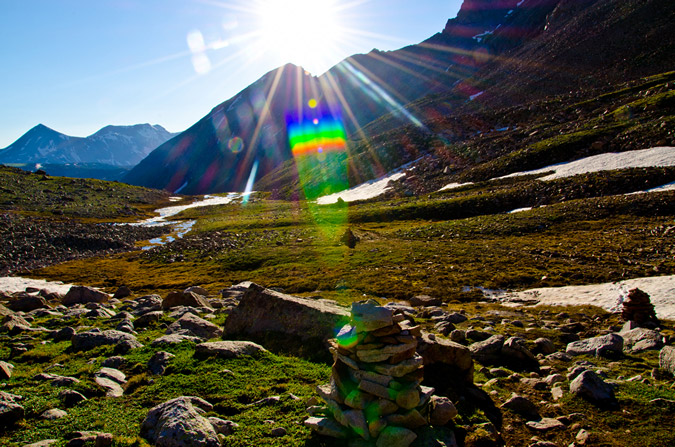
The photographic opportunities were endless...
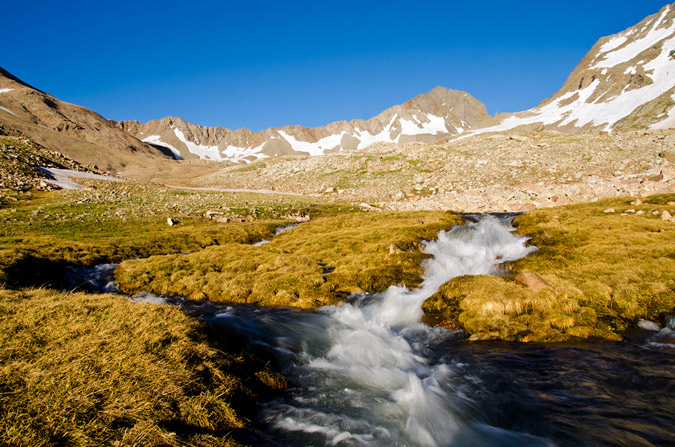
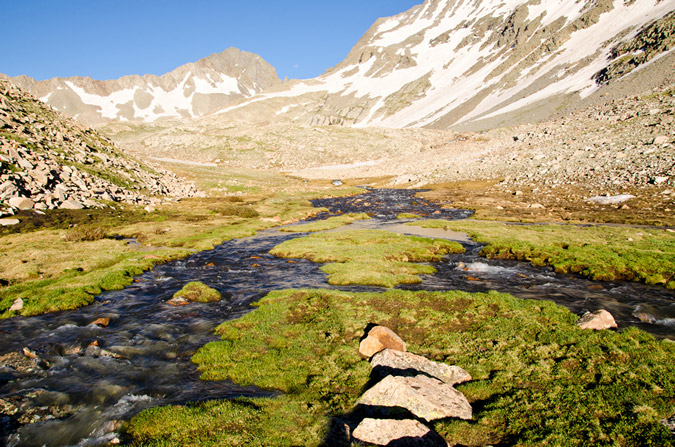
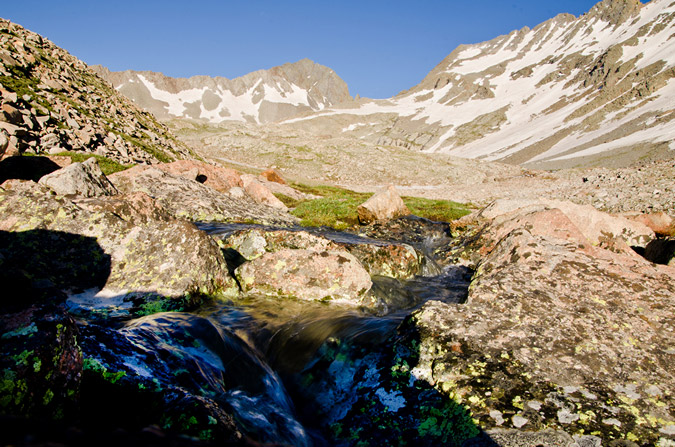
I was even able to get a quick HDR from the trail, although the results were not terribly great.
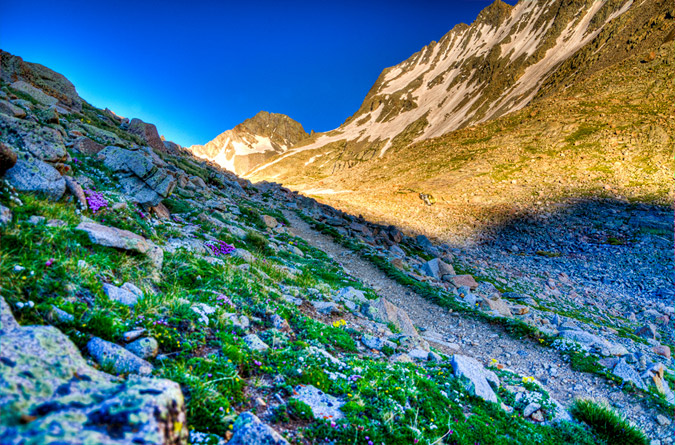
I finally passed Regina and she pretty much knew what I was up to - I needed to get back to that lake! Alas - I did reach the lake right on time at 8:00 exactly, 8 hours after we had left camp. Navajo Lake submitted her glory to me quite beautifully...
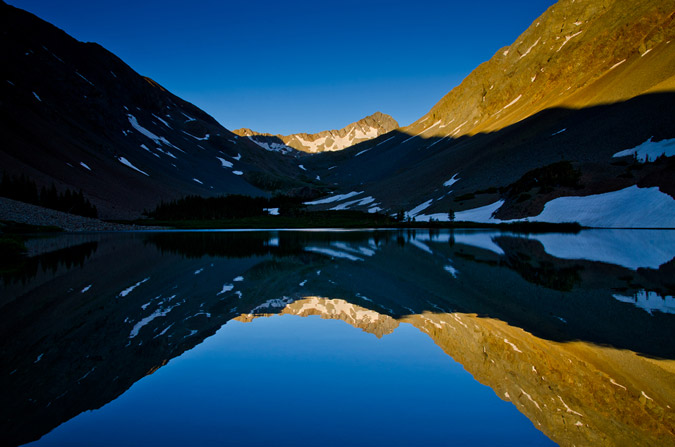
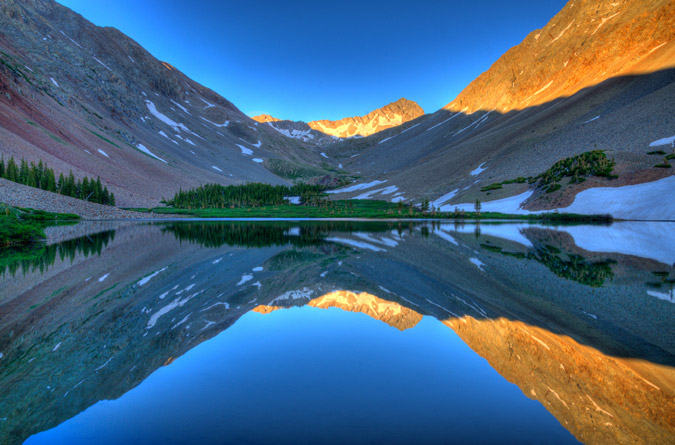
And I even did a pretty decent HDR too:
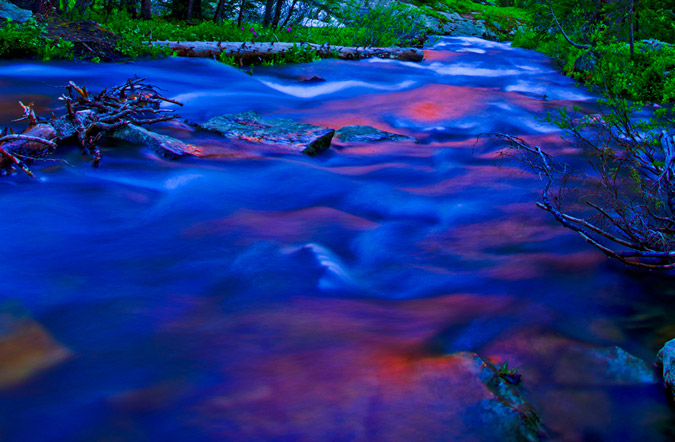
Regina and I convened at camp and decided to cook some Mountain House meals ASAP to refuel. While I gathered some water at the creek, I could not help but notice that the red rocks of El Diente were reflected off of the creek...
Regina and I talked about our plans for the remainder of the weekend. We tossed around a few ideas. Maybe I could climb Mount Wilson and El Diente with another group at the lake? Maybe we would just head out and call it good? We decided on the latter. I did not want Regina sitting around all day while I climbed some more, and since the mountains are not going anywhere, I figured it would be totally cool.
Regina and I threw down on our meals like two starving children. Regina was pretty tired and went to bed, but I knew that my adventure had just begun. With tripod at hand and camera at the ready, I set-up for a night of star trails photography, which is quickly becoming one of my favorite things to do.
Navajo Lake would provide the perfect setting for star trails, and I knew that I would get a few keepers out of my efforts.
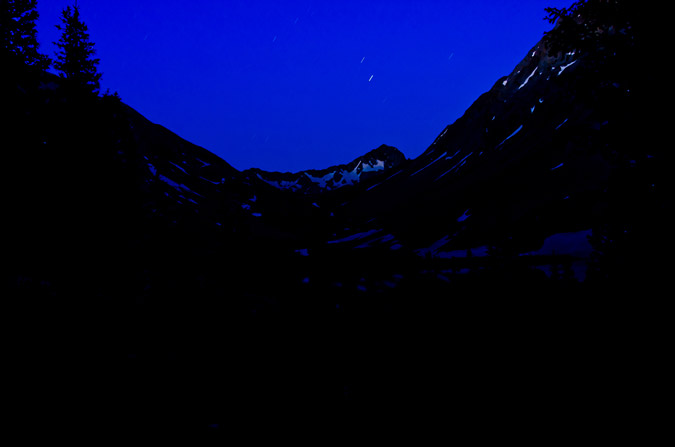
As I waited for the perfect amount of star light, I embarked on a slight experiment. I knew that in a lot of star trails photos, the goal is to center the photo on the North Star, since that star does not move across the sky. The result is a center star that does not move with the rest of the stars rotating around it like a carousel. Unfortunately, I totally forgot how to identify where the North Star is in the sky, but knew that it had something to do with the Big Dipper. I realized that the Big Dipper's cup pointed at the North Star, so I centered my camera on that star and tested it out. Sure enough, I had successfully located the North Star.

Finally, the moment was right and I opted to do the one exposure method of shooting star trails, where combining photos is not required, but precision is. I think it went pretty well, although I really wanted to do it for longer, but literally fell asleep on the shores of the lake while the camera took the shot...
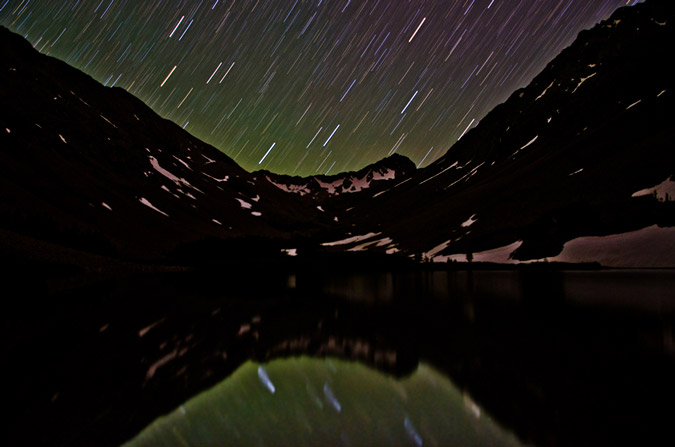
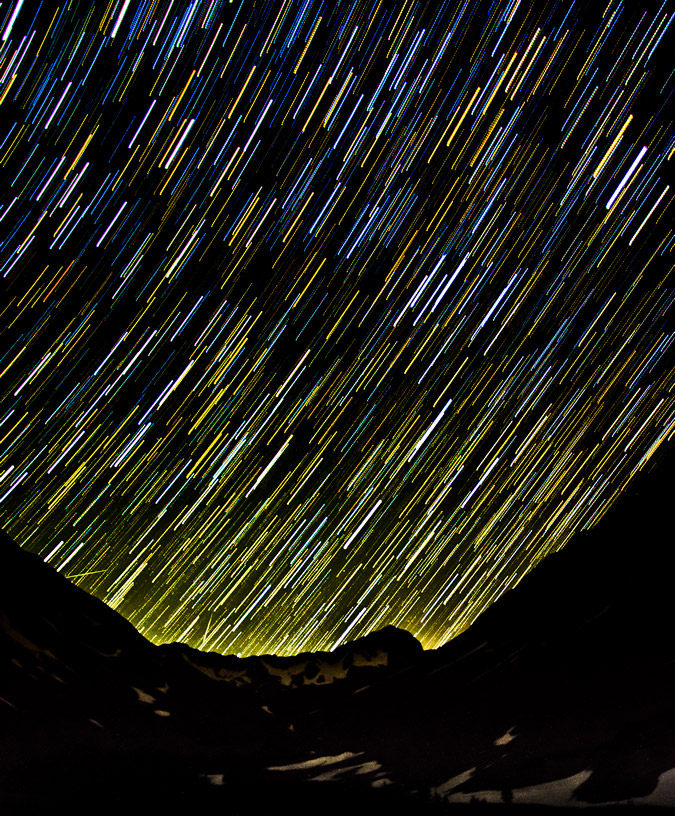
I also decided to compile a set of exposures @30 seconds each to see which method produced the best results. I certainly feel torn!
I finally went to bed, knowing that I had captured something magical in the reflection of the lake. In all, I ascended 5,280 ft. and hiked over 15 miles. Click the elevation profile for a larger version if you'd like.
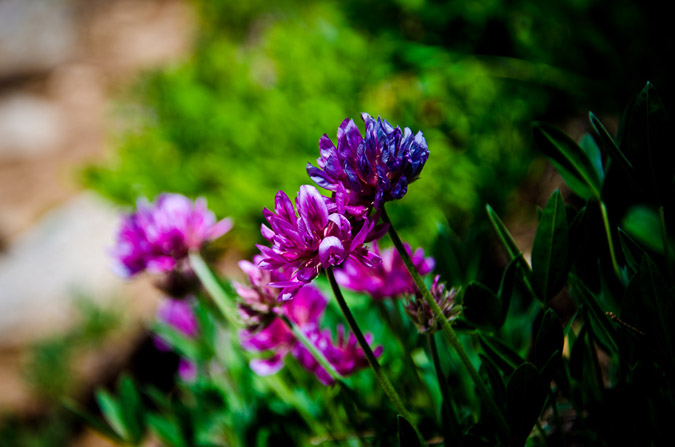
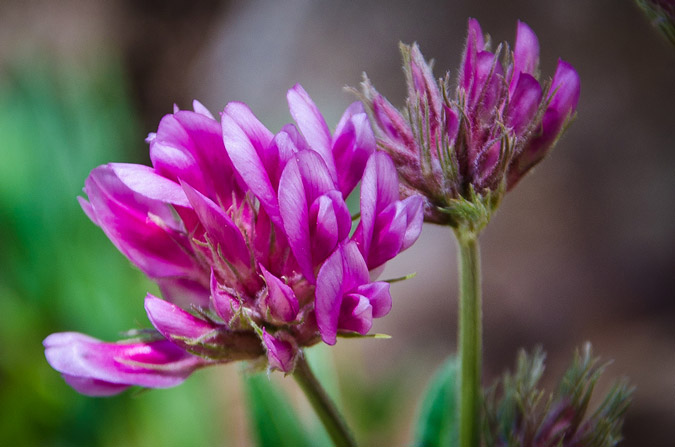
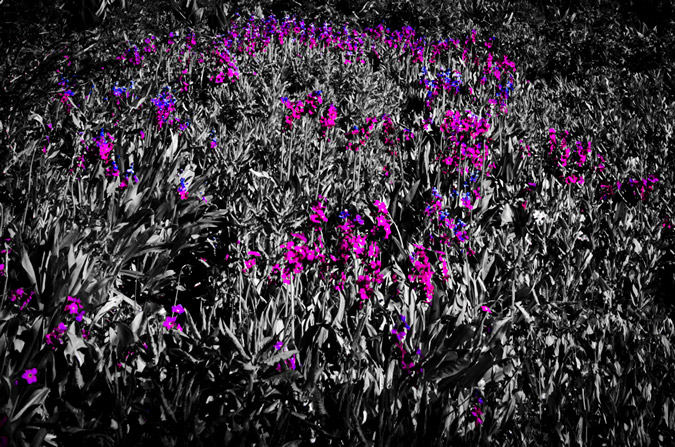
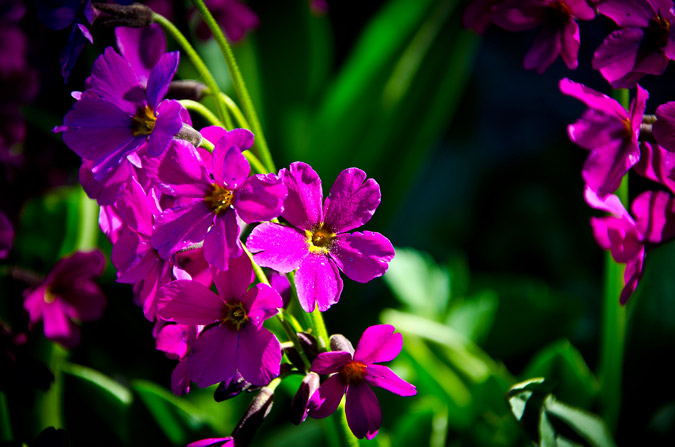
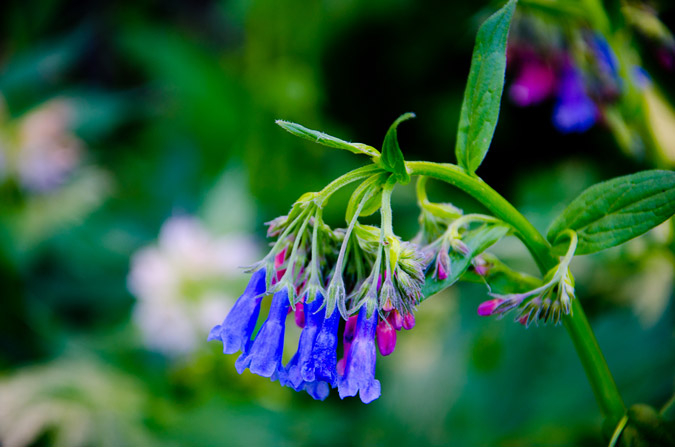
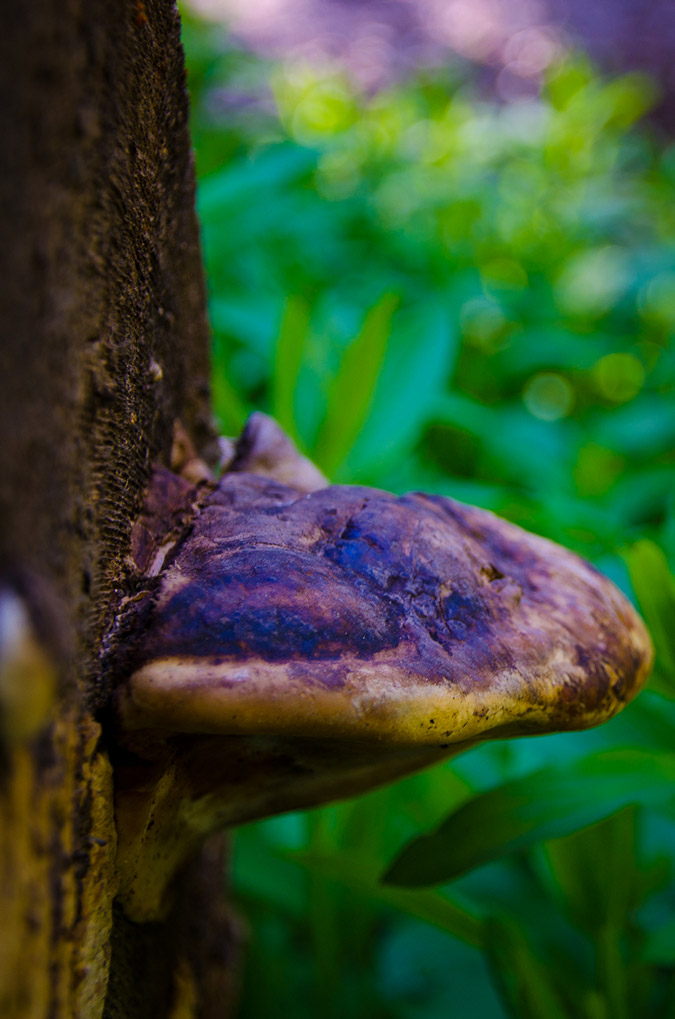
The next day, we packed our packs and headed out, but not without some obligatory shots of more wildflowers and one whacky mushroom!

 We departed the valley thinking that our adventure had ended. We left knowing that we had gleaned some positives from the trip and that even though our plans did not pan out the way we intended, that it was still a great time. Little did we know then that our adventure had just begun...
San Luis Peak - an adventure in photography and friendship
San Luis Peak is a gentle giant, rising to 14,014 feet in the middle of the La Garita Wilderness Area, which means "The Lookout" in Spanish, according to Wilderness.net. The 50th highest ranked peak in Colorado, San Luis Peak is named after the valley it towers over, the San Luis Valley. According to Hayden's 1877 Atlas of Colorado, the valley itself was named by an early unknown Spanish explorer, the patron saint of whose village was San Luis.
I've been wanting to climb San Luis for awhile now. Not a technical climb nor arduous hike, San Luis is generally considered one of the easier 14ers; however, due to its remote location, it is not climbed nearly as frequently as other 14ers. Indeed, the trail-head is located nearly 50 miles from any recognizable form of civilization. For this reason, I am quite thankful that I was able to get a ride with Regina Primavera (Yalegirl09 on 14ers.com), my friend and hiking partner. Regina and I planned out many of our hikes quite early this year and San Luis was to be the first mountain for us to tackle together. Additionally, another awesome person, Sarah Musick, found me through my website and a mutual friend, and asked if she could join us.
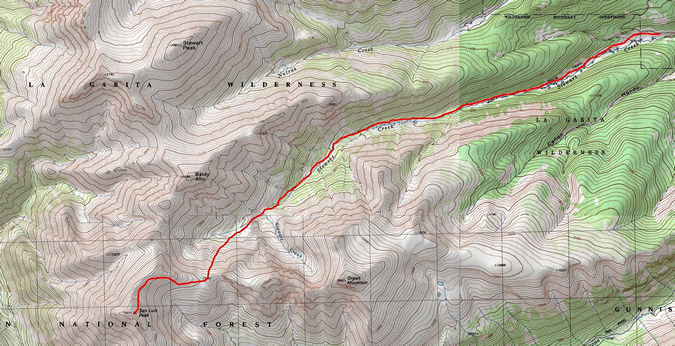
Regina and I picked up Sarah and departed for the San Luis trailhead on Friday evening, June 10th, 2011. Excellent conversation ensued and we were all quite acquainted with each other before we reached Salida, Colorado for dinner. We made a stop at Amica's Pizza and Microbrewery, which reminded us all of Il Vicino in Colorado Springs (and for good reason too, apparently Amica's used to be a Il Vicino and was later converted by the new owner). The food and beer were all quite fantastic. With spirits high, we continued on to the town of Saguache, Colorado (pronounced Saw-watch), refueled, and drove the beautiful yet never-ending road to the San Luis trail-head. A note about the road - it was somewhat confusing for us coming from the San Luis Valley. If you are coming from the San Luis Valley area, drive north on Colorado 114 to Dome Lakes, then turn left onto the "15-GG" road. Our mistake was that we did not drive all the way to the 15-GG road, but instead headed up the NN-14 road before reaching Dome Lakes. It still gets you there by going the way we did, but it is MUCH longer! For our trip, we opted to take the Stewart Creek trail.
Upon reaching the trail-head parking lot, we set-up our camp site quickly with the aid of headlamps. The stars were pretty incredible since we were in the middle of nowhere, and I decided it would be a great time to try out some star trails photography.
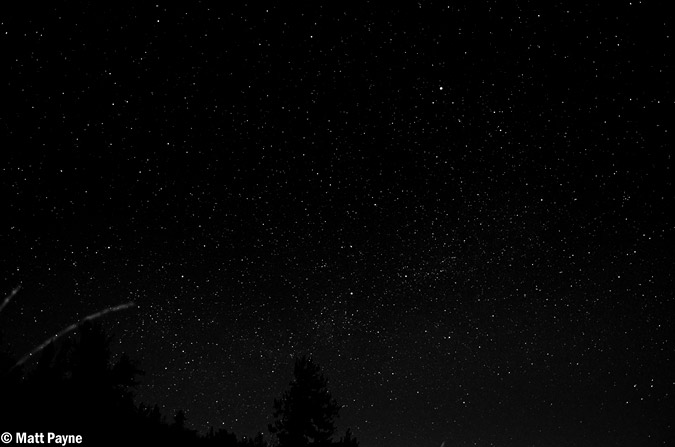
The stars were looking good... hopefully the star trails version would be just as good!
There are a couple techniques one can use to accomplish star trails in a photo. The basic method is to take one long exposure (over an hour), which captures the movement of all of the stars as trails across the photo. The drawback from this technique is that you have no room for error because of the long single exposure and, due to noise caused by heat and other factors in the camera, you need to turn on noise reduction in camera, which basically takes an equally long exposure with the shutter closed at the end of the shot and then reduces noise based on the comparison of the open and closed shutter shots. The second method, which I employed, is to take multiple shorter exposure shots (30 seconds to 4 minutes each) over a period of time, with little time between shots to ensure that no gaps exist in your trails (unless that is what you want), and then combine them later in a program like photoshop or startrails.exe. In order to get the below photo, I set-up my camera, a Nikon D7000, to take a photo every 45 seconds. The camera was set on manual focus, with the stars in focus, at aperture of 5.6; the shutter speed was set for 30 seconds because I forgot to bring my shutter release cable, otherwise I would have probably set my shutter speed at 2 minutes or so. I then imported the photos into Adobe Lightroom and adjusted the exposure and cleaned up any unwanted artifacts that streaked through the exposures (airplanes, satellites, etc). I copied the development settings of the photo I did the work on and applied it to the other 47 images for consistency purposes. Finally, I loaded all of the images into startrails.exe, which is a free program. Startrails combines all of the photos together into the one you see below. All-in-all, I was very pleased with the results.
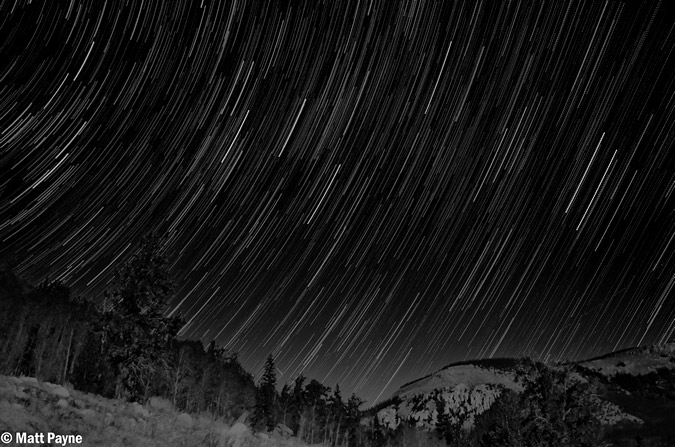
Additionally, I decided to add the photos together into a time-lapse video, showing the change in star position across the 35 minute time-span, as seen in this YouTube video:
After waiting in the cold for an hour with Regina while the camera captured the photos, we set our alarm for 4 AM and crashed in the tent. 4 AM came sooner than I liked, but I felt much more rested than I did on my last adventure up Princeton.
We packed up our tent and sleeping amenities, ate some quick trail food, and departed. Since none of us were really sure about the conditions of the mountain due to a real dearth of trip reports online for San Luis recently, Regina and I opted to pack our crampons, and we all had ice axes. Regina and Sarah were looking quite excited to begin the hike at 5 AM, despite Regina stating she felt sick.
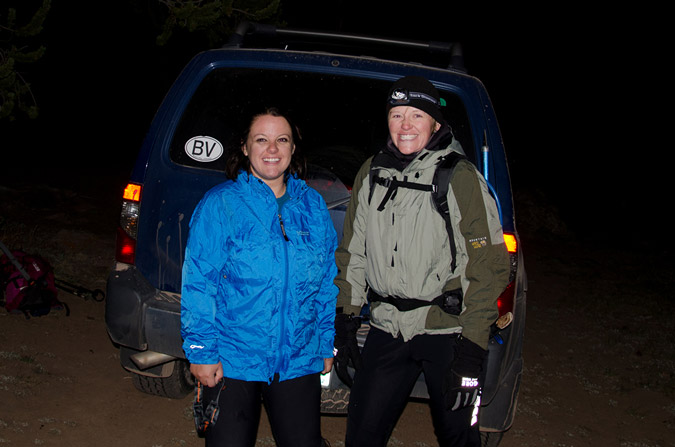
Naturally, I had to look as excited as possible, despite the fact that I am not a morning person!
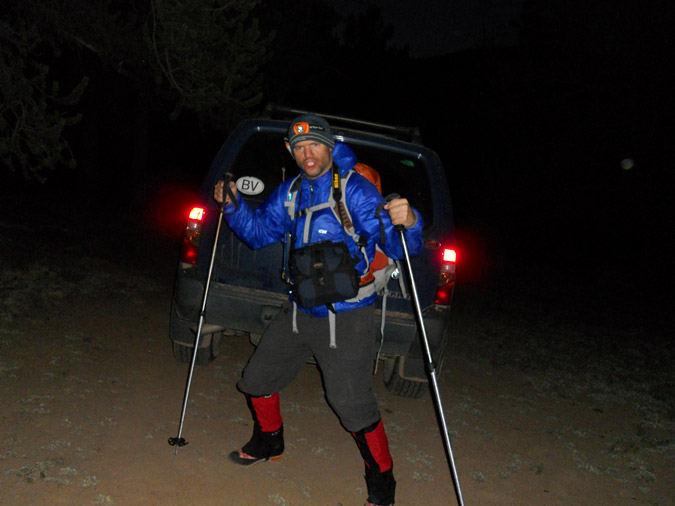
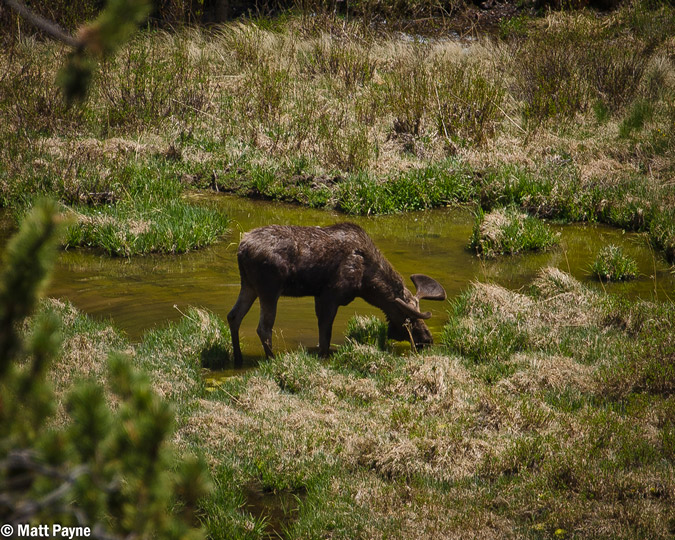
The trail heading up the Stewart Creek valley was gentle and steady. One thing that was remarkable was the beaver ponds, which were quite ubiquitous. We were even lucky enough to be greeted in the early morning by a couple of beavers, whom used their tails to loudly splash water, as if to say, "this is our house!" As we continued up the trail, we shortly glimpsed a very young moose that was grazing near one of the beaver ponds. Before we could capture any photos of it, it ran into the woods. Oh well!
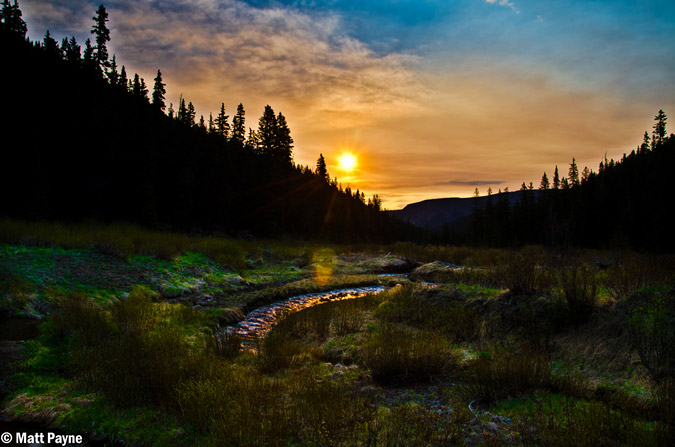
Before long, the sun began to rise and the inner nerd photographer in me began to get excited. The Golden Hour is easily one of the best times to take photos, and I quickly searched for some beaver ponds or other water features to balance out my compositions.
 |
 |
We stopped near a small pond and a crook in the stream and I set-up my camera.
If you are not familiar with The Golden Hour, it is well defined by Wikipedia: "In photography, the golden hour is the first and last hour of sunlight during the day, when a specific photographic effect is achieved due to the quality of the light." Today was no exception. Due to the fires on the Colorado-New Mexico border and in Arizona, the sky and the clouds had a brownish-red hue to them, making for some interesting light effects.
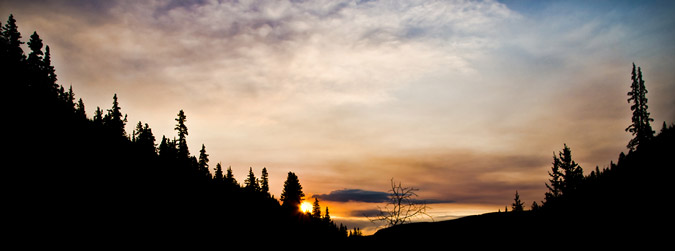
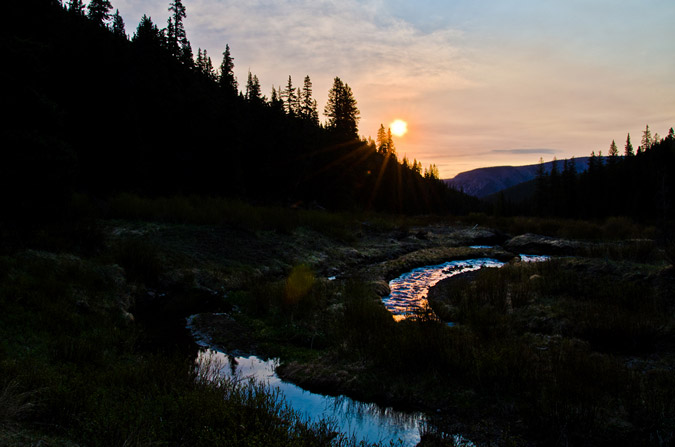
I think I may have frustrated Regina and Sarah with the amount of time I spent shooting photos at this point, but I think the time was well worth it, personally. I have been trying to focus a little more on composition in my photographs lately, including thinking about the rule of thirds and incorporating lines into the photo in order to draw the viewer into the photo. I've also been using Lightroom to do most of my editing. Let me know what you think about my efforts!
While I was playing in the woods with my camera, Regina decided it would be fun to take a picture of me, taking pictures.
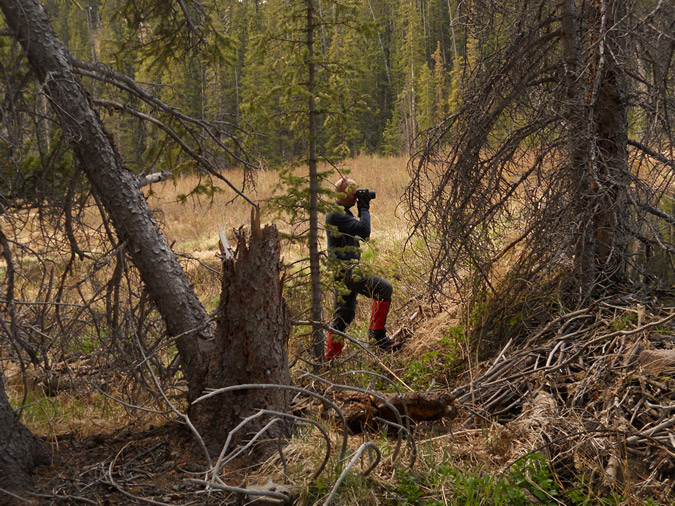
Something about me being rich and famous someday (yeah right)! Additionally, Regina and Sarah teamed-up and came up with the brilliant plan of putting Regina's crampons in my pack as punishment for the long wait I had caused (and more importantly, because Regina did not feel well).
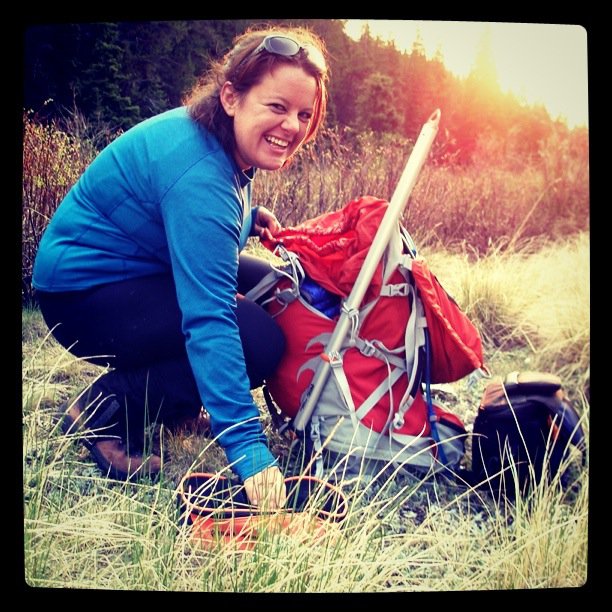
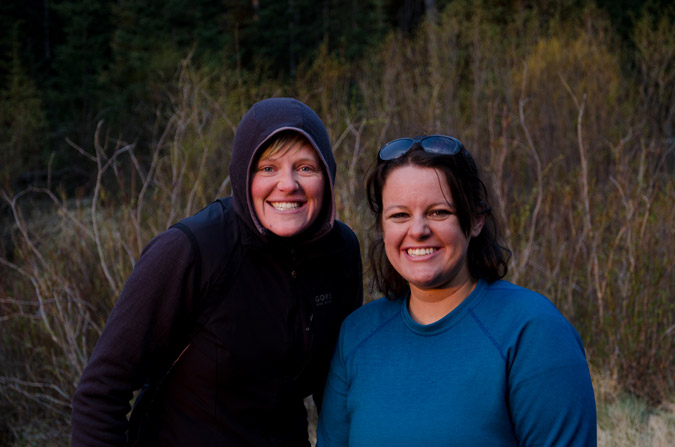
On we continued up the trail, with Sarah playing videographer to our adventures.
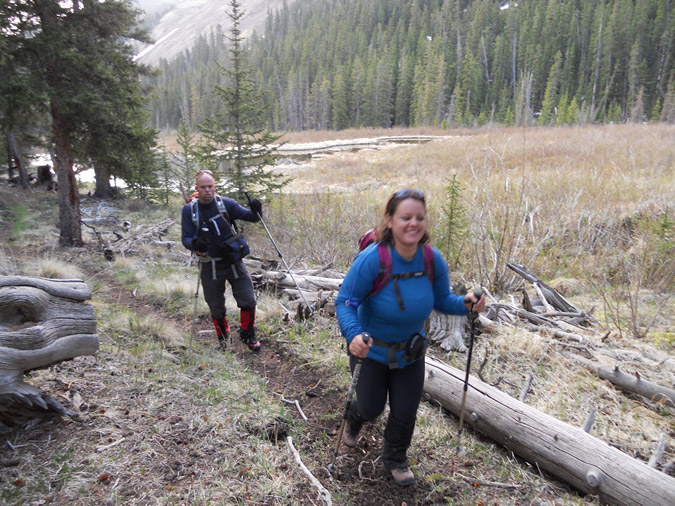
Sarah and Regina made for great companions, it was amazing how well we all got along and how closely aligned our political, religious and philosophical views were.
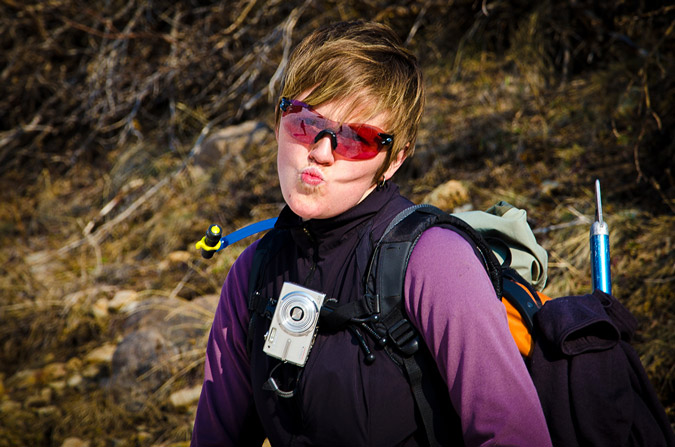
We rested for a little bit to eat and drink, and Sarah shared some amazing little snacks her friend made. Apparently, her friend is beta-testing these snacks to be sold to cyclists, hikers, climbers, triathalets, etc. I must say, they were delicious! They were little balls of goodness!
We spent a little time at a huge set of beaver ponds, admiring the clear water and great morning air.
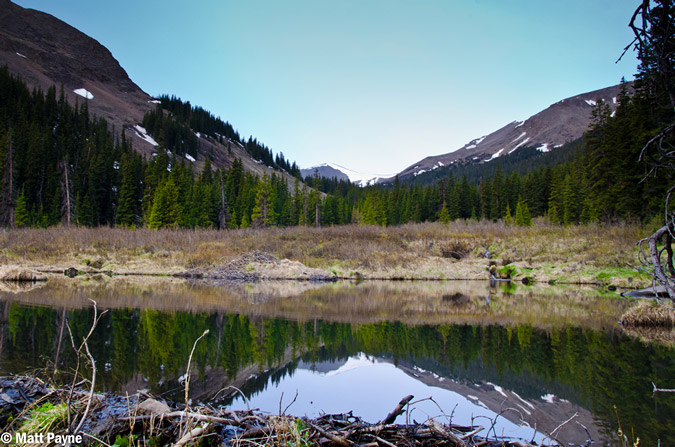
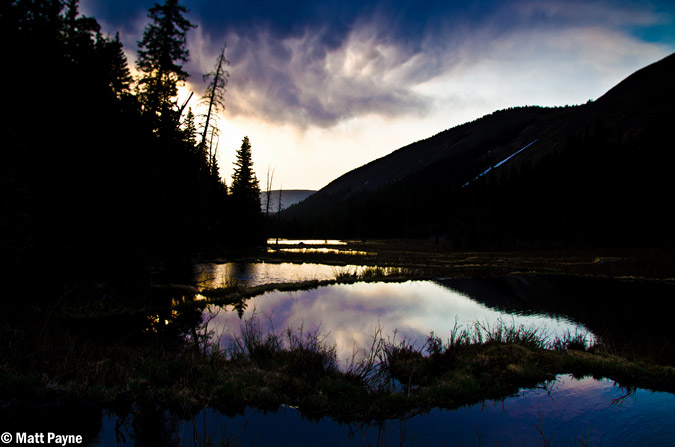
Before we knew it, we were at treeline after a few simple creek crossings.
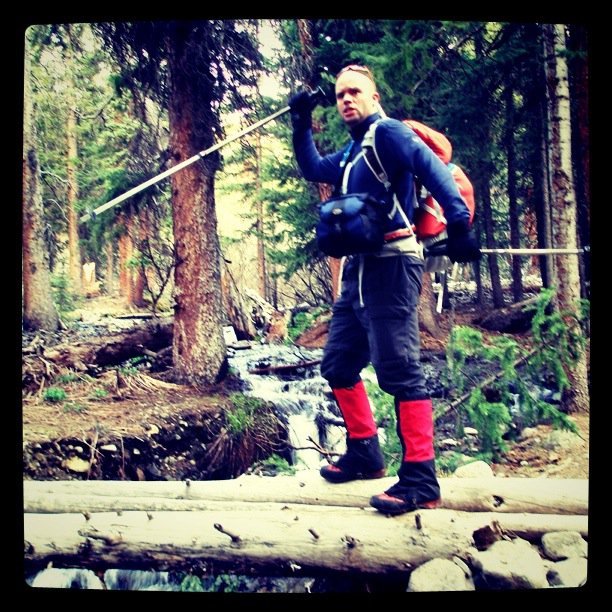
Once we hit treeline, the trail ran right into a huge snowfield that presumably went over where Stewart Creek is supposed to be.
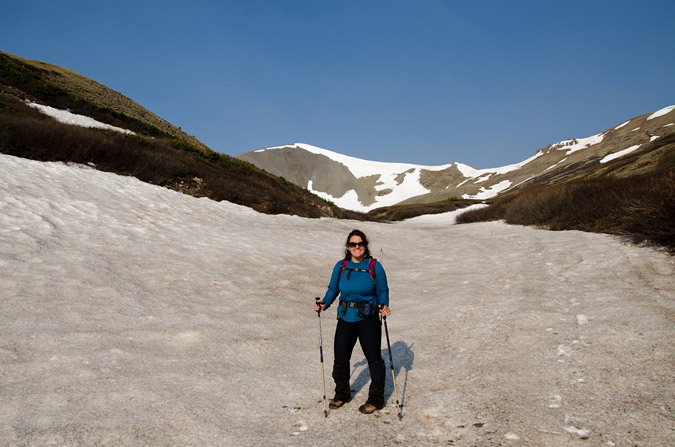
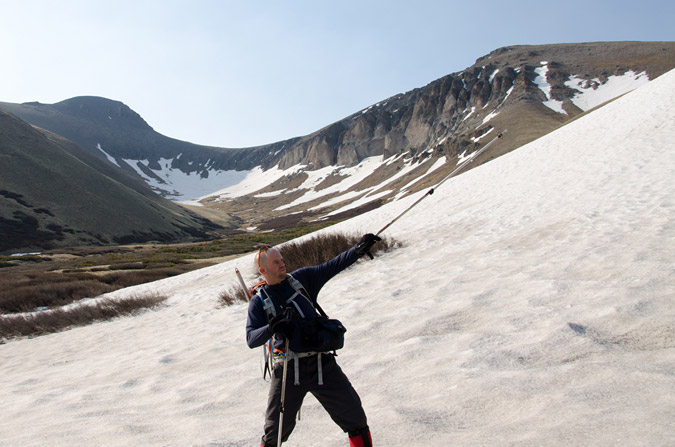
From here, the goal was to gain the saddle between Organ Mountain and San Luis. The trail was hit or miss through the snow, but never felt difficult. The snow was not a problem at all, and I think Regina was a little bummed that she didn't get to use her crampons.
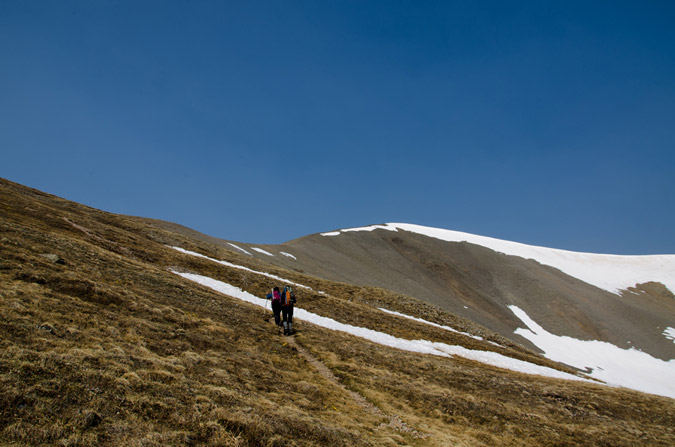
There was a group of 5 guys that were behind us pretty much the whole way up. In total we counted 15 people including ourselves the whole day. I was able to get a large pano from most of the way up to the saddle, which included the guys behind us.

We quickly gained the saddle and enjoyed views of both Organ Mountain and San Luis, which was pretty close!
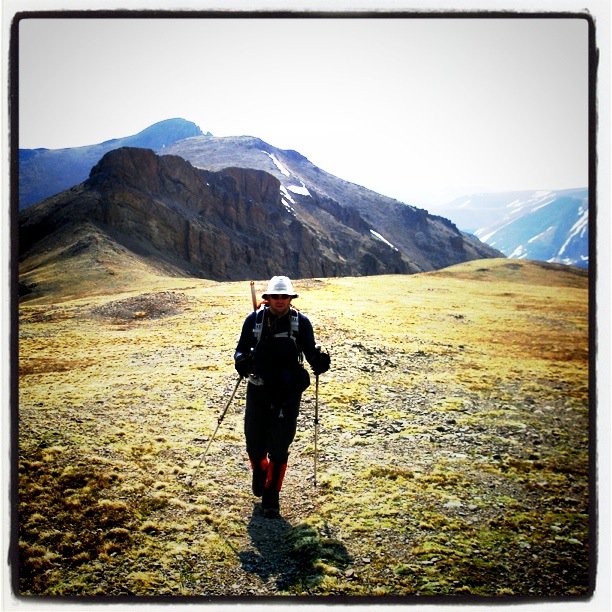
Organ Mountain behind Matt.
After the saddle, the trail leads you up towards a bump that Regina kept saying was Baldy Alto, but is in fact just a bump on the way up San Luis. The trail bypasses this bump to the left and then heads right up below San Luis' ridge.
A 360 view from the ridge between Organ and San Luis. Click for a higher resolution version.
Organ Mountain was impressive. I had originally thought we might have time and energy to hit it as well, but with Regina not feeling well, I decided to just do San Luis Peak. Anyways, I really liked the imposing feel that Organ Mountain imparted upon me here, so I had fun editing this photo to really convey that feeling.
We opted to follow the trail and stay low instead of going up to the top of the ridge.
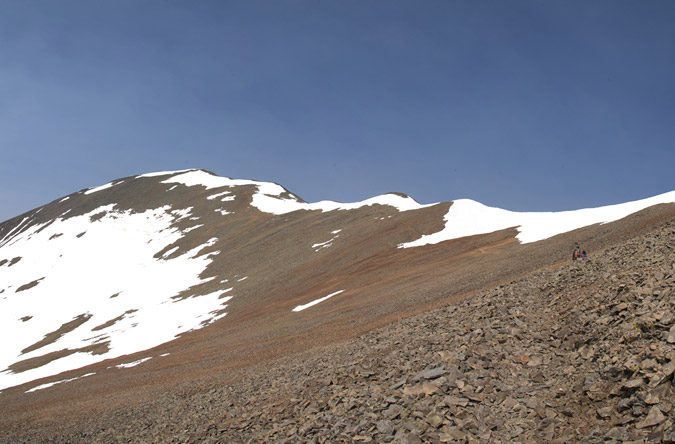
Subsequently, the trail led us into some nasty snowfields, which we had to downclimb to go around. We later lost the trail due to the snow and ended up going straight up some relatively unpleasant scree to the ridge.
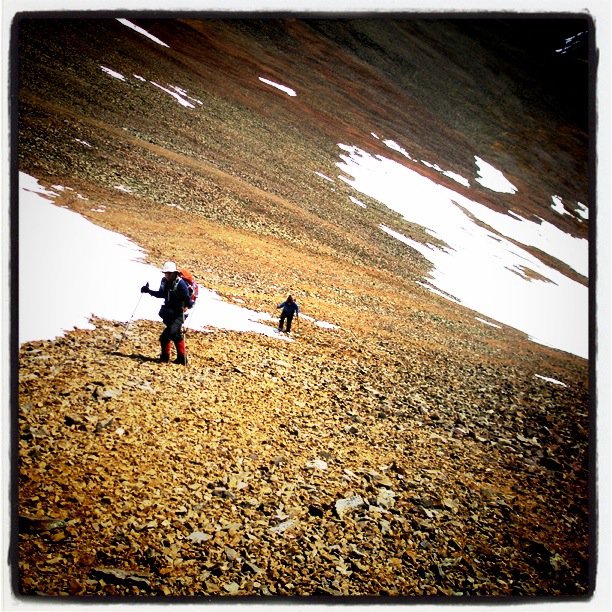
We reached the summit at 10:45 AM, a modest 6 hours since we left the car. Surely if Regina wasn't sick and if I didn't own a camera we could have shaved a good 2 hours off the time!
The smoke was very evident from the top, by sight and smell. It really degraded the view and photography. Regardless, I was able to get some good shots from the top, including this near-360 view (click for higher resolution).
I was also contemplating knocking out Stewart Peak (center) and Baldy Alto (right of center), as seen below, but opted not to due to Regina not feeling well. I did not want to split the group up if someone was not feeling good.
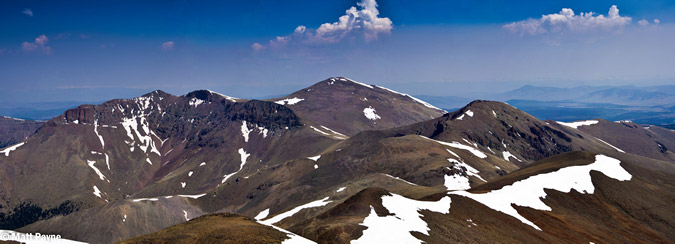
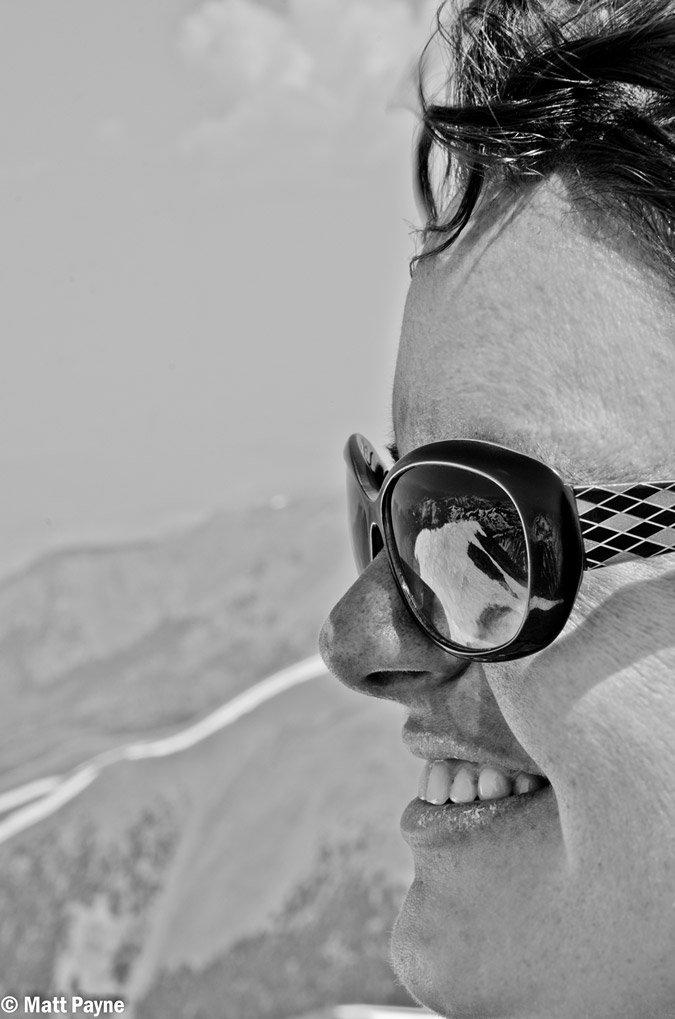 I had fun shooting this photo of Regina - the mountains to the west were reflected nicely in her sunglasses, plus she was quite a cooperative model! All in all, it felt great to climb my first mountain with both Regina and Sarah, and I think everyone was quite proud of their accomplishment!
After enjoying some cliff bars on top, we all decided to head back down. The hike down was quite easy, and before we knew it, we were all back at the first snowfield we had encountered before. Regina cracked some jokes about falling into the snow, which was hard enough to prevent post-holing, thankfully.
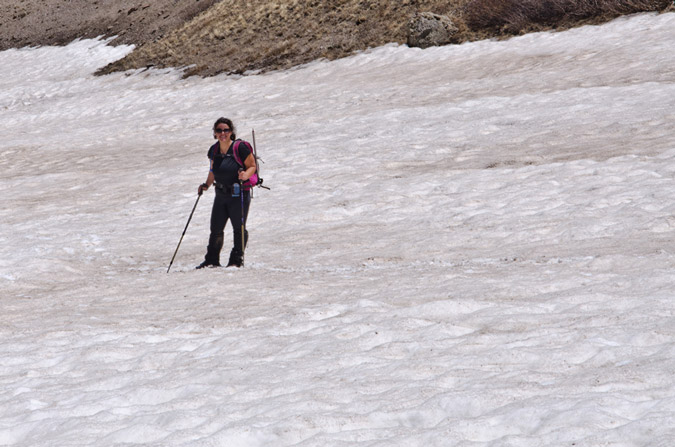
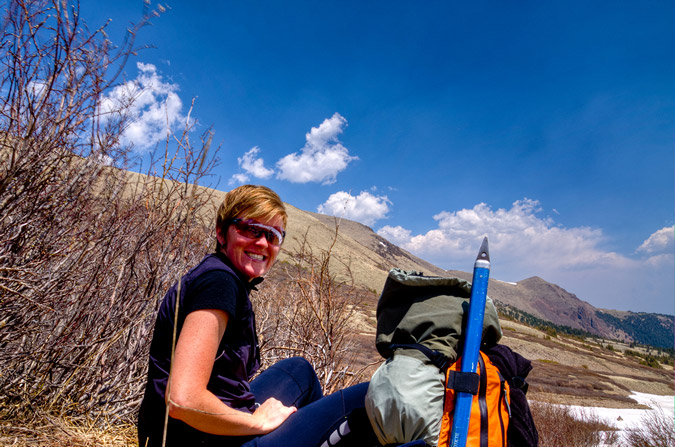
On the way back down, I caught something moving out of the corner of my eye. Much to my surprise, a huge moose was moving slowly through the beaver ponds below. That was probably the highlight of the trip!
The Stewart Creek valley is a very beautiful place. I am glad I need to return to do other climbs nearby!

We finally reached the trailhead again, and I took some fun bracketed photos to run through Photomatix. If only I had a tripod...
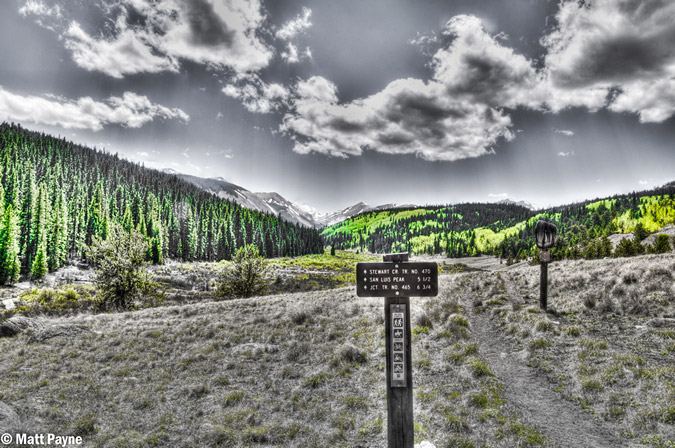
The total hike was 11 miles round-trip, including 3,500 feet in elevation gain. I would rate this hike as moderate to easy in comparison to other 14ers I've climbed.
The drive home was fairly uneventful until I was able to discover the moon rising above the Sangre de Cristo Mountains, including Crestone Peak (right) and Kit Carson Mountain (center).
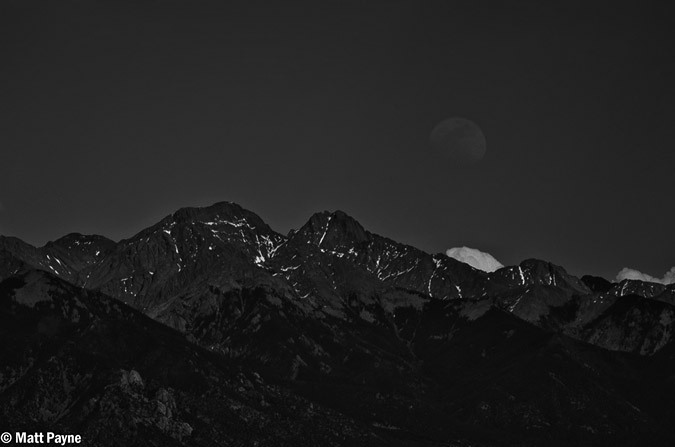
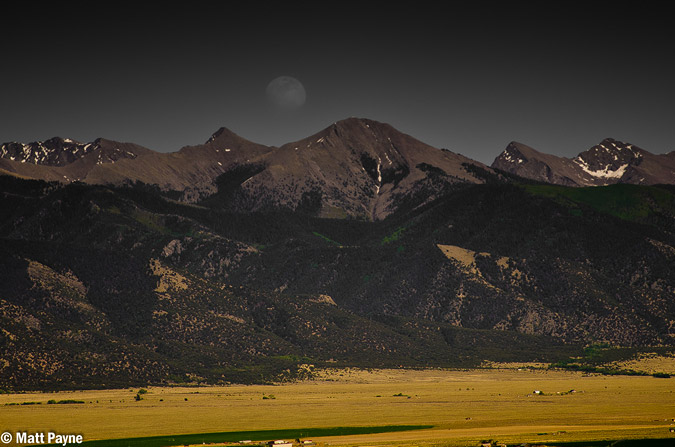
As soon as I returned home, I made sure to check-off another box on my 100summits t-shirt. Thirty-eight of the highest 100 to go and ten 14ers to go!
I look forward to more exciting hikes with Regina and hopefully Sarah too!
If you would like to stay up-to-date on all of my articles, photography musings, trip reports and other mountaineering related news, please feel free to follow 100summits on Twitter or Facebook! Also, if you're planning on doing any online shopping and if you enjoyed the content, please help keep the site going by using the links on this page to help fund the site.
Sleepless on Mount Princeton - Sunrise in the Collegiate Peaks
Mount Princeton has been on my radar for a long time. As the most visually prominent (but only 8th most prominent, literally speaking) mountain in the Sawatch Range and Collegiate Peaks, it always has greeted me with warmth and nostalgia to the Arkansas River Valley and the quaint town of Buena Vista (yes, it is pronounced "Bewna," we know) during my travels into Colorado's mountains. Mount Princeton is the 18th highest mountain in Colorado, towering over the valley below at 14,197 feet in elevation. According to The Princeton Alumni Weekly, the first recorded ascent of Mount Princeton was on July 17, 1877, by William Libbey of Princeton University, hence the namesake. Sitting next to Mount Princeton is "Tigger Peak," an unranked mountain with 13,300 feet in elevation, which is often climbed in conjunction with Mount Princeton (which is what we did as well). The Princeton University history would also help explain the name of "Tigger Peak," since the mascot for Princeton University is the Tiger.
The plan to climb Mount Princeton was hatched earlier this month when I was chatting with a climbing friend of mine, Mike Vetter, about him coming to Colorado for his next climb. Mike actually found me through this website last year from his home in Sioux Falls, South Dakota, and joined me for my climb of Huron and Browns, and later, Capitol Peak. Mike found some seriously cheap plane tickets to Denver for the date we both had open, and he decided to pull the trigger. We both knew it would be a challenge, logistically, since he was flying into Denver and I lived in Colorado Springs, not to mention that his return flight departed the same day as our climb. Mike flew into Denver International Airport at 6 PM on Saturday evening and I picked him up from the terminal. We drove west on I-70 to C-470 and then caught US 285 towards Fairplay. After a quick meal in Conifer, we were ready for our adventure to begin.
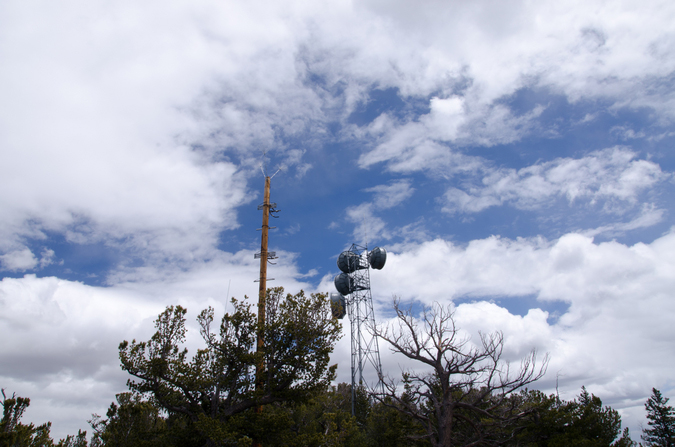
We arrived in Johnson's Corner at around 10 PM and made our way to the Mount Princeton Road. We were happy to find the road completely clear to the Radio Towers on Mount Princeton Road, where we planned to camp for the night. We eagerly set-up camp in some hellacious wind and cold temperatures. Little did we realize (out of sheer stupidity mostly) that we were smack-dab on top of a giant hill, and consequently, the wind was outrageous. Not only did this make setting up tents quite difficult, it made sleep simply impossible. Due to the tight time constraints we were under due to Mike's departure flight, we knew we needed to start early if we were to make his flight on time. So, as a matter of necessity, we set our alarms for 2 AM and hoped for at least 3 hours of sleep. Unfortunately, neither of us were able to sleep one bit due to the insane wind.
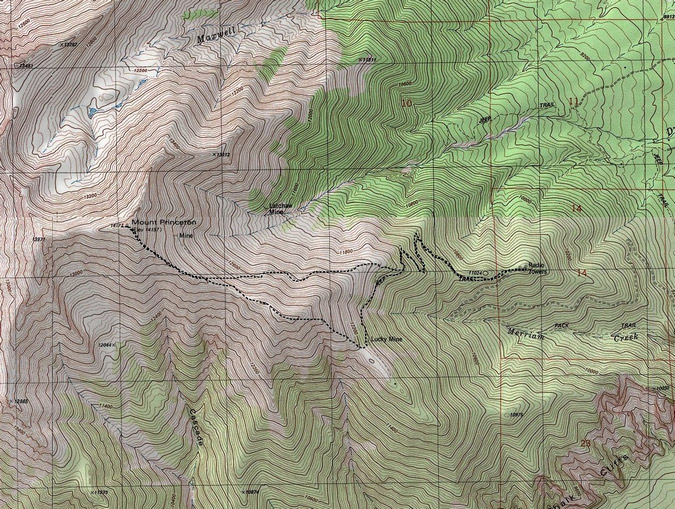
The experience of trying to sleep through huge wind gusts in a tent was surreal to say the least. Even though I did not sleep at all, the experience was very peaceful and restful, yet violent at the same time. Never before have I simultaneously experienced fear and happiness, it truly is difficult to explain what the experience was like. On top of getting zero hours of sleep, I managed to contract my son's cold, so I was feeling quite under the weather for this hike; nevertheless, we woke up at 2 AM, tore down our tents, secured our gear and began our hike at 2:45 AM. Here is a map of our route (click for larger version), which took us up the road and under "Tigger Peak," over "Tigger Peak," and up the ridge to Mount Princeton.
To get some perspective of our route, I decided to dig into my archives and illustrate the route, as seen from the Collegiate Peaks lookout, just east of Johnson's Corner. As you can see, the radio towers provides a good starting point and a clearly defined route all the way up the mountain.
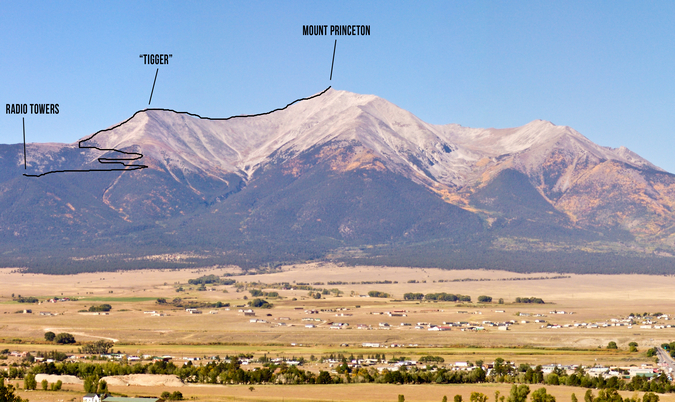
The route seen above was made even more interesting by the record snowpack that Colorado has received this Spring, which many believe will cause flooding and massive avalanches. Indeed, as I returned home from this trip, I learned that someone died on a nearby 14er the day before due to an avalanche. Relative to our climb, the snow was a concern for both of us; however, we made sure to take our time and heed the utmost caution at all times. The snow appeared to be settled on Princeton for the most part, and we benefited from a very early start, which guaranteed snow that was not melting, and therefore, more stable. On the approach, just before heading up Tigger, we encountered several steep snowfields that were somewhat difficult to navigate because of how hard the snow was; crampons would have been a really nice thing to bring along, but instead we both had snowshoes with us (which were never deployed - story of my life).
Early on in the hike, the effects of sleep deprivation and a strong and nasty head-cold were considerable and noticeable. I felt awful. Mike was gracious enough to capture the essence of that feeling in a photo, taken just a half mile into our hike. 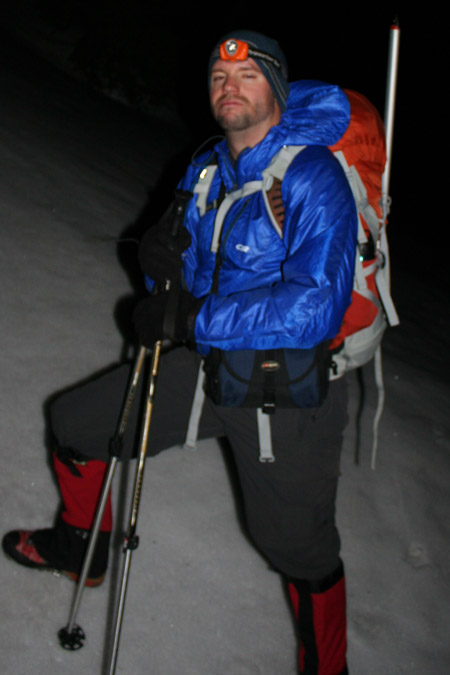
I think I actually felt worse than I looked, which says a lot based on how awful I look in this photo! On the flip side, Mike was looking chipper, as seen in this photo taken right as we left our campsite.
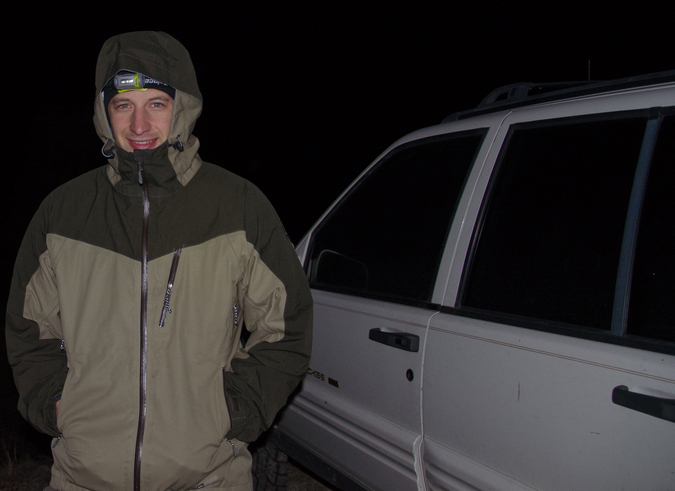
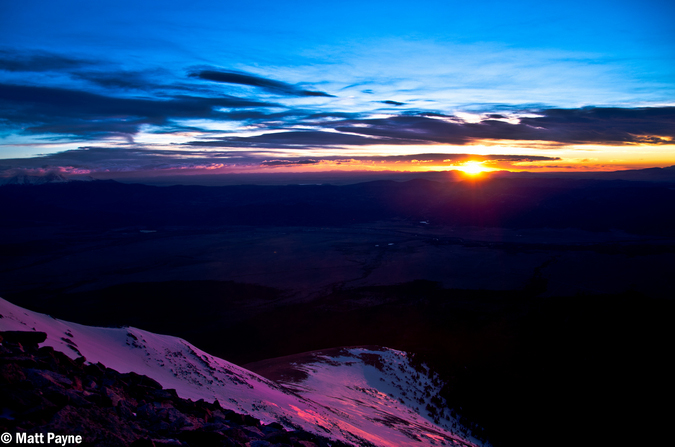
Despite feeling as if a large semi-truck had ran me over, I kept my head down and my spirits up. Once we reached the upper section of the trail beneath Tigger, I knew we needed to start heading up sooner rather than later. Despite the map in Roach's guide showing the hike following the trail to the top of the hill, we opted to leave the trail early and bushwhack straight up the ridgeline of Tigger. This proved to be a fairly good decision despite the absence of anything resembling a trail and the interesting route-finding required on the ice and snow strewn rocks that adorned the eastern face of Tigger. Most of the way up Tigger, we decided to stop and enjoy the sunrise, which was, by far, one of the most beautiful ones I have ever witnessed. Now, if you don't know me by now, you should know - I'm pretty obsessed with sunrises and sunsets, so that probably says something about the quality of this particular sunrise. The colors were fantastic. The presence of snow made it even more special, with the snow giving off a pinkish glow. We spent quite a bit of time watching this sunrise, and it was well worth it. I compiled several panoramic photos of the moment, including a couple single shots that I thought were pretty fabulous as well. Feel free to click on them for higher resolution versions (and full resolution prints are of course available for sale if anyone were interested).
The pre-sun sunrise color was intense, casting a deep red and pink hue on the clouds, with a cream-sickle orange glow around the silhouette of Pikes Peak.
The sunrise itself was great - of particular note, the clouds around the Buffalo Peaks were glowing, which was pretty marvelous!
Not sure what else to say about it - the sunrise was exceptional, and a dream for an amateur photographer!
Having indulged enough in the amazing sunrise, Mike and I were ready to keep on going since the wind was blowing pretty strongly, making it a very cold morning. We made our way to the top of the ridge of Tigger and were greeted with some of the strongest wind I've ever felt. The wind was easily gusting to 60 miles per hour or more, making it very difficult to hold your ground or take steps. Mike and I both later commented that this moment was very demoralizing for us both because we could not fathom continuing all the way up Princeton in these conditions. Nevertheless, we continued up and over Tigger, taking frequent breaks to catch our breath and regain our strength. The combination of the snow, wind, cold, lack of sleep and head-cold was forcing me to take much more frequent stops than I am generally accustomed.
It was a very pretty environment though, with views of the Southern Sawatch acting as further motivation to continue. Additionally, the ground was covered with thin ice and deep snow, littered with ice-cycles drooping from large boulders. It almost felt like another planet.
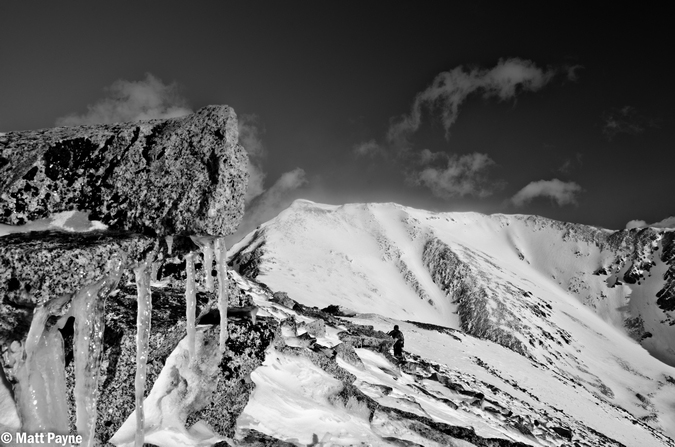
Mike and I soldiered on, with wind gusts and broken terrain slowing our climb. Mike was still in high spirits, and I had caught a second wind. Thank God.
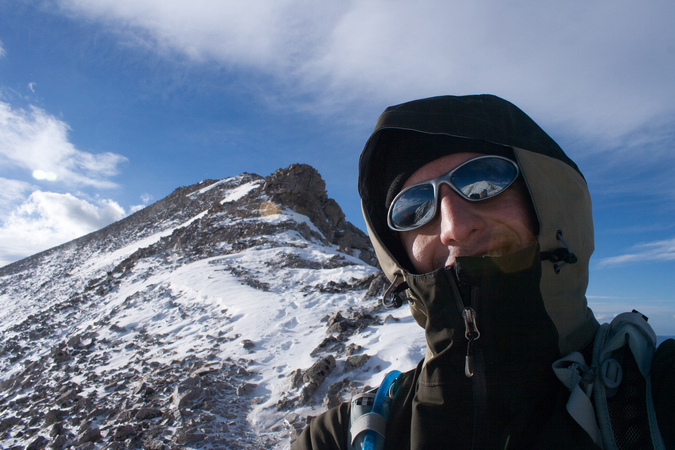
We had a long ways to go yet, and it felt like an eternity just taking one step. Sleep deprivation does not mix well with mountaineering.
After about two hours, our traverse up to Princeton from Tigger was complete. It was a very exhausting haul up the deep snow. We were both wishing we left the snowshoes at home and packed crampons instead. Lesson learned. It was a great feeling, having completed my 43rd 14er and 61st mountain in the highest 100. Naturally, the views from the summit were breathtaking. It was a fairly clear day, and fortunately, the wind had magically subsided while we were on the summit, making our photography efforts that much easier. One of my favorite captures from the top was the view of Antero, Shavano, Tabeguache, Boulder Mountain, Cronin, Mount Mamma, Carbonate and Grizzly. Having spent numerous days hiking on those mountains last year, it was neat to see them from this vantage point. Here's the black and white version, feel free to click to see a higher resolution version.
And of course the obligatory 360 panoramic shot... click for a larger version.
And if you're interested in an interactive version of the 360 view, take a look at these files, one is smaller in size (1.2 megs) and one is larger in size (16.7 megs).
CLICK HERE for small version (1.2 megs) of the interactive 360 panoramic.
CLICK HERE for large version (16.7 megs) of the interactive 360 panoramic.
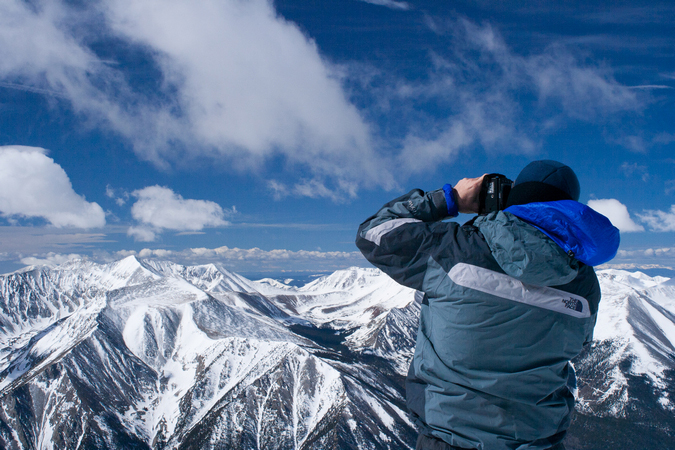
Additionally, Mike was able to catch me in the act of shooting some photos and generous enough to share the photo with me.
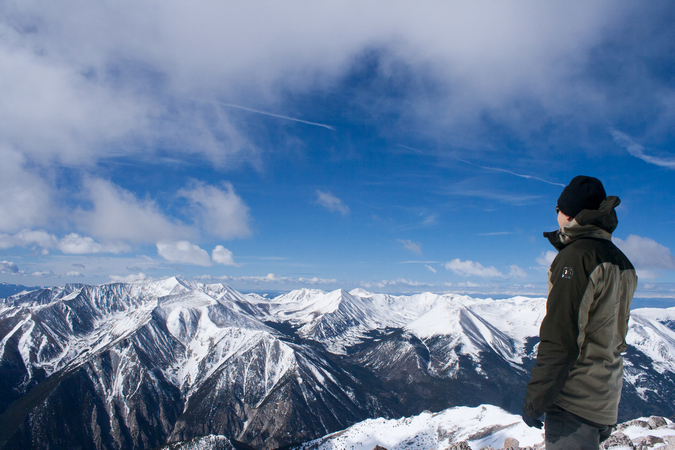
And here's one of Mike enjoying the views from the summit.
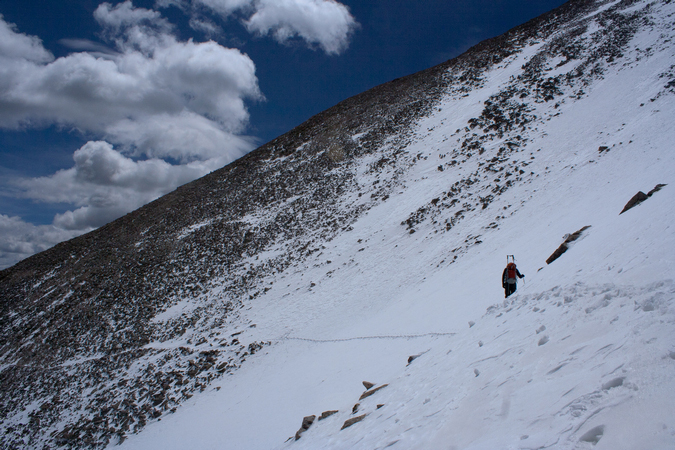
Knowing that the sun was melting the snow, we decided not to spend too much time on top and head on down. On the way down, we were lucky enough to run into a few skiers, several of which were from 14ers.com, including LostSheep5 and EatinHardTack. They were able to confirm that the standard route trail was clear, so we opted to detour to the trail to avoid the ridge. I was excited about descending the snow to some degree, because I wanted to test out my new ice axe, which I purchased at REI recently. With ice axes in hand, we crossed the giant snowfield between Tigger and Princeton, which felt quite solid despite the warming temperatures and avalanche concerns in the back of our minds. I did slip a few times on the way down, and needed to use the axe for self-arrest. I was thankful that I had already experienced this before, because self-arresting came quite naturally.
We were able to wrap around Tigger, following the snow-filled trail and look back to see the skiers making their descent.

It was about at this point that the trail ended and we had to make a decision, not knowing where the most logical place to descend from since we did not come up this way. I did some scouting at the end of the ridge and much to my surprise, spotted the radio towers and my Jeep in a straight line down from us. We opted to bushwhack in that direction and quickly met back up with the trail, which we happily followed all the way back to the Jeep. Those radio towers never looked so good!
That concludes this trip report. If you would like to stay up-to-date on all of my articles, trip reports and other mountaineering related news, please feel free to follow 100summits on Twitter or Facebook! Also, if you're planning on doing any online shopping and if you enjoyed the content, please help keep the site going by using the links on this page to help fund the site.
Mount Elbert - A Stroll Up Colorado's Highest
Mount Elbert – 14,433 ft. – ranked highest in Colorado, 2nd highest in the contiguous United States (highest is Mt. Whitney at 14,505 ft.)
I had originally planned on climbing Snowmass mountain with Terry this weekend, but my wife’s mother, Donna, asked me a few weeks ago if we could give a 14’er a shot. Donna has been reading my reports here for awhile and I think she was bitten by the 14’er bug. As she had never done a 14’er before, I did some research on the ‘easier’ 14’ers and figured that Elbert would be a good choice due to the gentle elevation gain and relatively high start. In retrospect, I probably should have chosen Sherman or Quandary.
We left Colorado Springs around 6 PM on Thursday 8/27/09 and arrived at the South Elbert Trailhead around 9 PM. We set-up camp and went to sleep. The alarm woke us up at 4 AM and we quickly got ready.
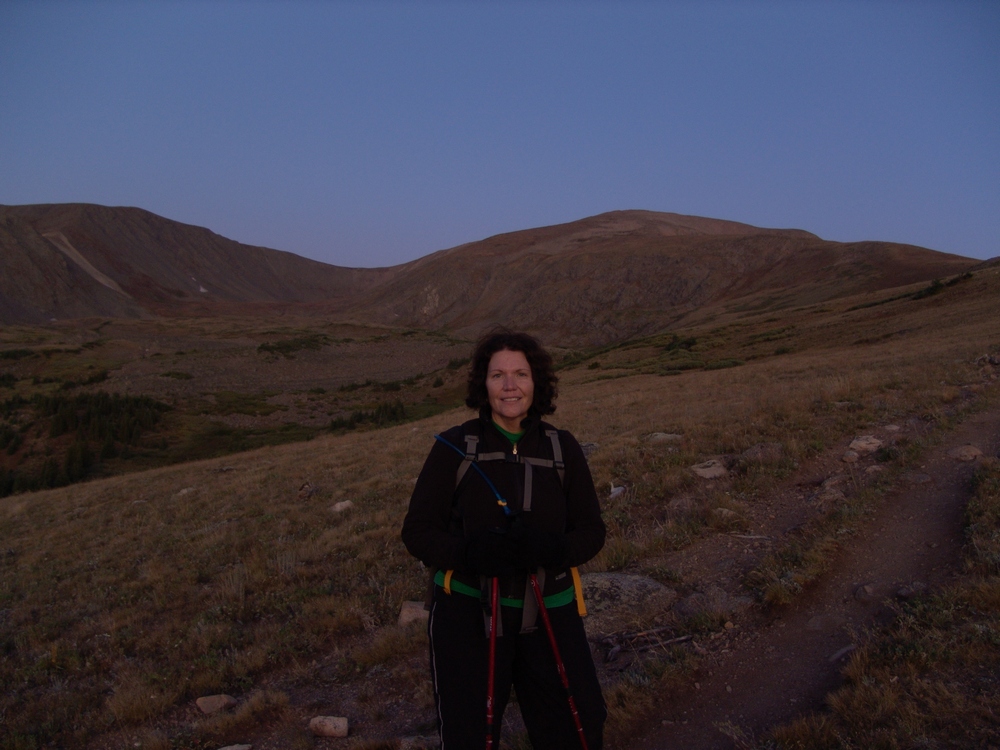
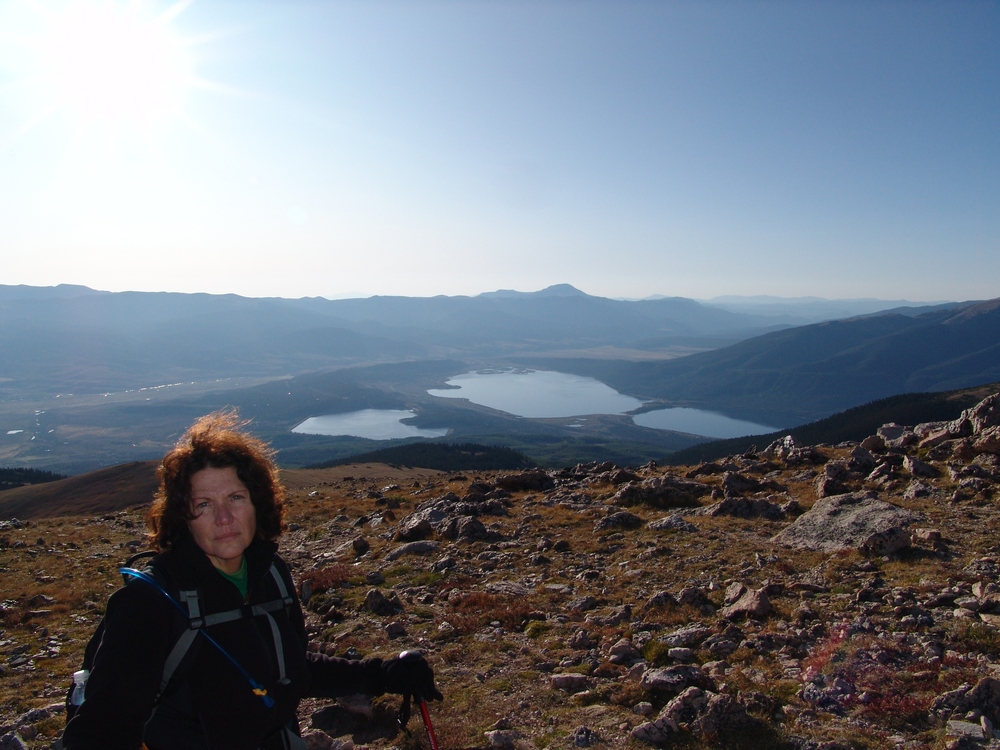
Hiking in the dark was no doubt an interesting and new experience for Donna. We started up the Colorado Trail and then up the South Elbert Trail. The start of this trail is pretty steep and took us by surprise. I did not anticipate the route to be this steep, but Donna took it in stride. As this was her very first climb, I gave her lots of time to rest and take-in water as needed. I stressed the importance of drinking lots of water to her and she definitely listened. We were able to reach tree-line before sunrise. I must admit, the view of Twin Lakes Reservoir was really impressive from this trail. Here’s a shot of Donna with Elbert behind her just before sunrise:
Donna kept our pace nice and steady and we were able to get sweet views of Elbert and the surrounding area as the sun hit the tops of the peaks. Here’s a pano looking east, south, and west:

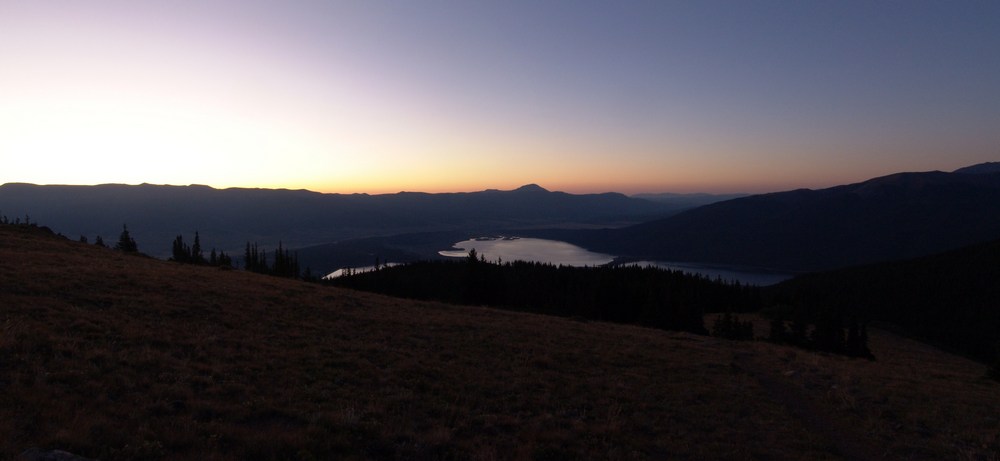
The sunrise was really beautiful. Twin Lakes really was an awesome sight:

We continued up Elbert.
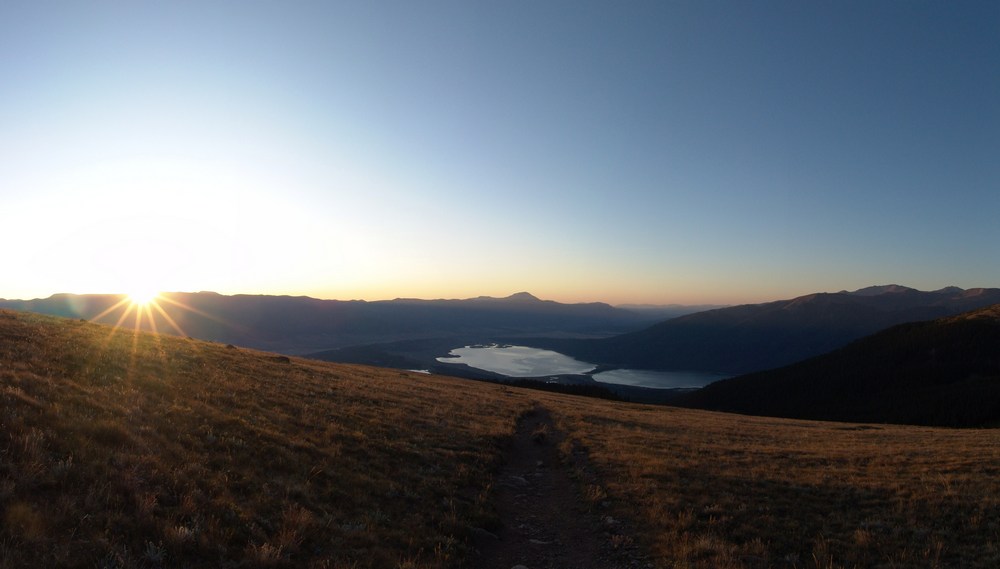
Here’s Donna with the Lakes behind her:
The trail was very clear. There seemed to be quite a bit of erosion and I would suggest that other hikers try to stick to one main trail so that the tundra can recover. We kept climbing and the views of the Lakes just got better and better. 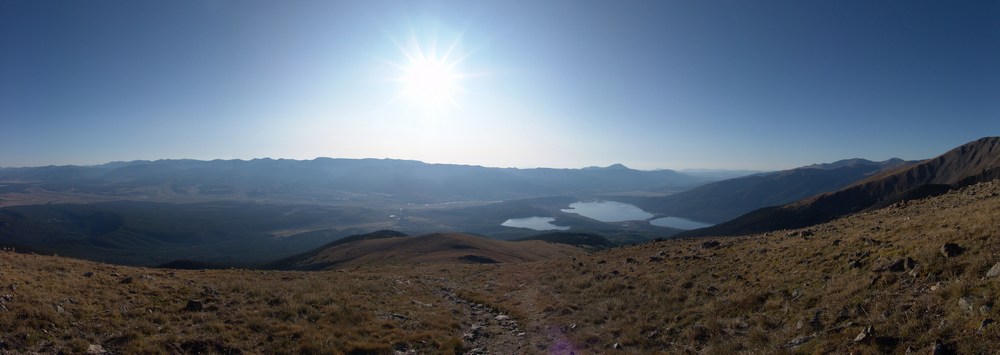
Elbert is like a giant pile of rocks. It has very little in terms of distinguishing features other than its a really big, pile of rocks.
Unfortunately, the higher we got, the more ill Donna became. I thought that acute mountain sickness(AMS or altitude sickness) might happen, but had hoped that she could fight through it. She finally stopped climbing at 13,750 feet, an impressive first outing! I was really rooting for her, but I totally hate the nausea that AMS gives you, so I totally understood why she would want to stop.
Donna told me to go ahead without her, so I climbed the rest of Elbert quickly. Donna’s decision to stop proved to be a good one, as there was quite a bit more mountain to hike up than I originally thought. It took me about 30 minutes more to get to the summit, where I was greeted by two Austrian gentlemen, one smoking a cigarette, and the other drinking a Bud Light. They kindly took my picture: 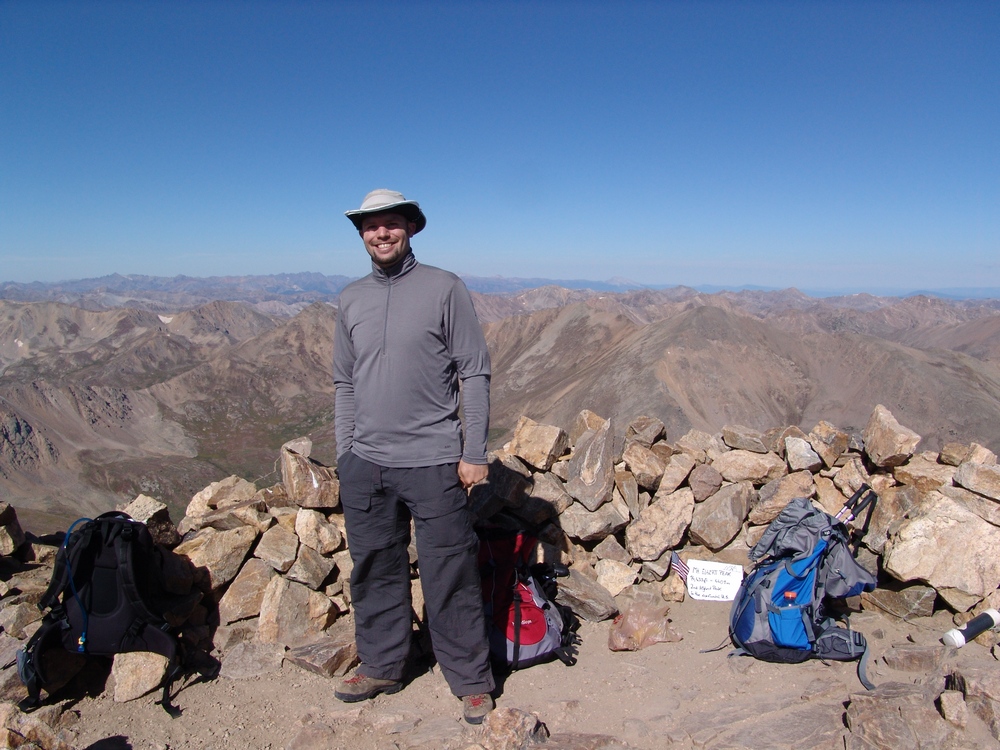 I was really excited to see the Maroon Bells in the distance, and took tons of pictures of them. They are very aesthetically pleasing to me, one of the coolest sets of mountains I have seen.
I took quite a few photos from the top but did not stick around very long because I wanted to get back down to Donna. Here’s some panoramic shots of the view from the top. This one is looking east and south:

And this one is looking east, south, and west:

And then looking north, west, and south:

I quickly hurried back down and found Donna down-climbing about a half-mile from where I had left her. We slowly went back down, which was very enjoyable – the colors were changing and the day was PERFECT – weather was awesome and the start of fall was in the air. Here’s some fun pictures I took of the early fall colors that were changing in the tundra on Elbert and the surrounding mountains: 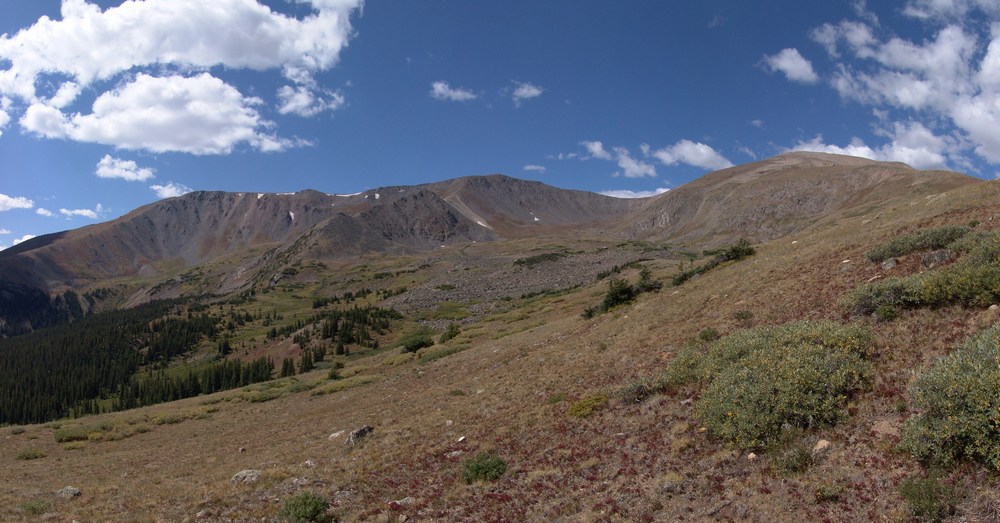
We made it back down to the Jeep successfully and I think Donna had a very good time on her first mountain climb. I really hope she tries again and is able to feel the great thrill that is the top of a high mountain in Colorado!
{fcomment}
Kit Carson Mountain, Challenger Point, Columbia Point, and "Kitty Kat Carson" - An Elevated Playground
Kit Carson Mountain is a very prominent mountain located in the Sangre de Cristo Range. The area surrounding Kit Carson Mountain is both rugged and pristine, with views of amazing peaks such as Crestone Needle and Crestone Peak in abundance. The hike to Kit Carson Mountain by way of the Willow Creek trailhead is nothing short of astounding, with breathtaking vistas available the whole way up. To put it lightly, this is one of the best hikes in Colorado, bar none.
Here are some meaningful statistics from my adventure up these amazing mountains:
Challenger Point – 14,081 ft – ranked 34th highest in Colorado
Kit Carson Peak – 14,165 ft – ranked 23rd highest in Colorado
Columbia Point – 13,980 ft – ranked 56th highest in Colorado
“Kitty Kat Carson” – 13,980 ft – unranked
Total distance traveled: Approximately 15 miles
Total elevation gain: 6,500 ft.
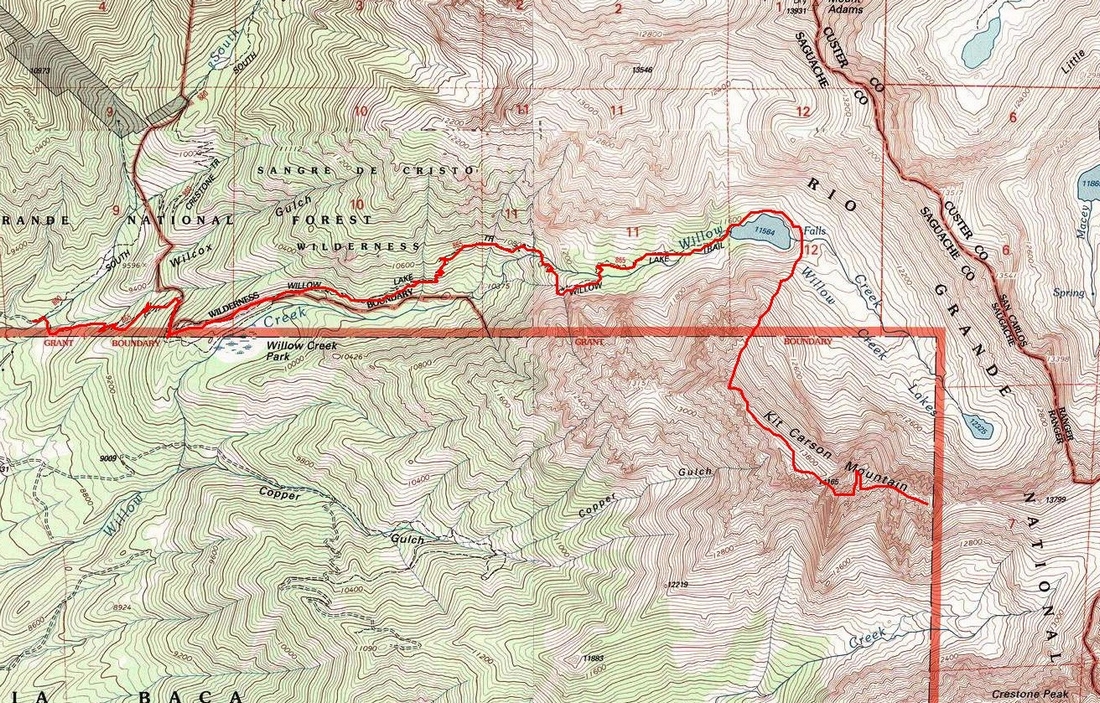
By now you might be wondering what makes a mountain ranked versus unranked. This is a fairly controversial topic in the climbing community. Basically, there is only one factor to consider when determining if a mountain should be "ranked" and that is prominence. The prominence of a peak is the height of the peak’s summit above the lowest contour line encircling it and no higher summit. Prominence is interesting to some mountaineers because it is an objective measurement that is strongly correlated with the subjective significance of a summit (and how difficult it is to climb). Peaks with low prominences are either subsidiary tops of some higher summit or relatively insignificant independent summits. Peaks with high prominences tend to be the highest points around and are likely to have extraordinary views. In the case of Colorado mountains, most mountaineers use a cutoff of 300 ft / 91 m to determine whether or not a mountain is ranked or not. So using “Kitty Kat Carson” above as an example, since there’s only 80 ft in elevation drop between itself and Columbia Point, it is not ranked. Alternatively, since there is 360 ft in elevation drop between Columbia Point and Kit Carson Peak, it is ranked.
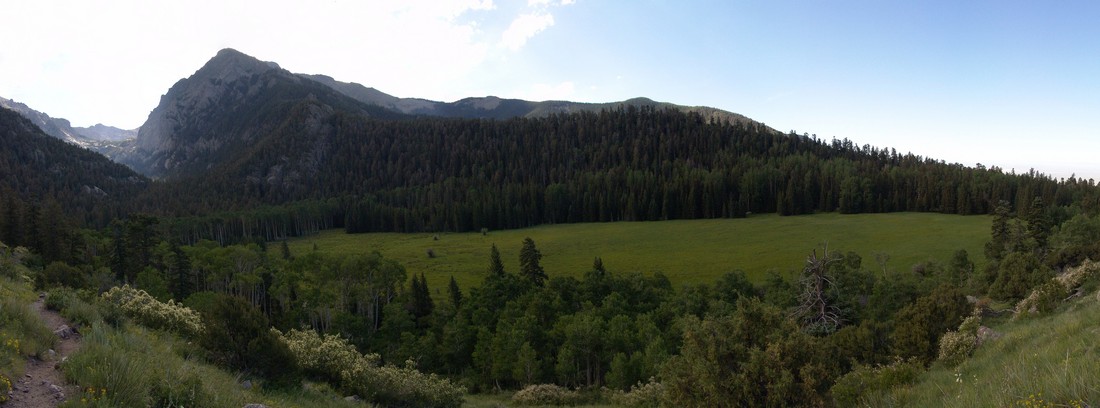
I picked up my friend Terry from his condo at 5 AM on Friday and departed for the quaint town of Crestone. We arrived at the Willow Creek Trailhead at about 9 AM. There were several vehicles at the trailhead, which was kind of surprising given that it was still early on a weekday. This was going to be our third backpacking trek in as many weeks. This week I was able to get my pack down to 45 pounds, thanks in part to some lightweight food my mom graciously provided to me the previous day. We began our hike up the trail, which was well travelled. About 5 minutes into our hike, a gentleman with a long gray beard was coming down the trail and was very friendly to us, warning us of electrical storms. I commented to Terry that this was not my first rodeo and that the man reminded me of Jesus. I was hoping that his presence was not a sign of things to come… bearded man looking like Jesus appears out of nowhere and warns us of lightning… The trail was such a nice change from last week since it was actually easy to follow and was clearly maintained and free of vegetation and confusing side trails. The trail makes many large switchbacks up a gradual slope and then at the top of this slope it drops you right next to a huge meadow, accompanied by great views of part of Challenger Point.
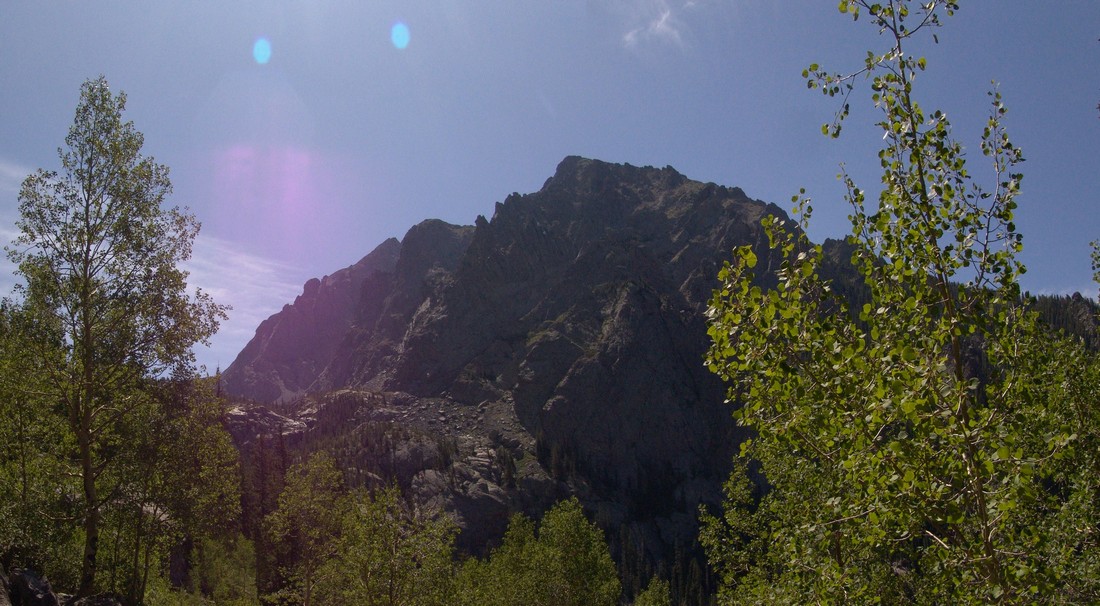
After awhile, the trail brought us closer and closer to Challenger’s headwall.
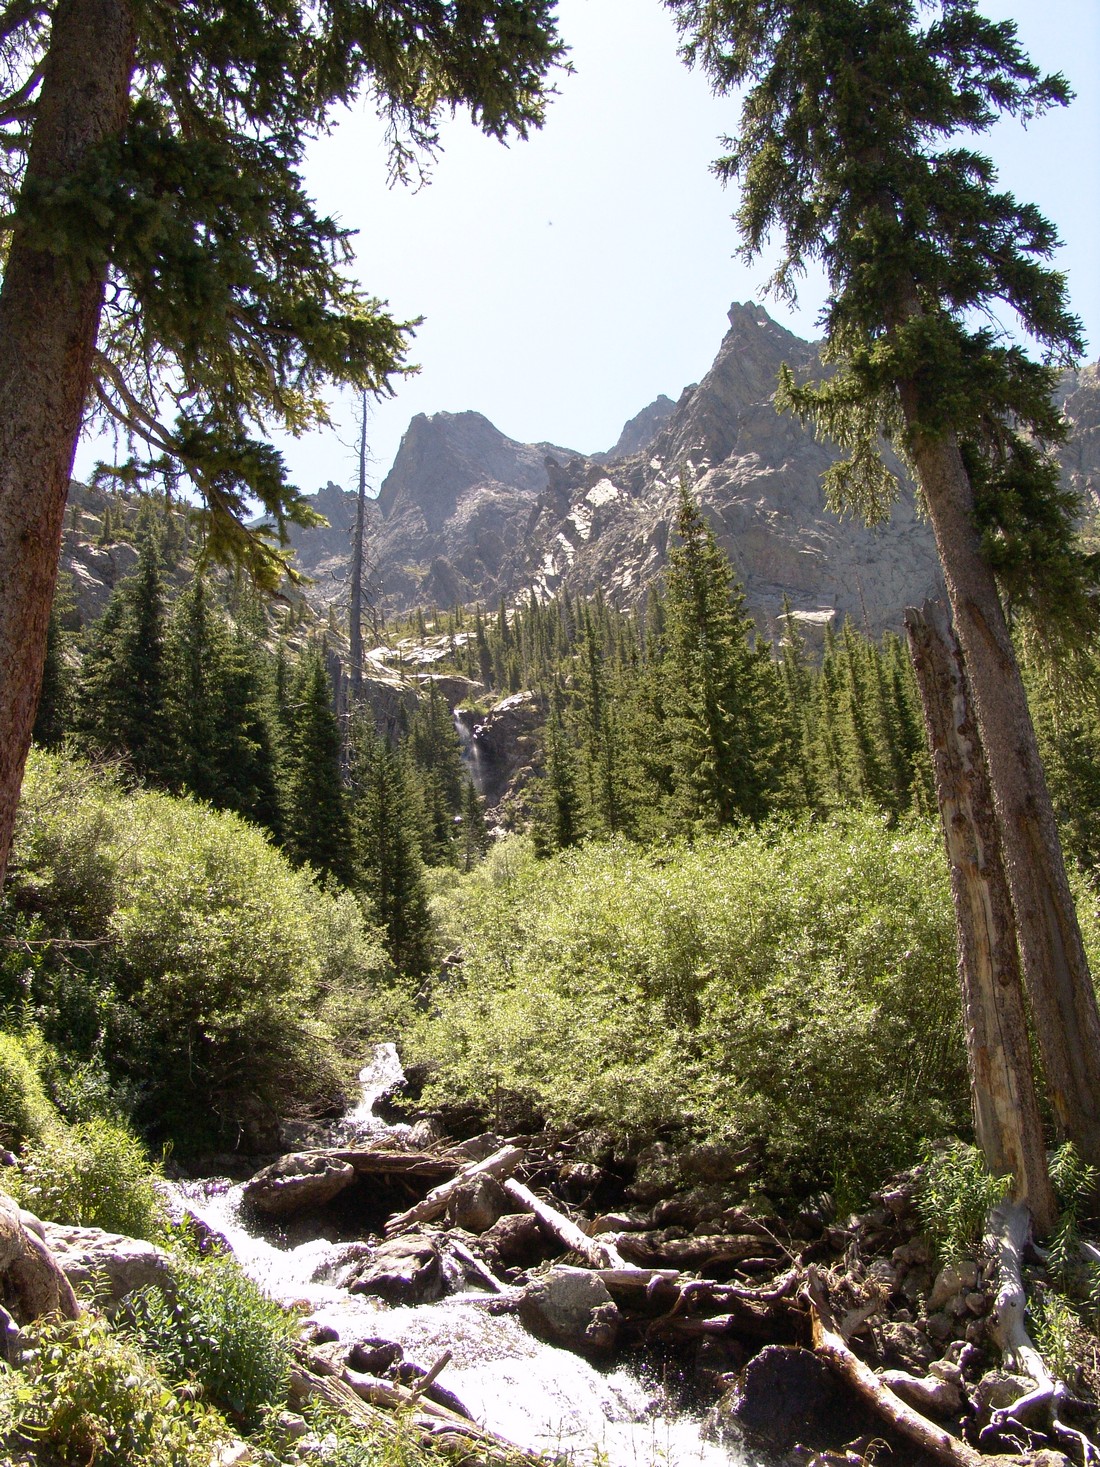
Shortly thereafter, the trail begins a long series of shorter switchbacks leading to the north and east until a large waterfall is exposed at the base of the headwall.
After gaining the headwall and hiking further up the trail, we were right at the base of Willow Lake. Being that we were in a Wilderness area, camping was restricted to areas no closer than 300 ft of the lake. One of the very first campsites we encountered had some Big Horn sheep grazing at it.
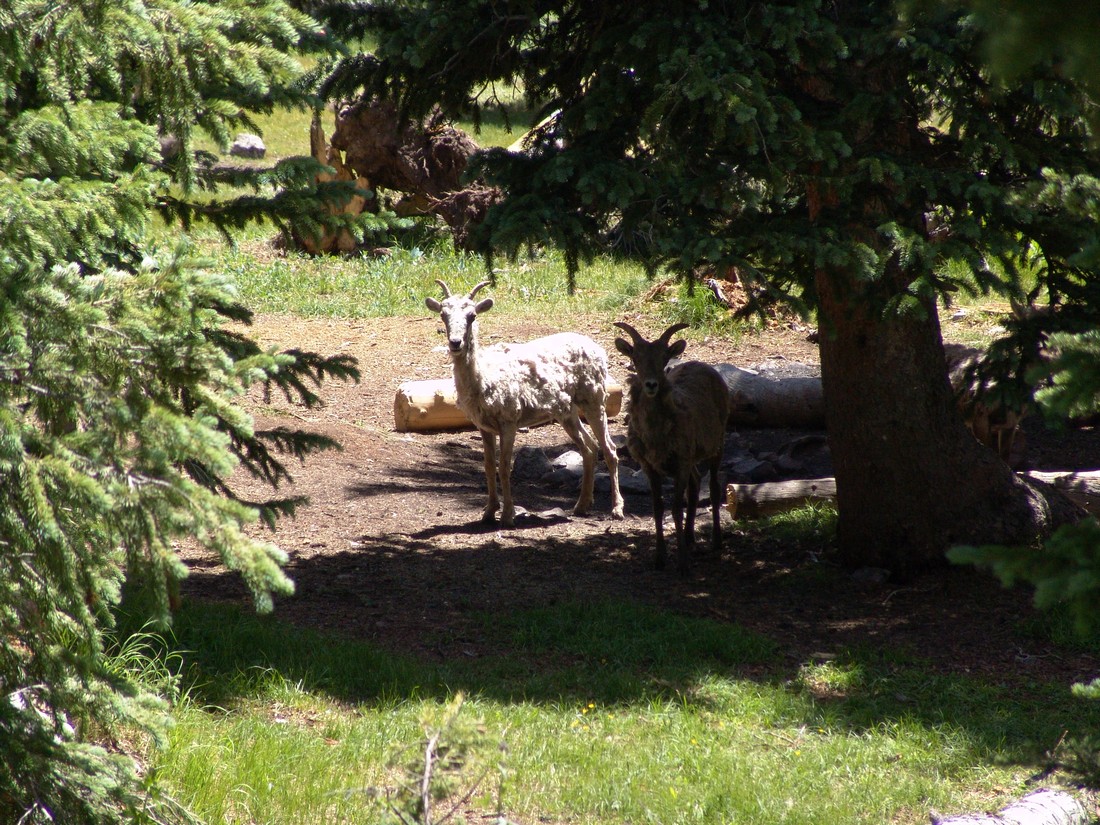
The sheep quickly scattered up the valley towards the lake. 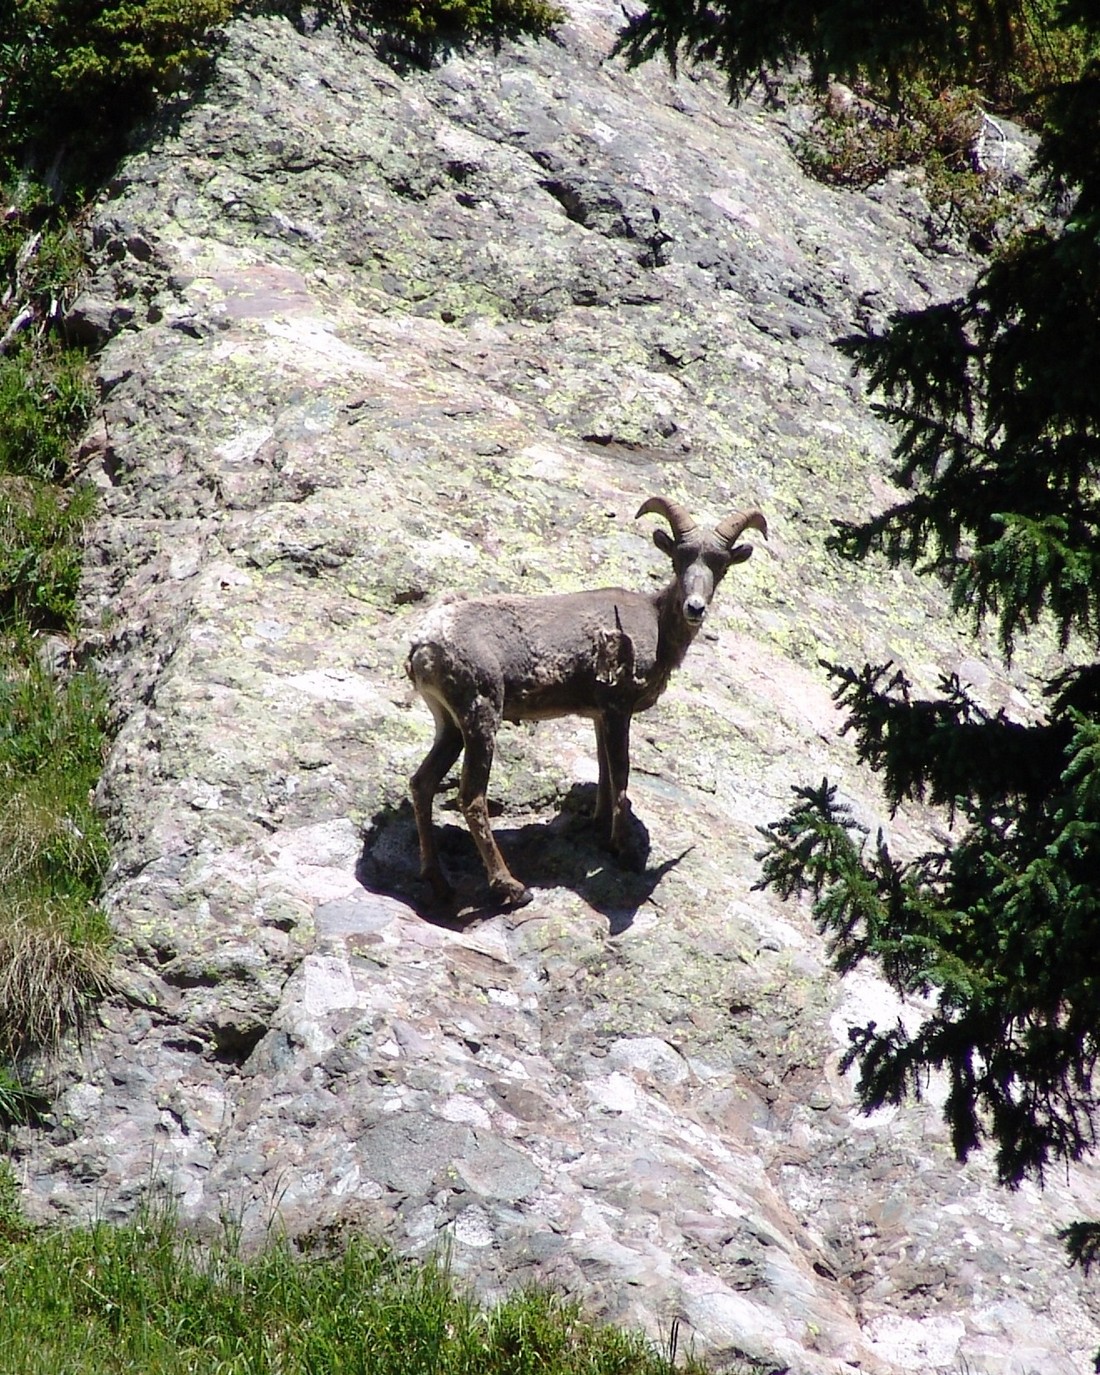
We kept going on the trail and found a really wonderful campsite left of the trail nestled in some trees. The funny thing was that the sheep were hanging out in this campsite. I was able to take several pictures of the sheep after we were able to claim the campsite as our own. This was one of the cooler things that has happened to me this year because one of my lifelong goals has been to see Bighorn sheep up close in the wild.
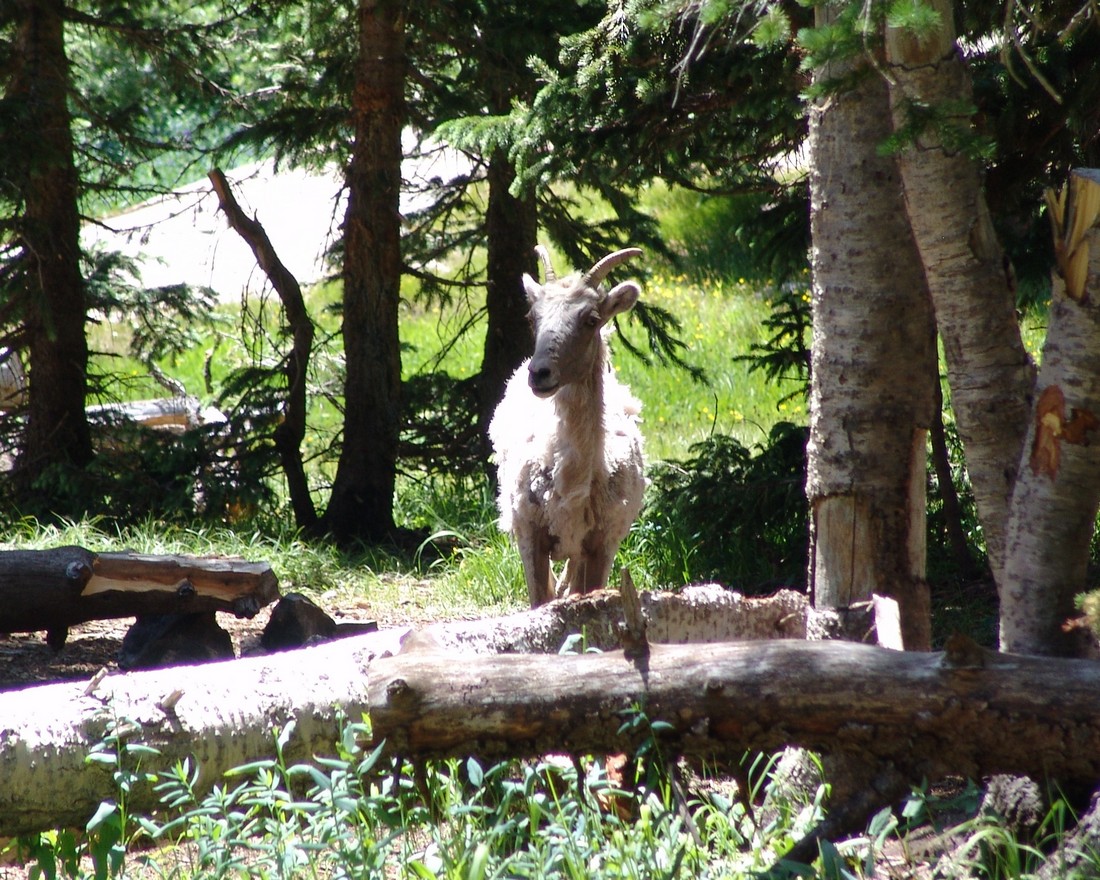
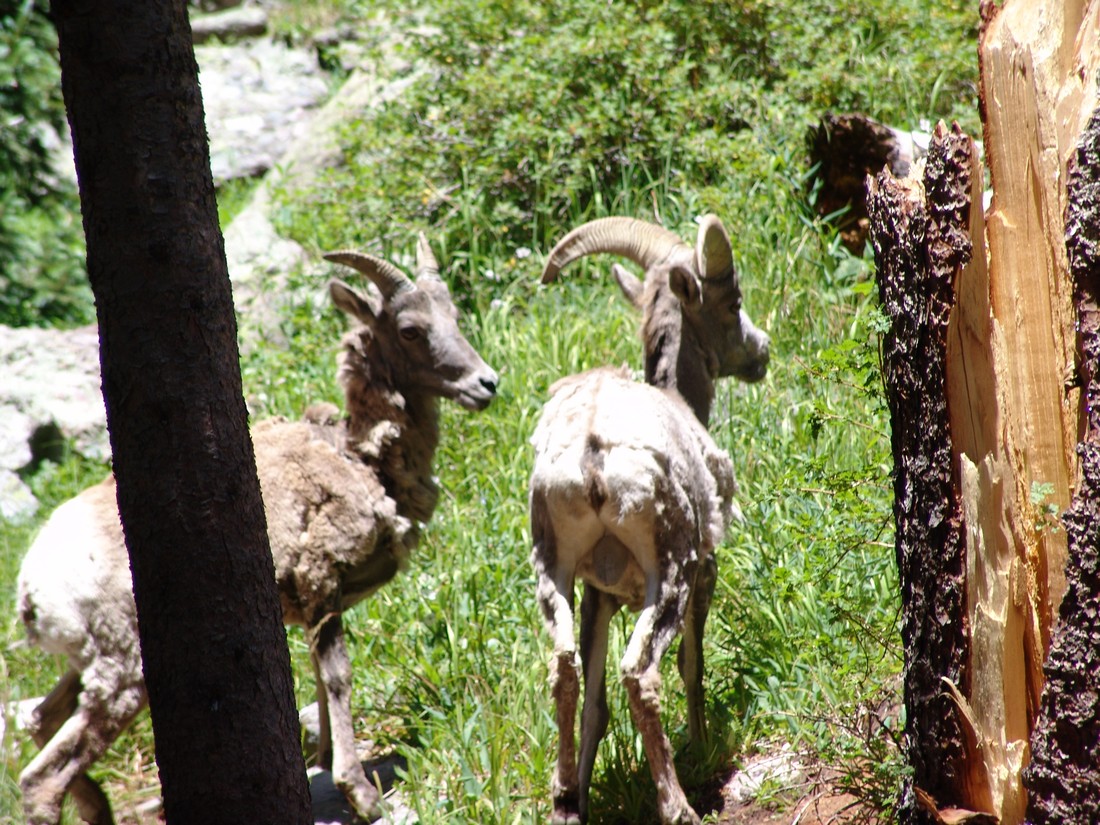
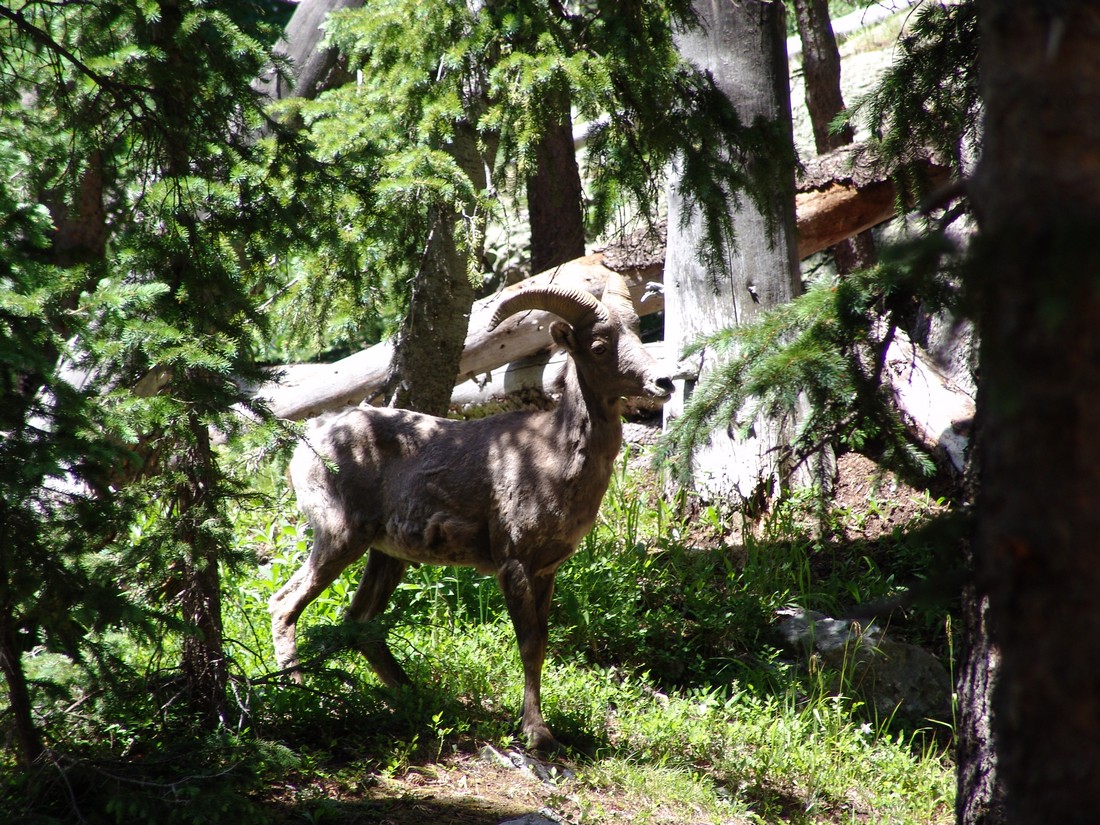
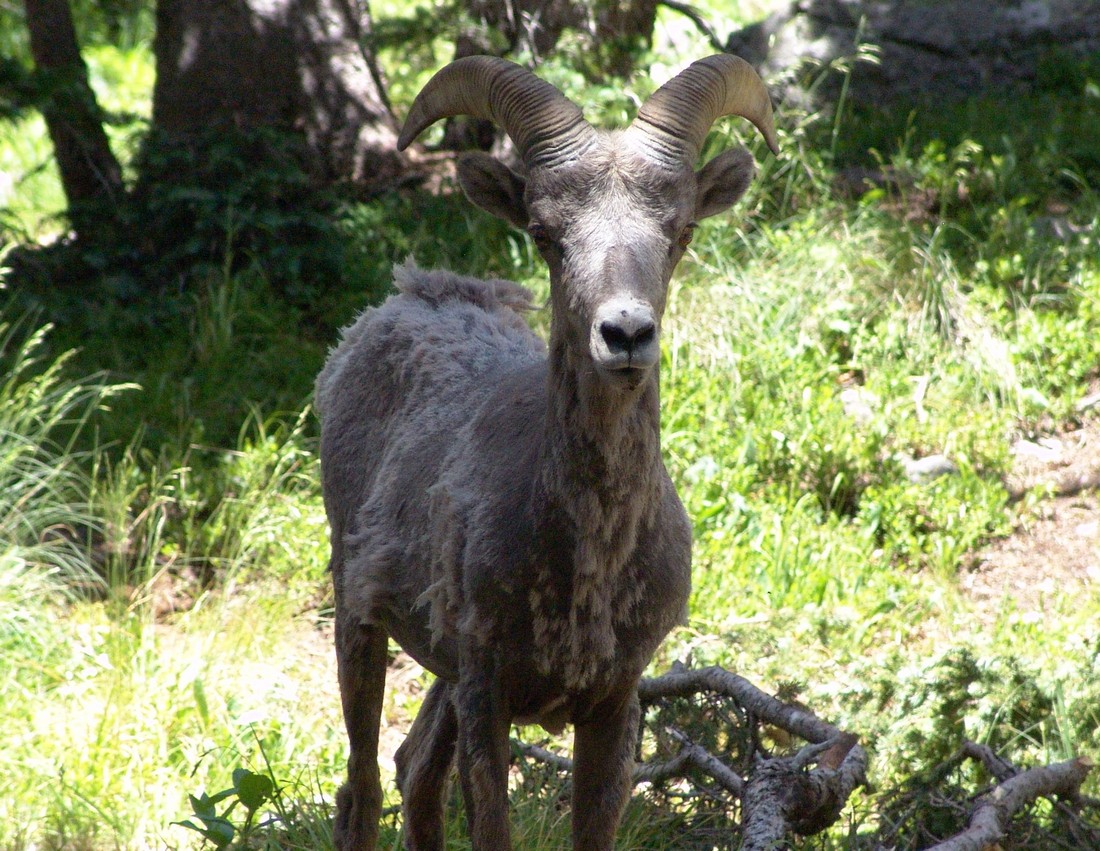
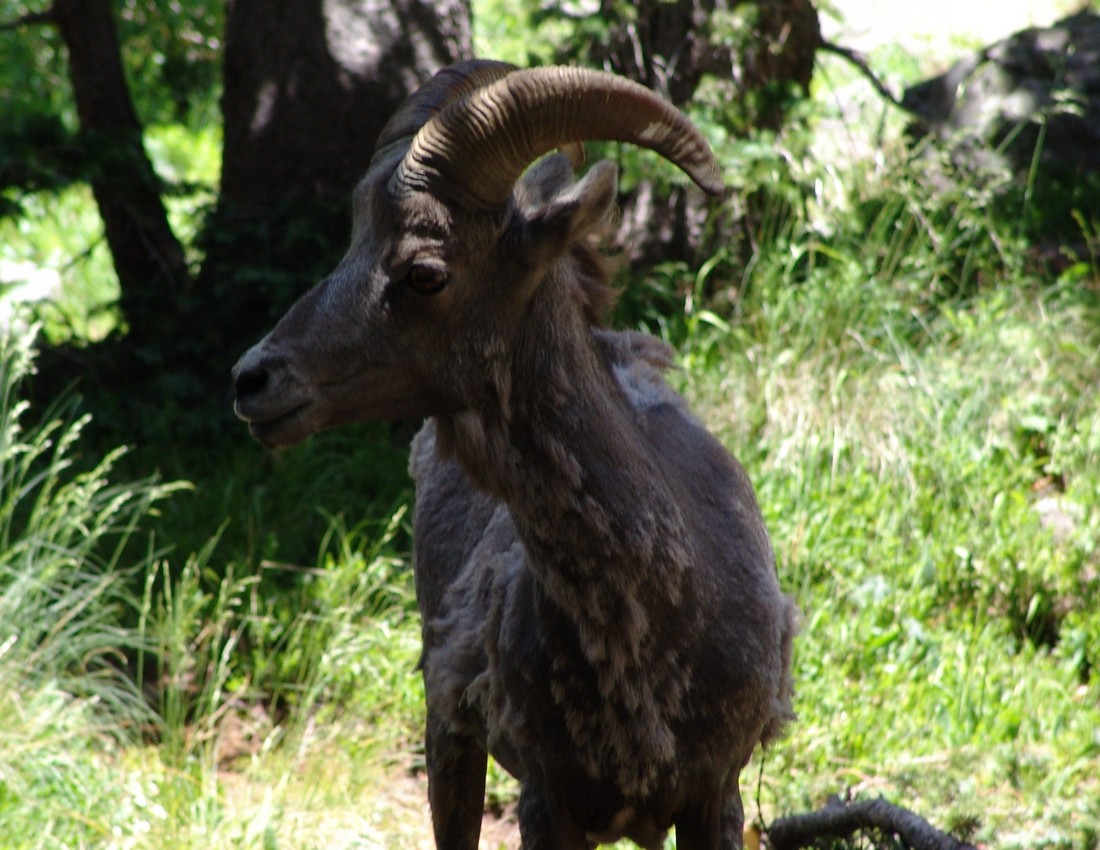
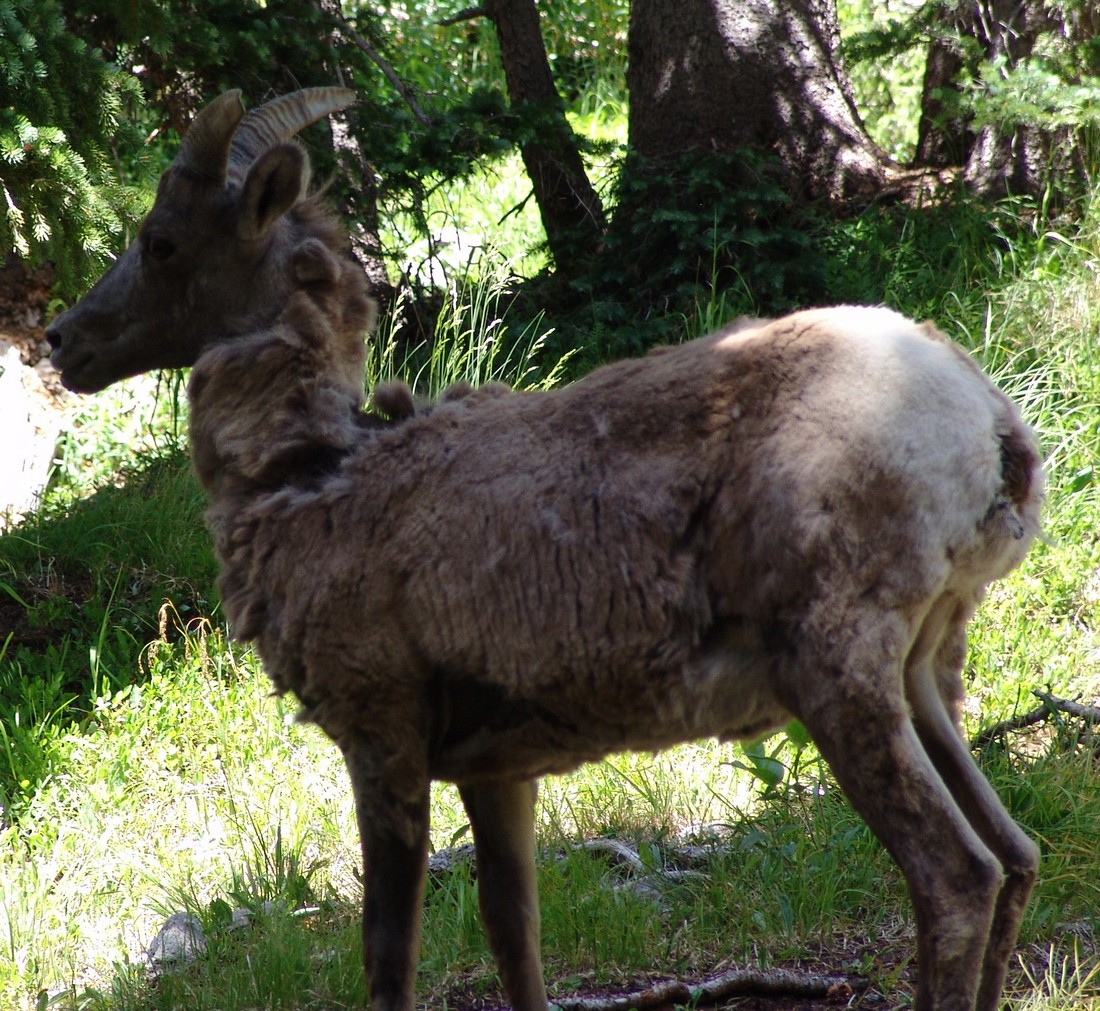
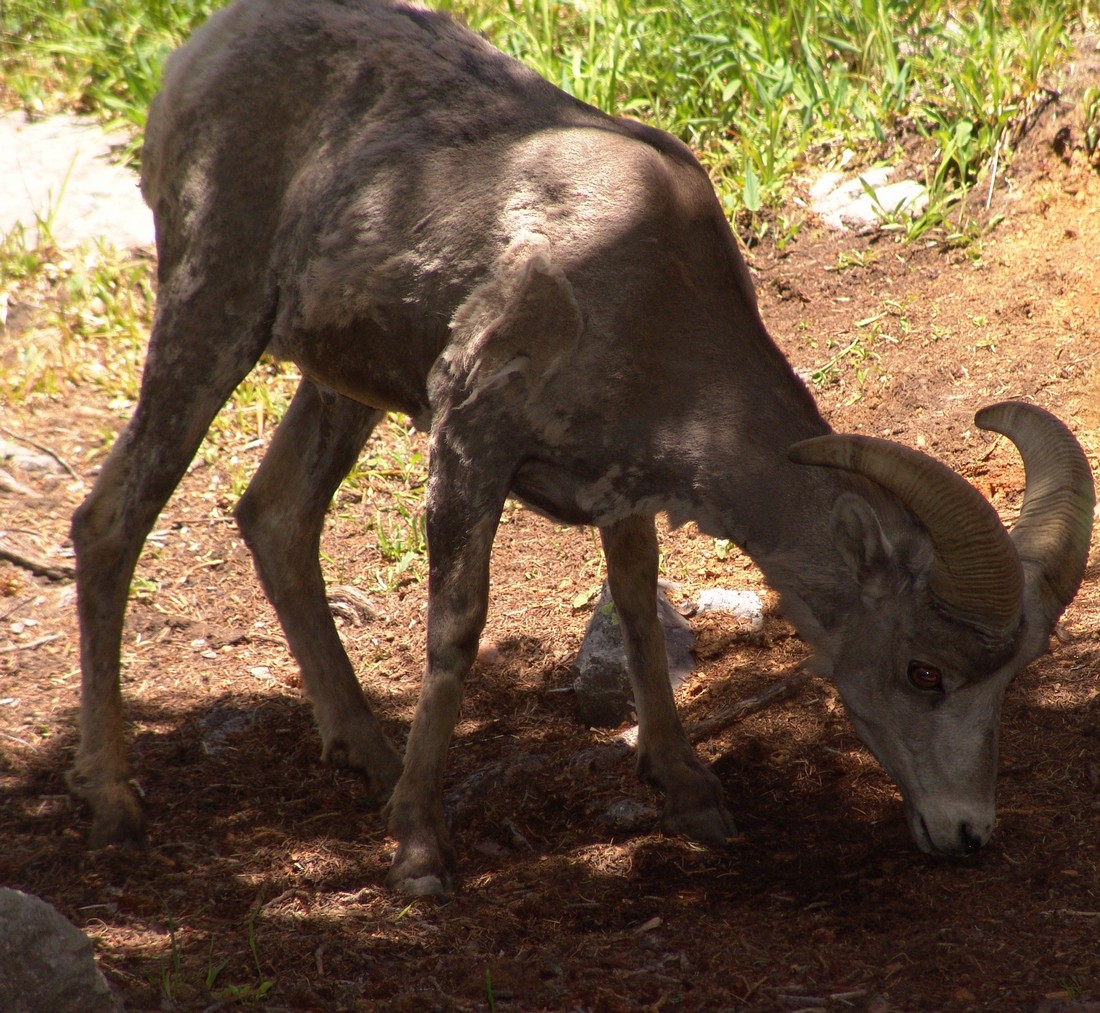
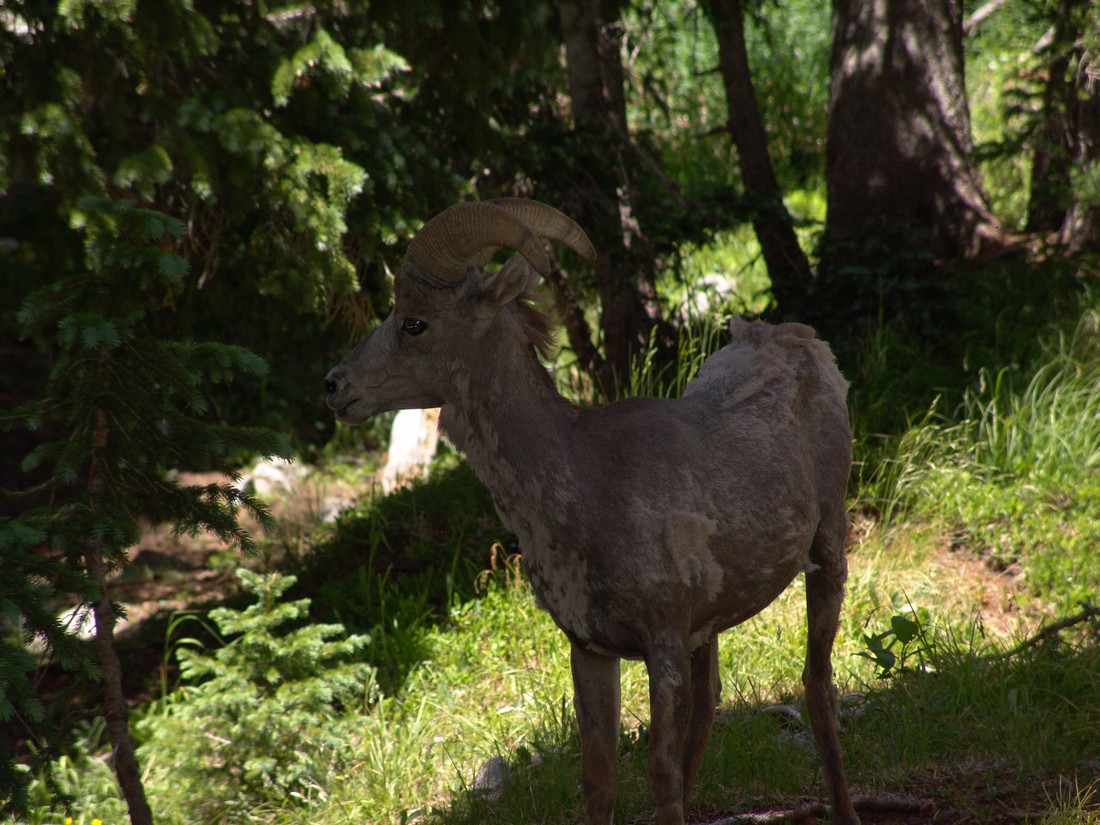
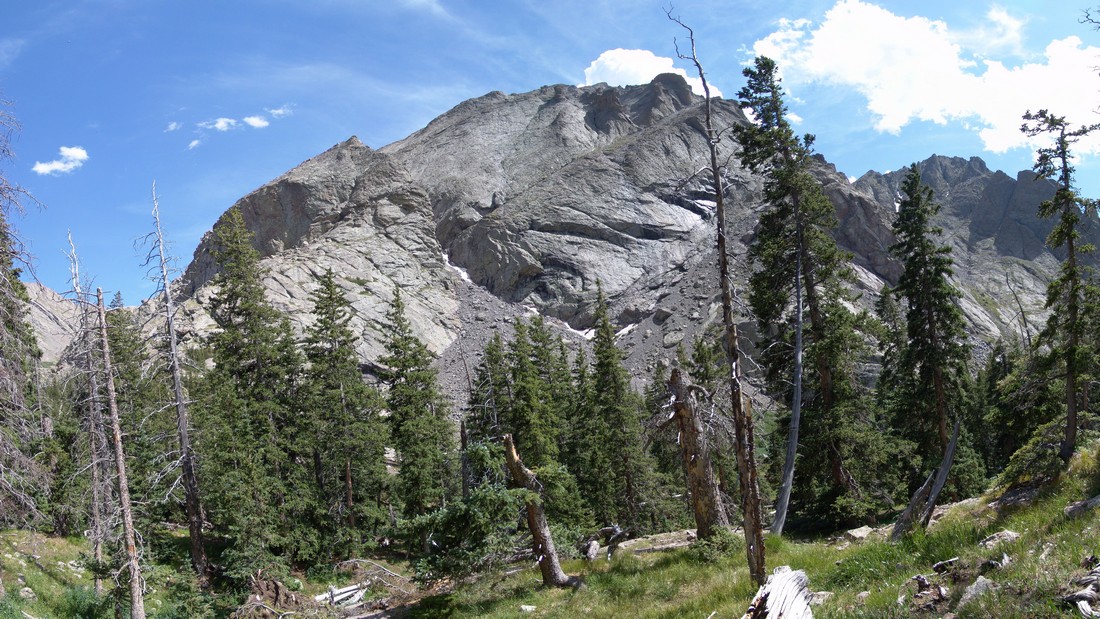
After we were able to chase off the sheep, we set-up camp. The campsite was very nice, with an established fire pit and logs all around it for seating. Here is the view we had of Challenger Point’s north face:
After setting-up camp, we decided to head up the lake to see what it was like. Boy, were we in for a scenic treat! The lake had a giant waterfall at its head and was surrounded by small cliffs where the waterfall was at. Here’s some stitched panoramic photos from the lake: 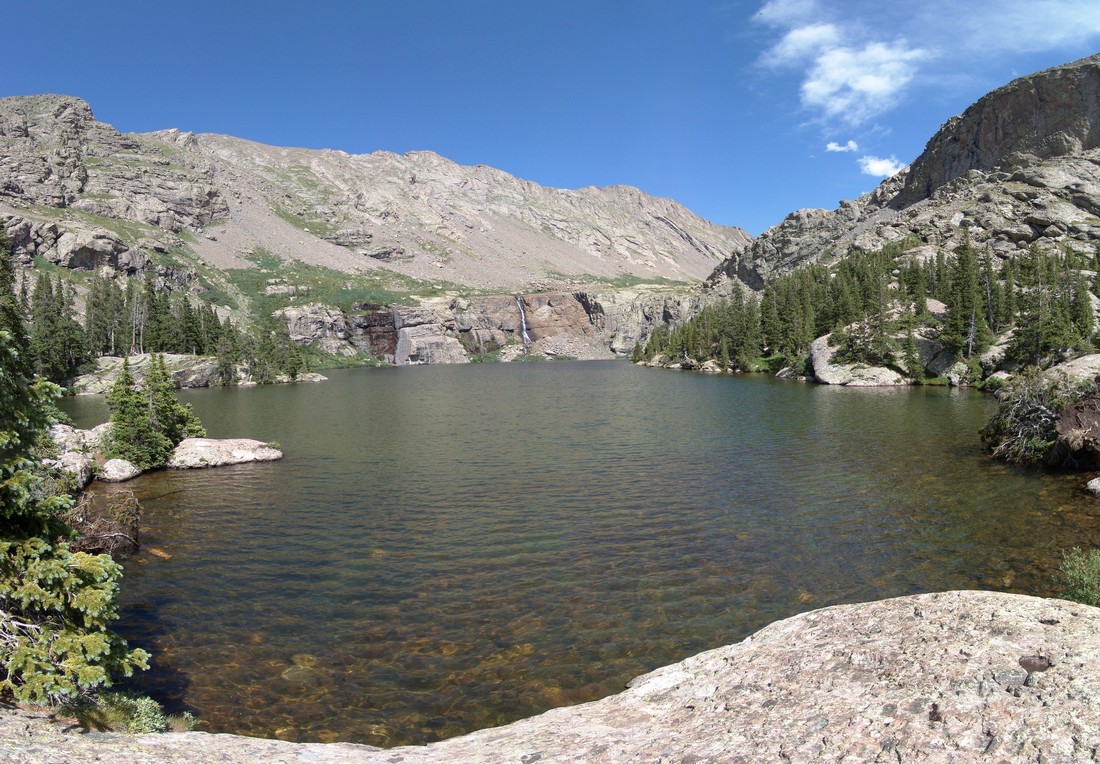

After soaking in as much of the lake as we could, we decided to head back to camp, cook dinner, and call it a night. We woke up at 4 AM the next day and quickly readied ourselves for what was going to be a very long but rewarding day.
We hiked up past the lake and began up the valley to the south. Quickly Kit Carson and Challenger came into view (left and right respectively):
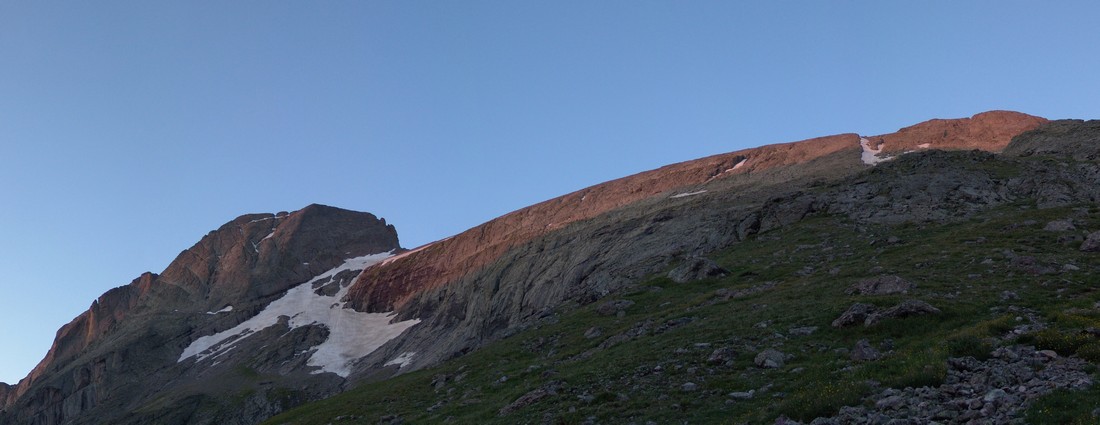
I think Kit Carson looks like a Klingon’s forehead. Who’s with me?

I originally thought that this was “The Prow,” a semi-famous section of Kit Carson that is a a notorious rock-climbing route; however, it turns out that “The Prow” is on the other side of Kit Carson and is seen from Columbia Point.
Another view looking up the valley at Kit Carson (right) and the adjoining ridge to its South and East.
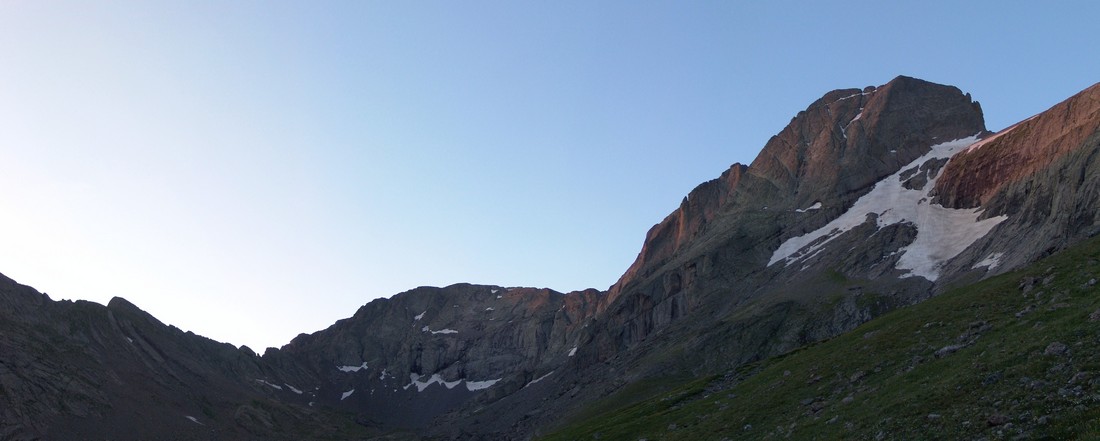
We climbed up the grassy slopes of Challenger Point and then up a loose talus section to the ridge. From the ridge we could see the top of Challenger Point and looking down we could see the upper Willow Lake and the sun’s reflection on it.
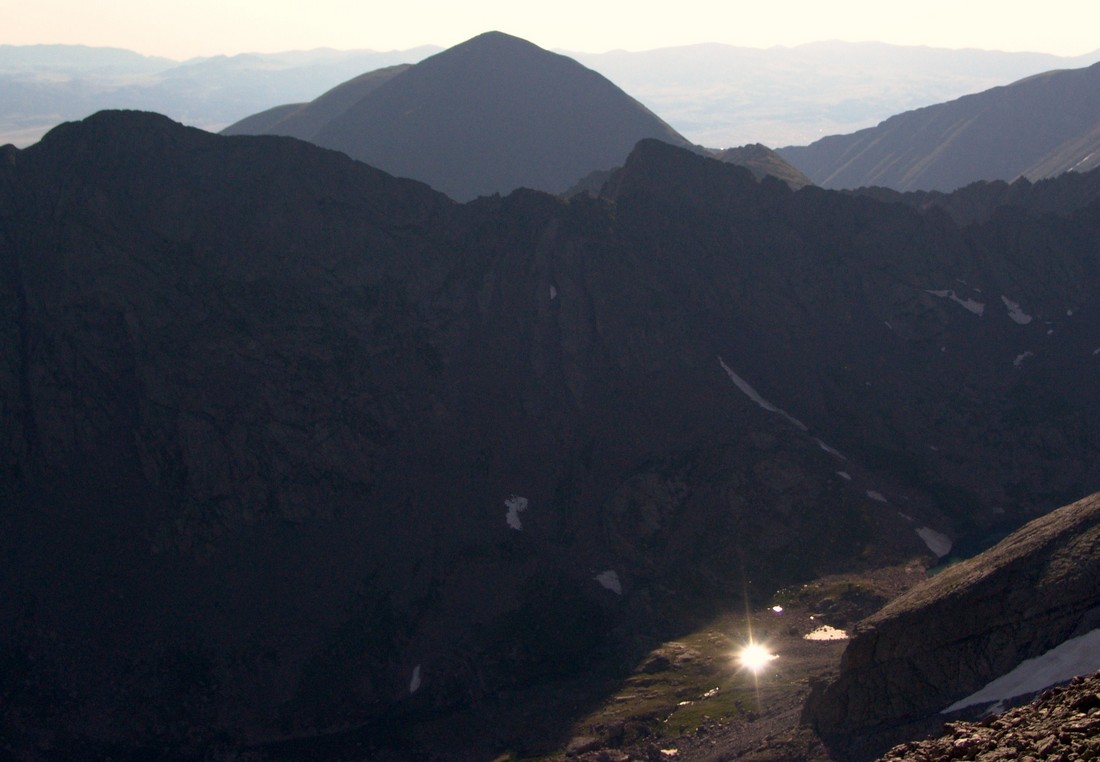
We started climbing up the ridge to the southeast towards Challenger Point. Here is a view from near the summit of what the ridge climbing looked like. 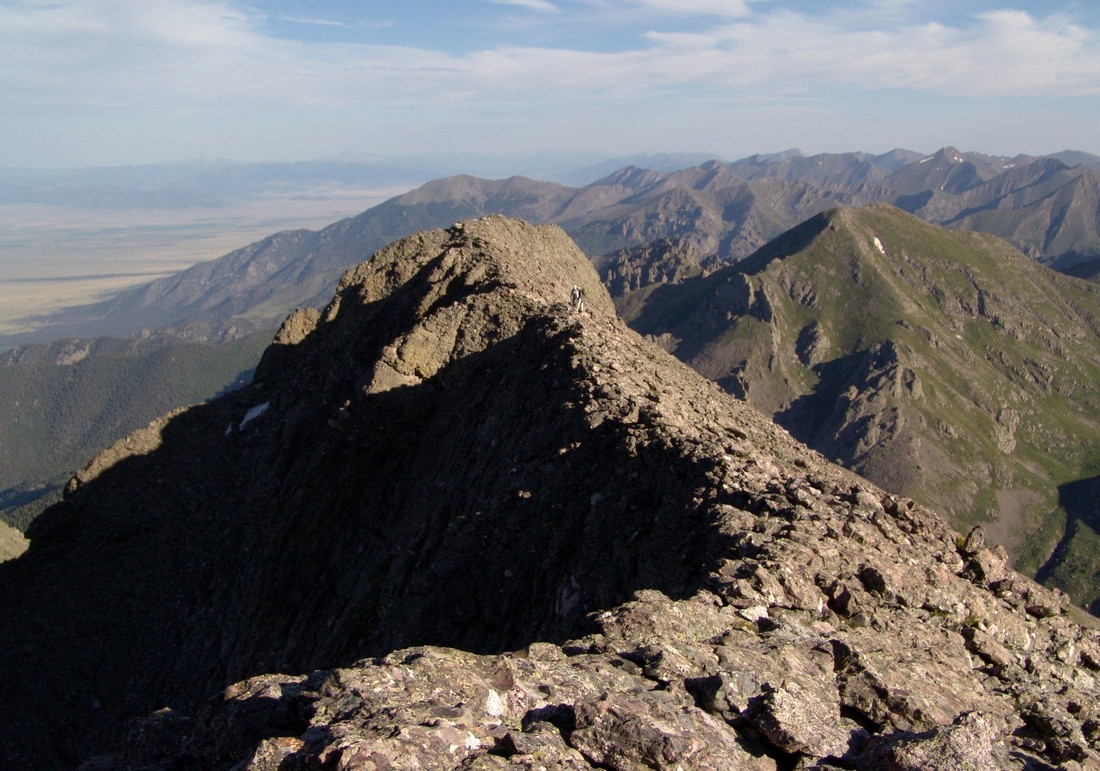
A few minutes later and we arrived on top, with Kit Carson and Crestone Peak in full view and the Blanca group in the distance to the South. 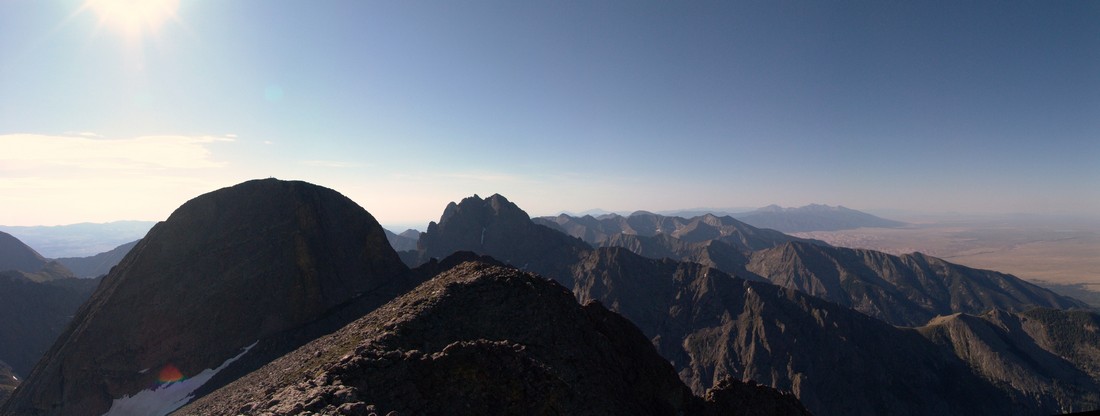
Looking east we could see Mount Adams poking up towards the sky. 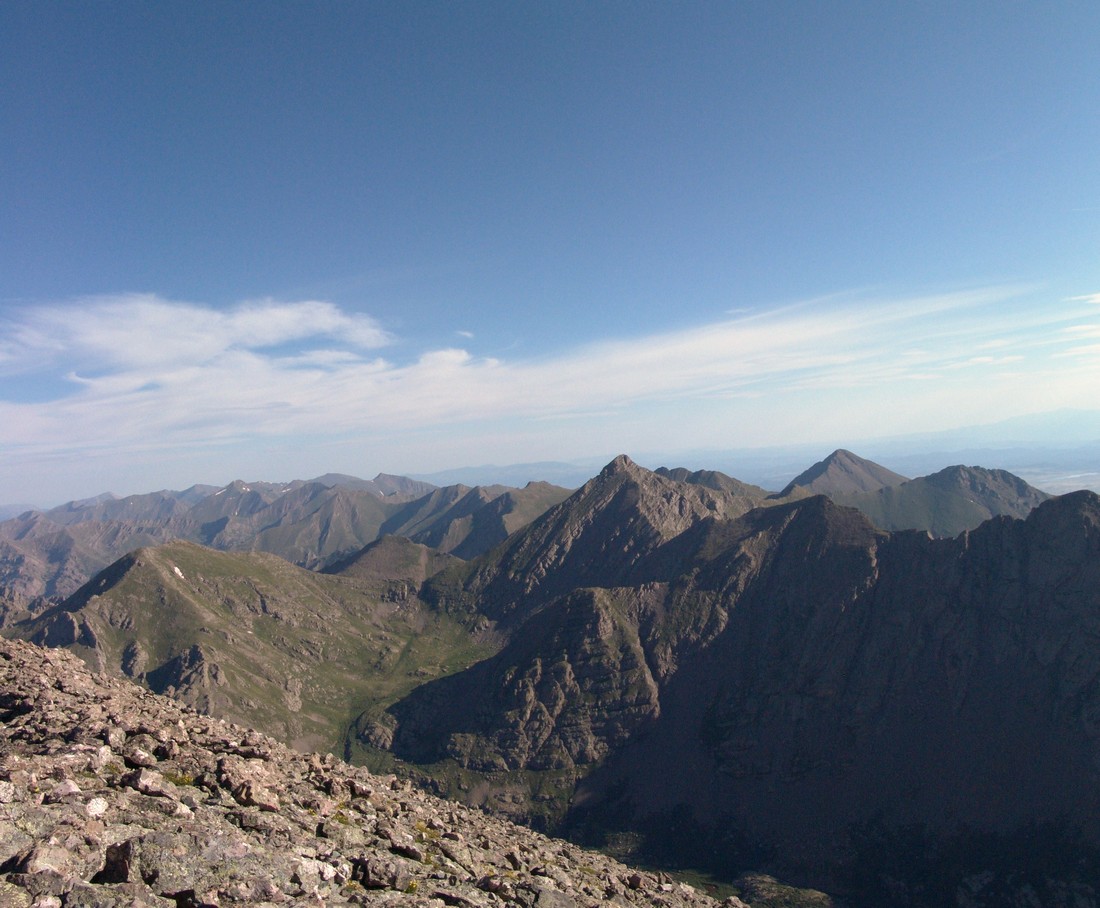
And here’s a shot of me on the summit looking southeast towards Crestone Peak and Kit Carson: 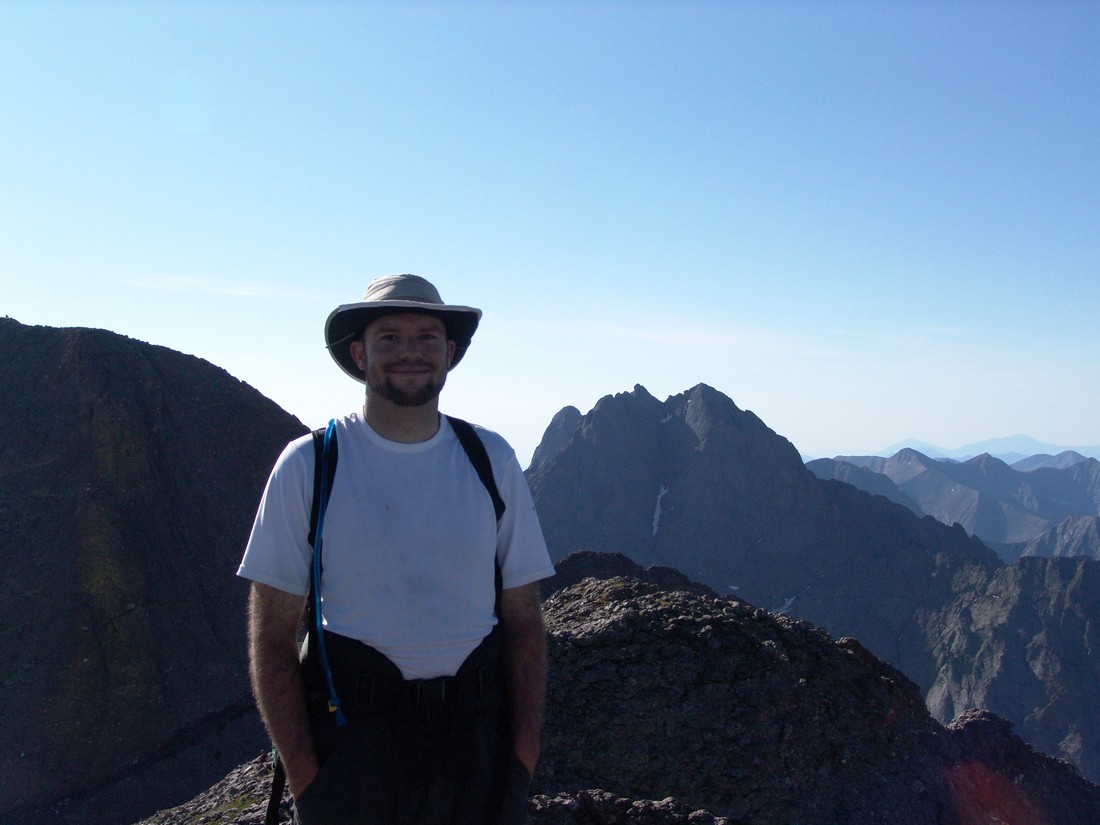
On top of Challenger Point rests a plaque dedicating the mountain to the Challenger shuttle disaster of 1986. 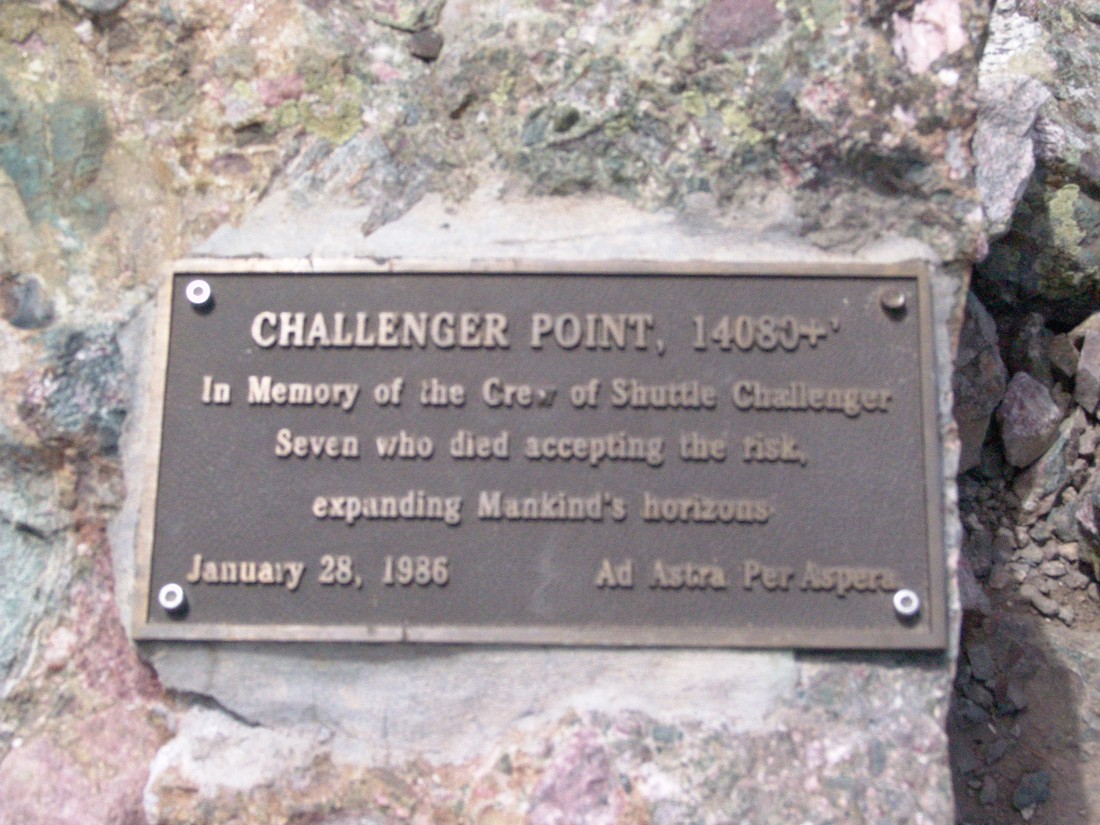
After refueling on top of Challenger Point, we began the journey down Challenger Point’s southeast ridge towards Kit Carson and the Kit Carson Avenue, a long ledge leading around the side and then around the back of Kit Carson. Here’s a look at some of the perilous cliffs below Kit Carson Avenue and subsequently, a photo of the Avenue and the route up it. 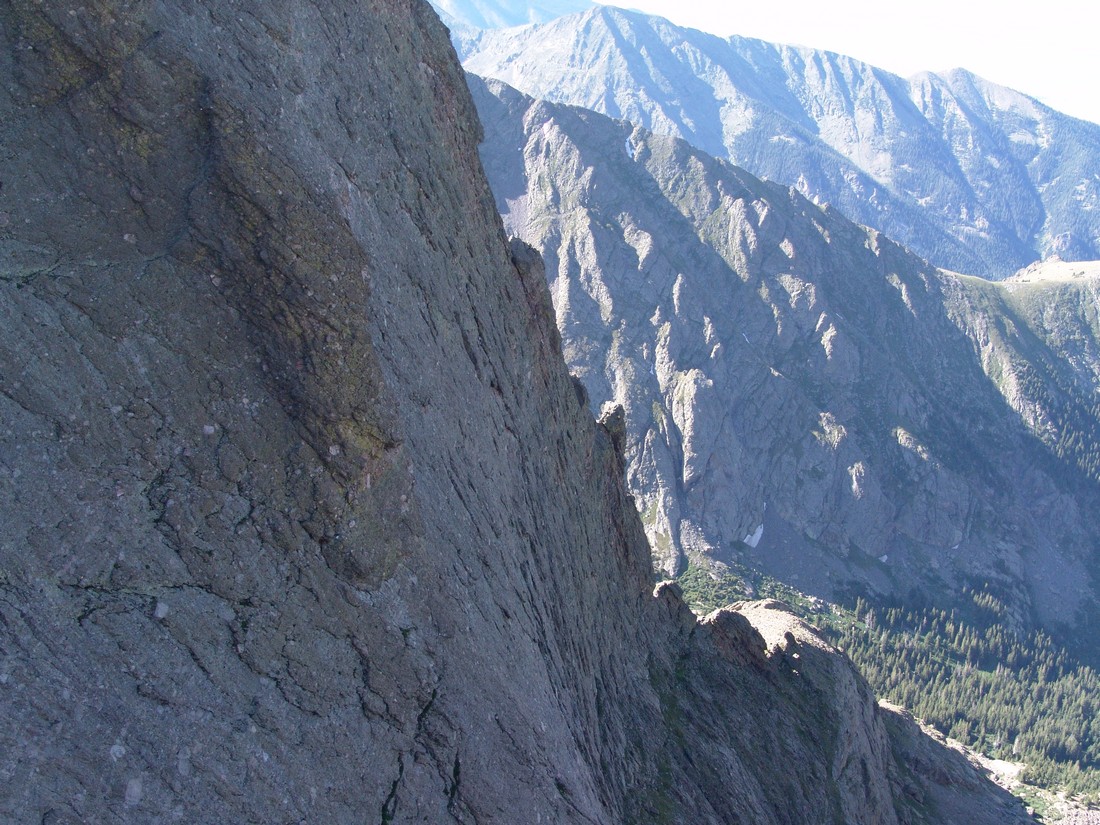
The Avenue looks pretty sketchy from here but in reality it was a nice ledge with plenty of room for walking. Once at the top of the Avenue, you once again can see the awesome Crestone Peak (center) and Columbia Point (left) with the back-side and downward heading remainder of Kit Carson Avenue. 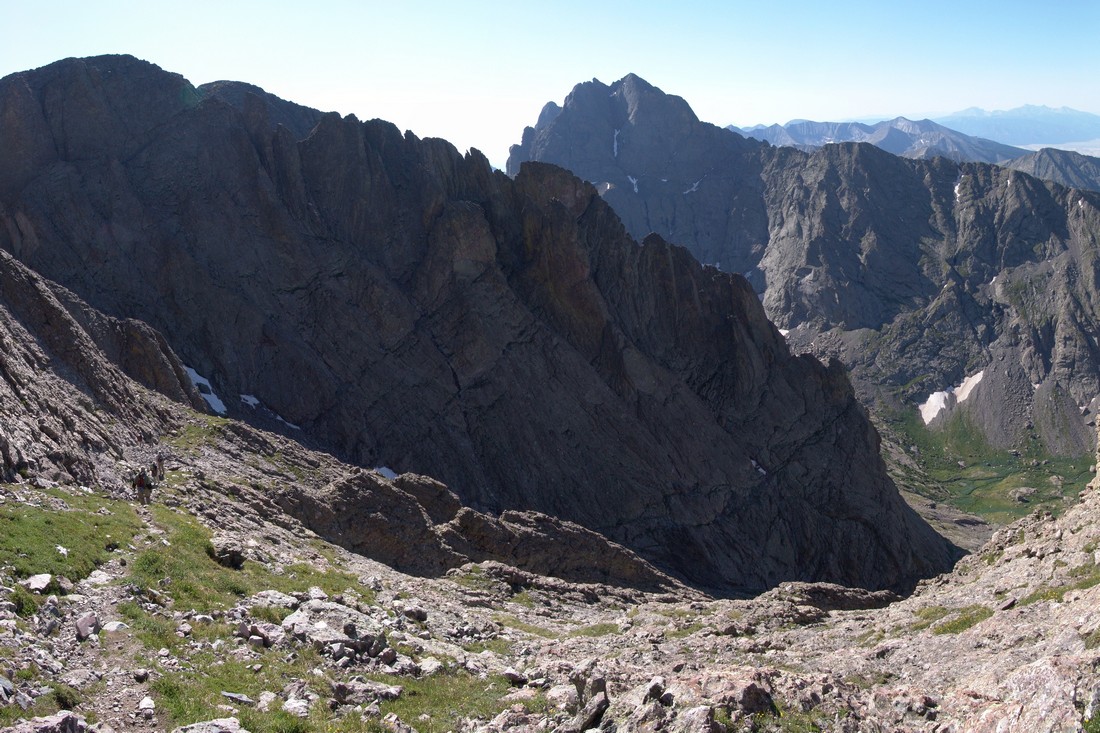
Going down the Avenue, I was struck by the really remarkable geological formations. It appeared to me that water had eroded the underside of Kit Carson in the Avenue, making it look like something had burrowed its way right through the rock all the way down.
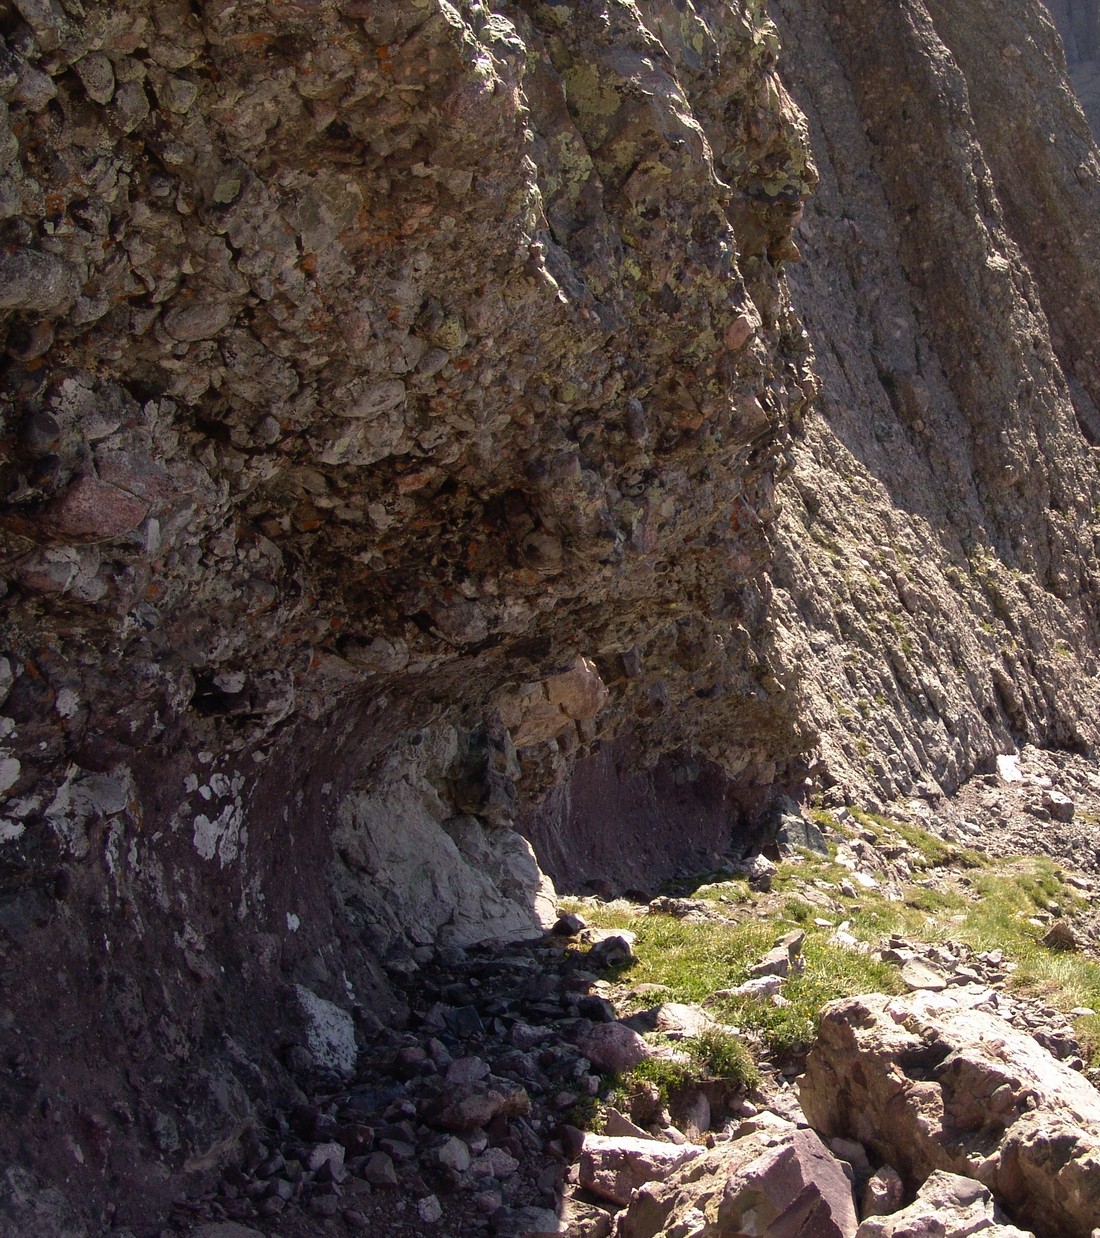
And another view looking down the Avenue – it looks far less intimidating than it did from the top of Crestone Peak. 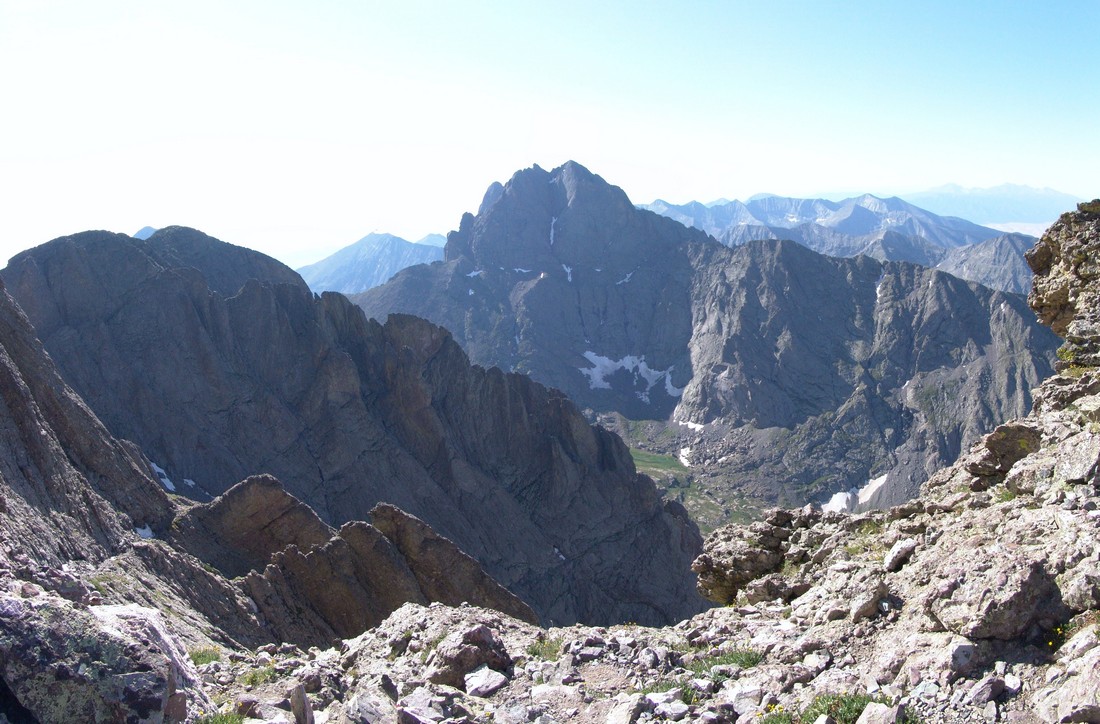
Once we reached the bottom of the Avenue, the route took us sharply to the northwest. The climbing was pretty standard class 2 stuff. Near the top of this last section Terry ran out of gas and took a break to rest. I decided to make the final push to the top after visually verifying that Terry was not injured and was continuing. Here’s a shot looking towards Columbia Point and Crestone Peak again. Take special note on the intimidating nature of Columbia Point (closest peak) from this vantage point, as it was the side of that mountain that I would later climb… Looking at Columbia Point you can see a small fin that is separated from the mountain by a small gap. That is the fin I would later ascend to reach the top (more later). 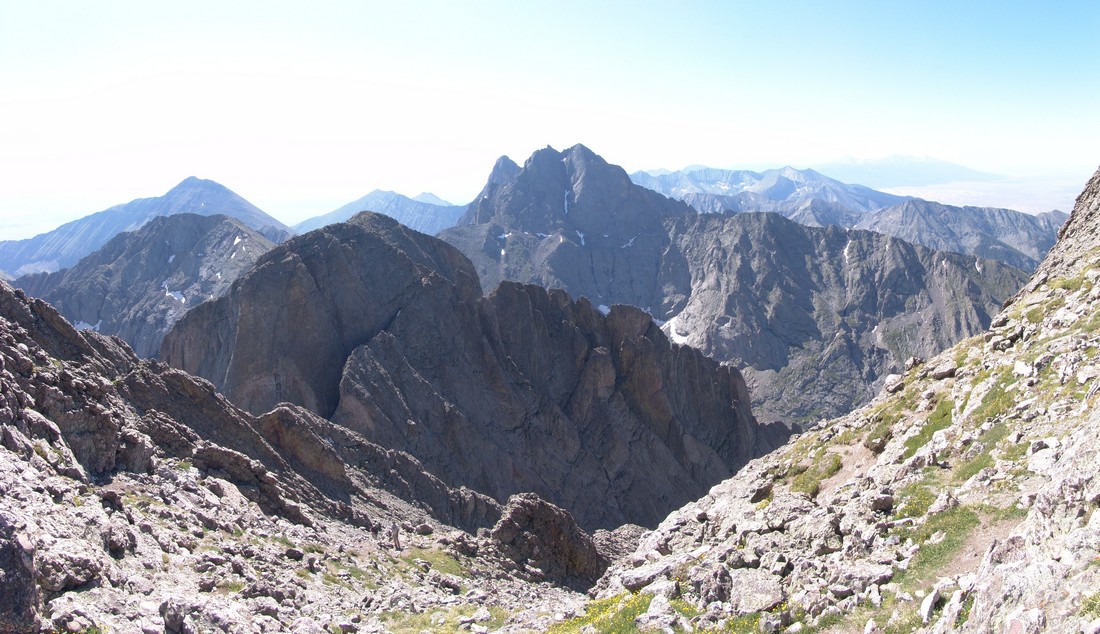
From here, reaching the top of Kit Carson was a breeze. There were several other groups on top. Here’s some stitched photos looking towards Challenger Point. This is a good view of the route we had to come up earlier in the day. Basically starting from the large lake pictured right of center, you climb up the grassy section and then up the rocks to the ridge. 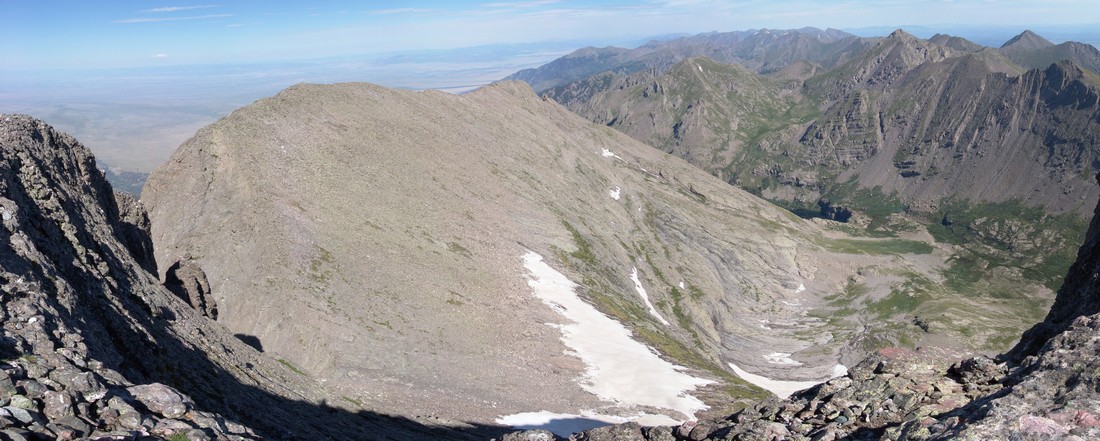
Speaking of the lake, here’s a really high-detail pano of it.
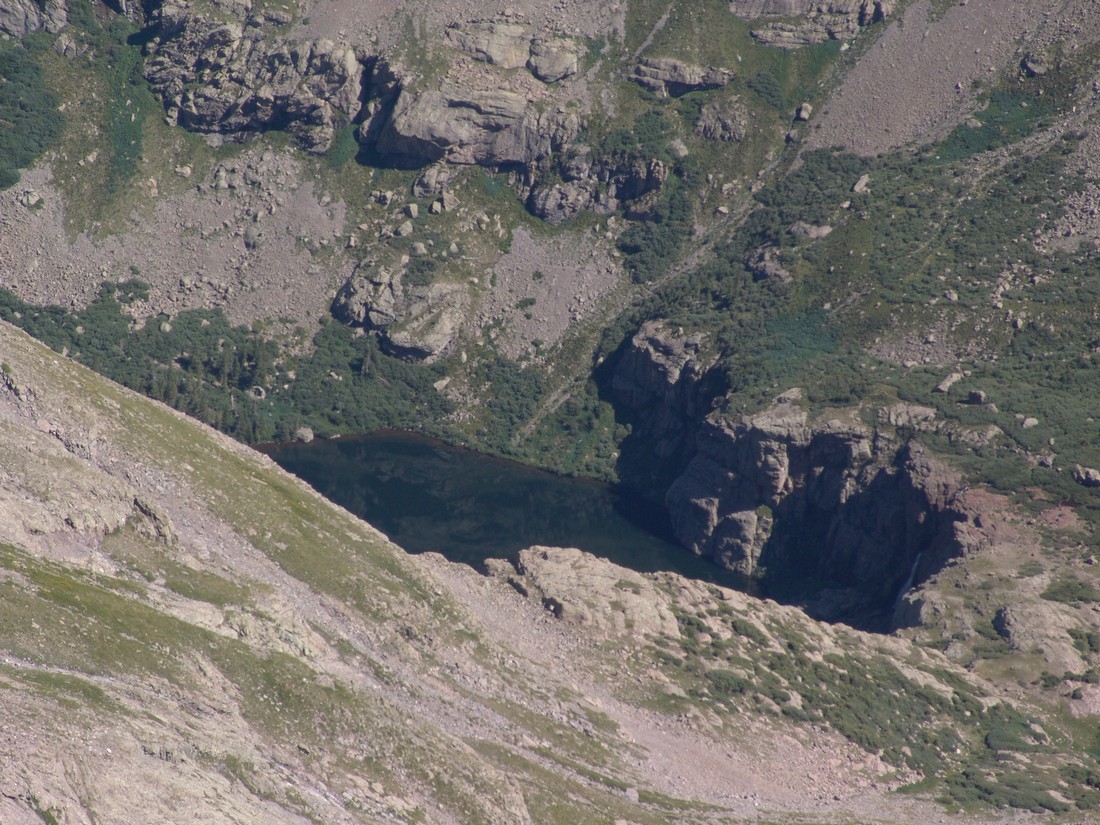
And a shot looking south. 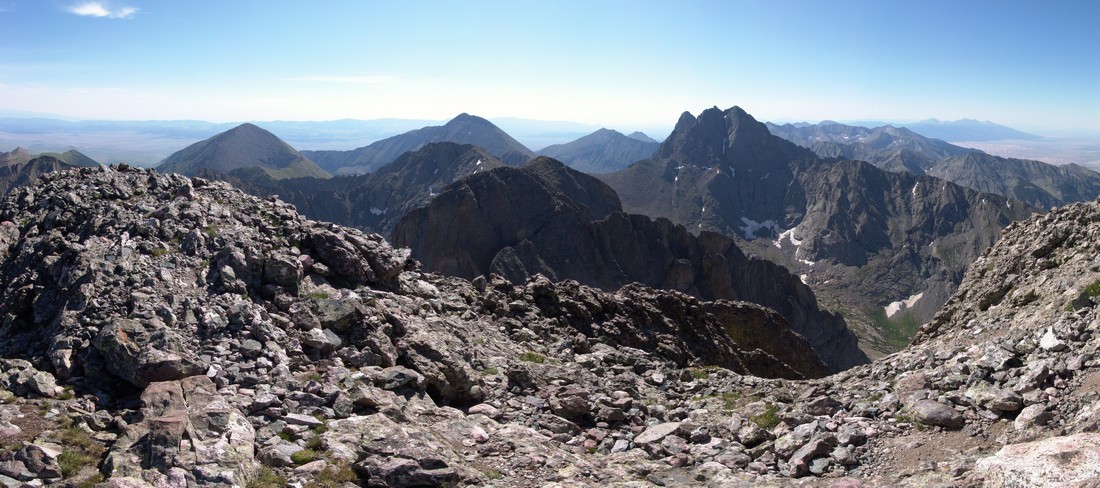
And a 180 degree pano with Columbia Point in center. 
And of course here I am flexing victoriously on the summit. 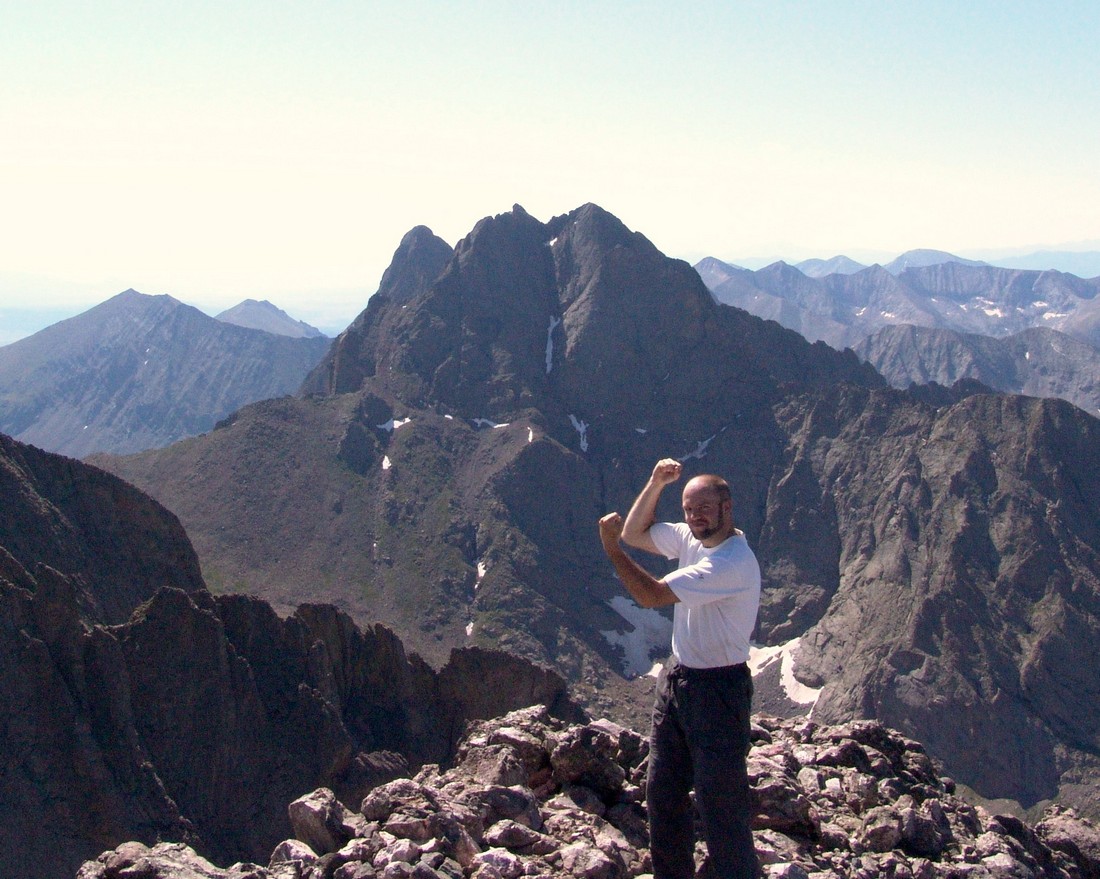
After a quick snack on top I decided it was time to go back down and decide if I was going to climb Columbia Point. Terry had already headed down and would not be attempting Columbia Point. After running into another climber on the way down and picking his brain on the approach for Columbia Point and assessing the weather, I decided to give it a shot solo. This was possibly the most technically challenging climbs I’ve done to date. The route was not well-established and there was a couple of spots where I was exposed and could have fallen to my demise. Here’s a picture outlining my rough route up. 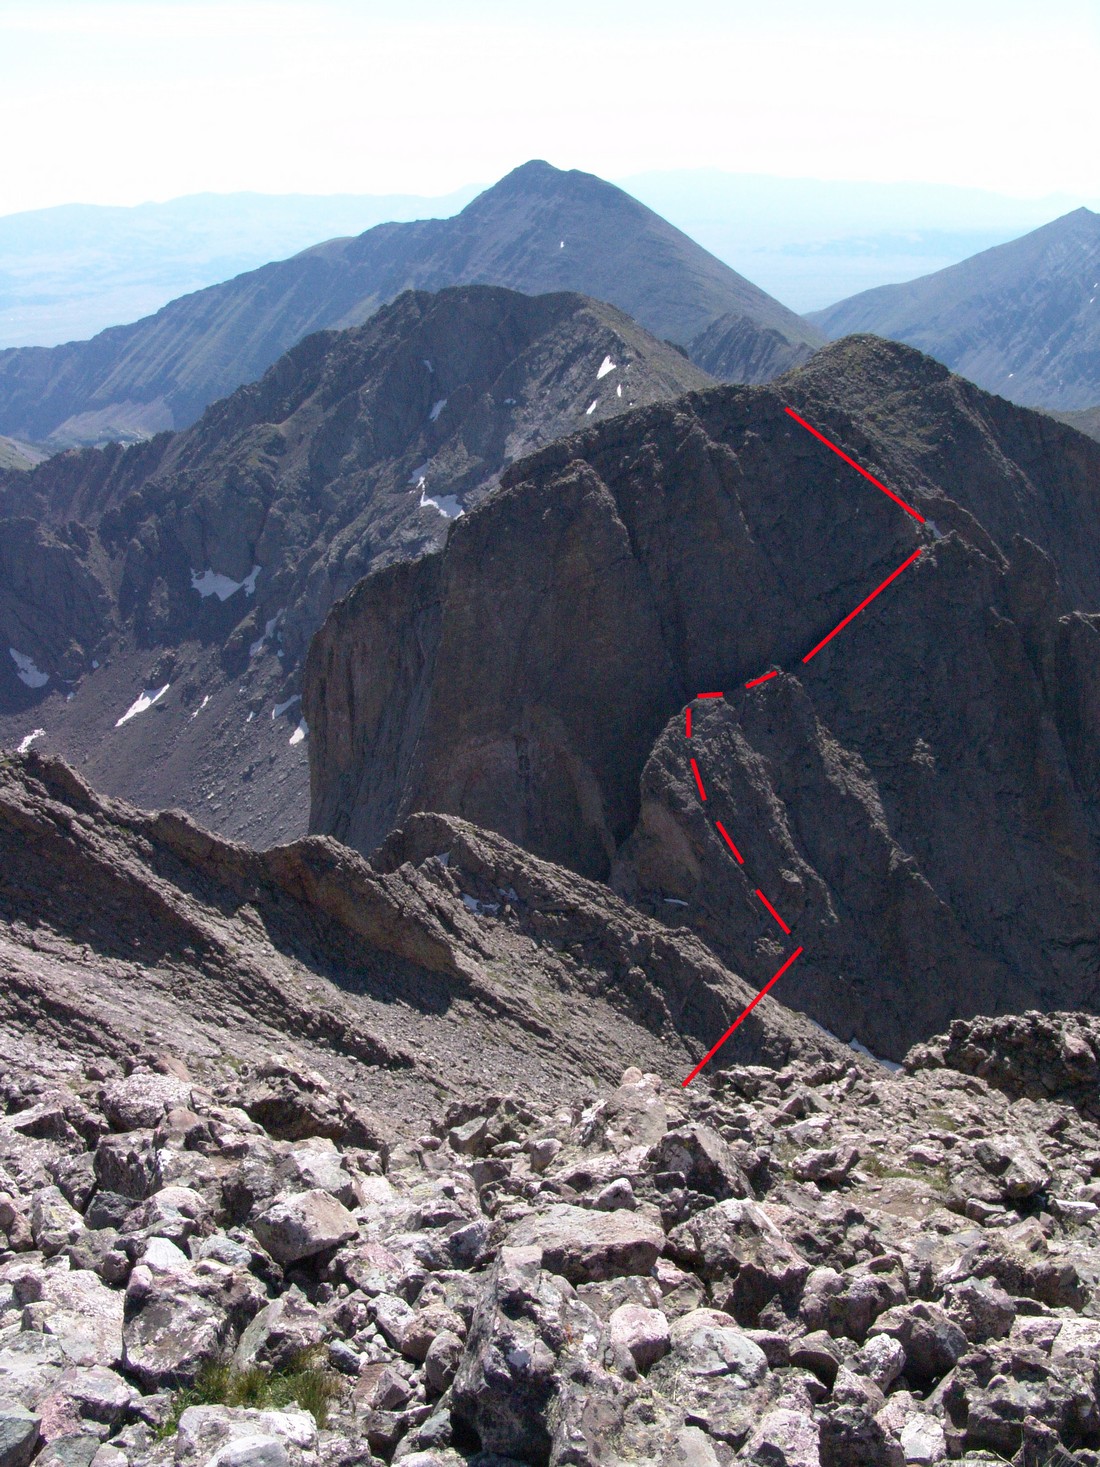
Once I reached the top of the first gully of the fin (5th red line from bottom), I had to make a really risky move to down-climb about 10 feet to the next section of the fin. I sat there for at least two minutes and contemplated the move’s risk and thought of turning around. I would definitely rate the move as Class 5 (Class 5: Technical free climbing involving rope, belaying, and other protection hardware for safety. Un-roped falls can result in severe injury or death) as it was 100% vertical and required both hand holds and footholds. Even though I still had on my backpack and had my camera around my neck, I decided that I had the skills and the mental acuity to give it a shot. This move was really tricky as I had to somehow flip myself around and onto the face of the rock wall, with 300 feet of exposure (Empty space below a climber, usually referring to a great distance above the deck through which the climber could fall) to the left and a steep rocky slope below me to the right. I took a photo of the spot but it really does not do it any justice. Perspective is everything. I was amazingly cool during the attempt but did find myself shaking a little and my heart was racing pretty fast. Once I secured myself onto the face of the wall, I descended several feet down, ensuring that my hands and feet had secure holds with each move. In retrospect, this was a very risky move and leaving the gully earlier to avoid it would have been prudent. After this, the route was pretty straight forward up the fin and then up the steep ridge. It was hand over hand the rest of the way up. I reached the top and took photos of the mountains surrounding me; Crestone Needle, Crestone Peak, and Kit Carson. 
At this point, “The Prow” of Kit Carson was readily apparent to the left of Kit Carson’s summit.
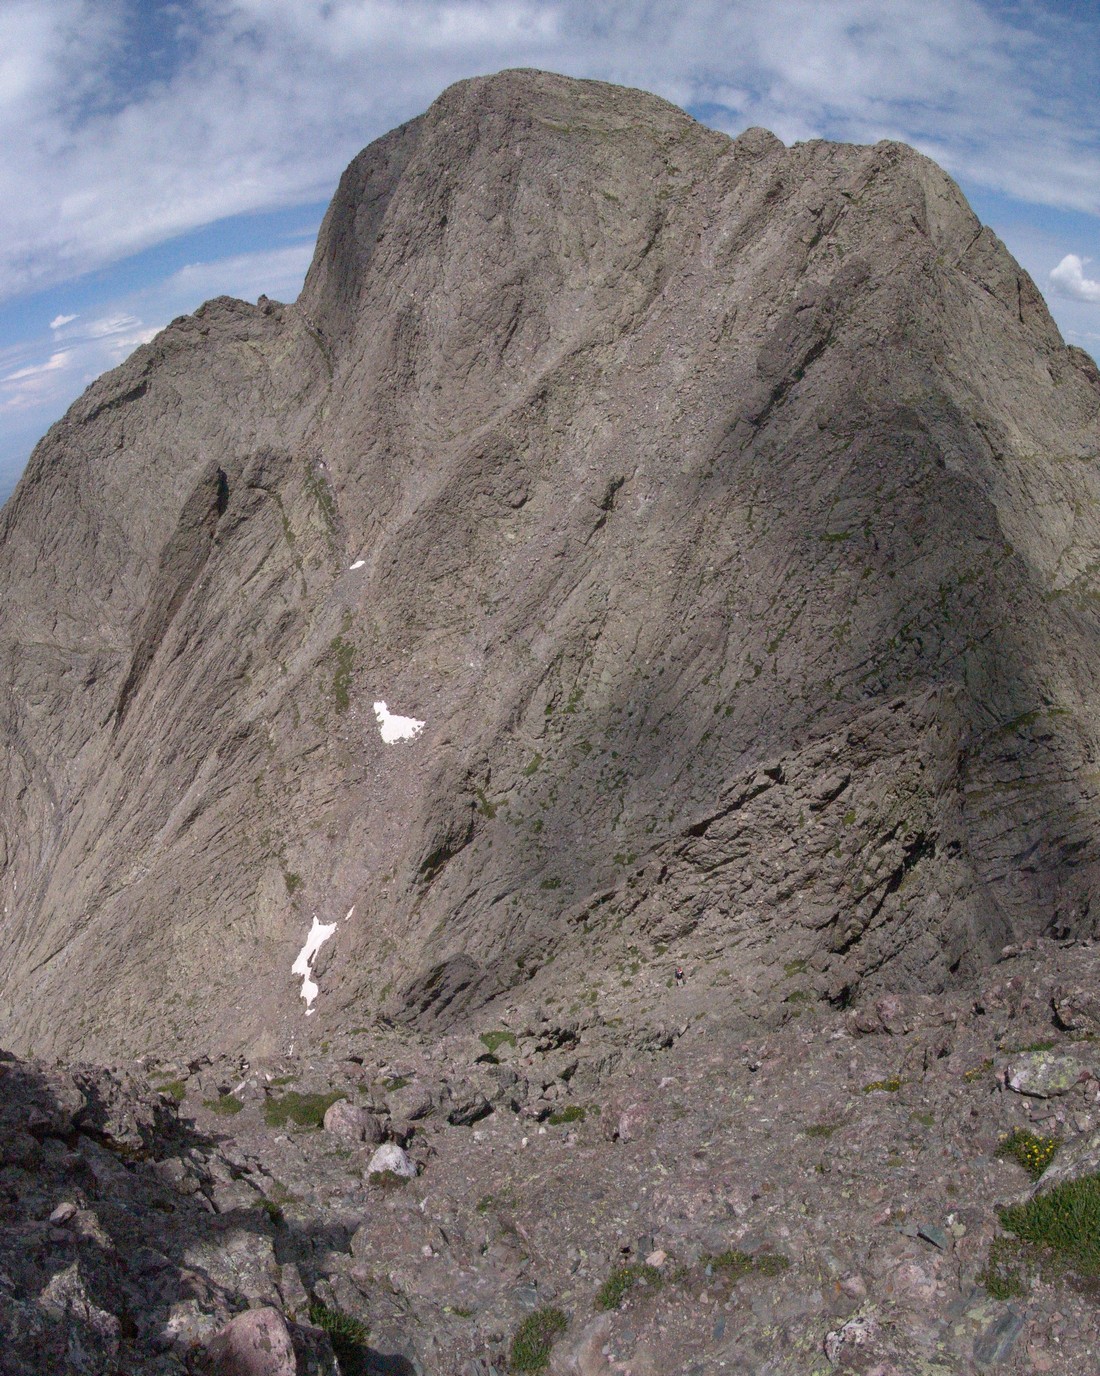
After taking pictures I took some time to search for something I had heard about… I was unable to locate a plaque that was dedicated to the Columbia shuttle disaster of 2003 as seen here:
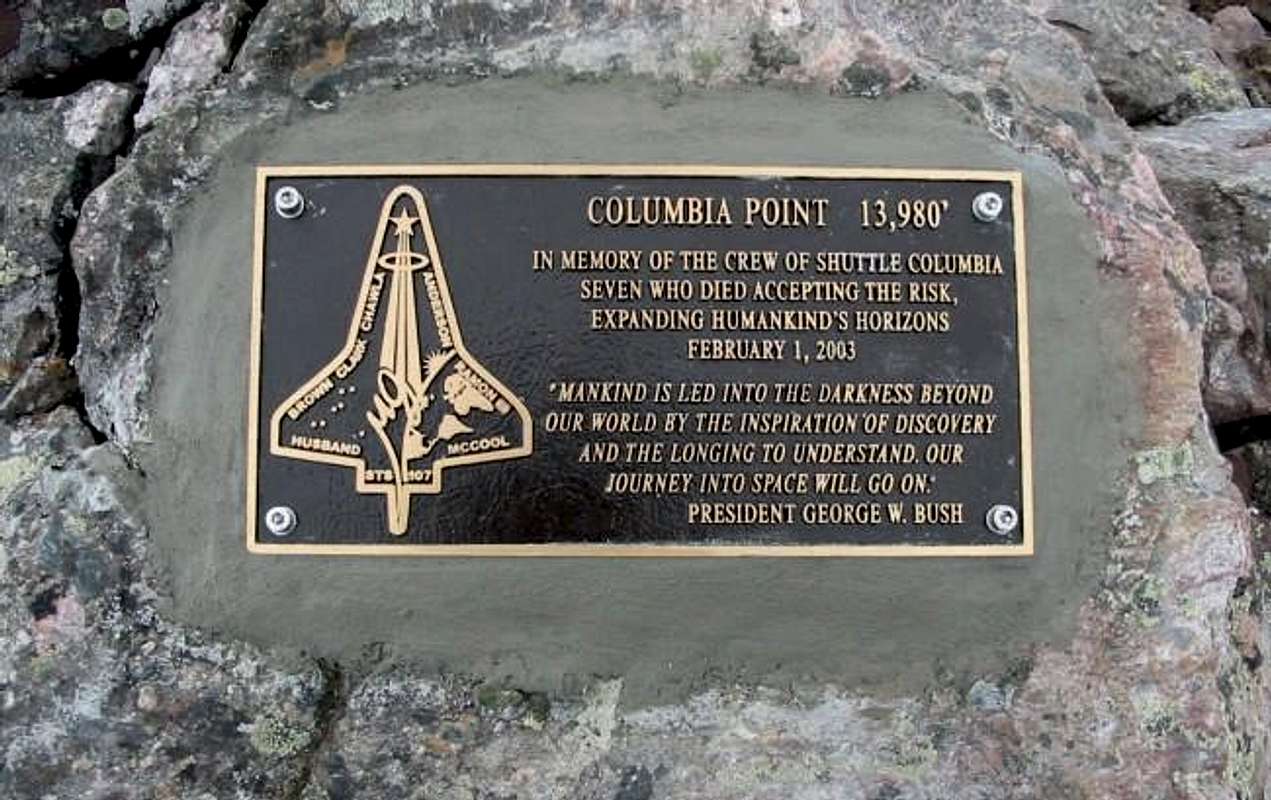
This was a real disappointment because it was one of the reasons I wanted to climb this mountain. I searched around the summit in all directions but could not find it. Frustrated, I second-guessed that I was truly on the summit of Columbia Point and not “Kitty Kat Carson,” an unranked 13’er right next to Columbia Point to the south. You can see it behind Columbia Point in the photo above. Even though a summit register on top said I was on Columbia Point, I wanted to go over to the other summit to be sure. After a quick trip over to “Kitty Kat Carson,” I determined that I was indeed on Columbia Point previously; however, the trip was well worth it as I was able to get some pictures of the full-on and un-obscured view of Crestone Needle and Crestone Peak.
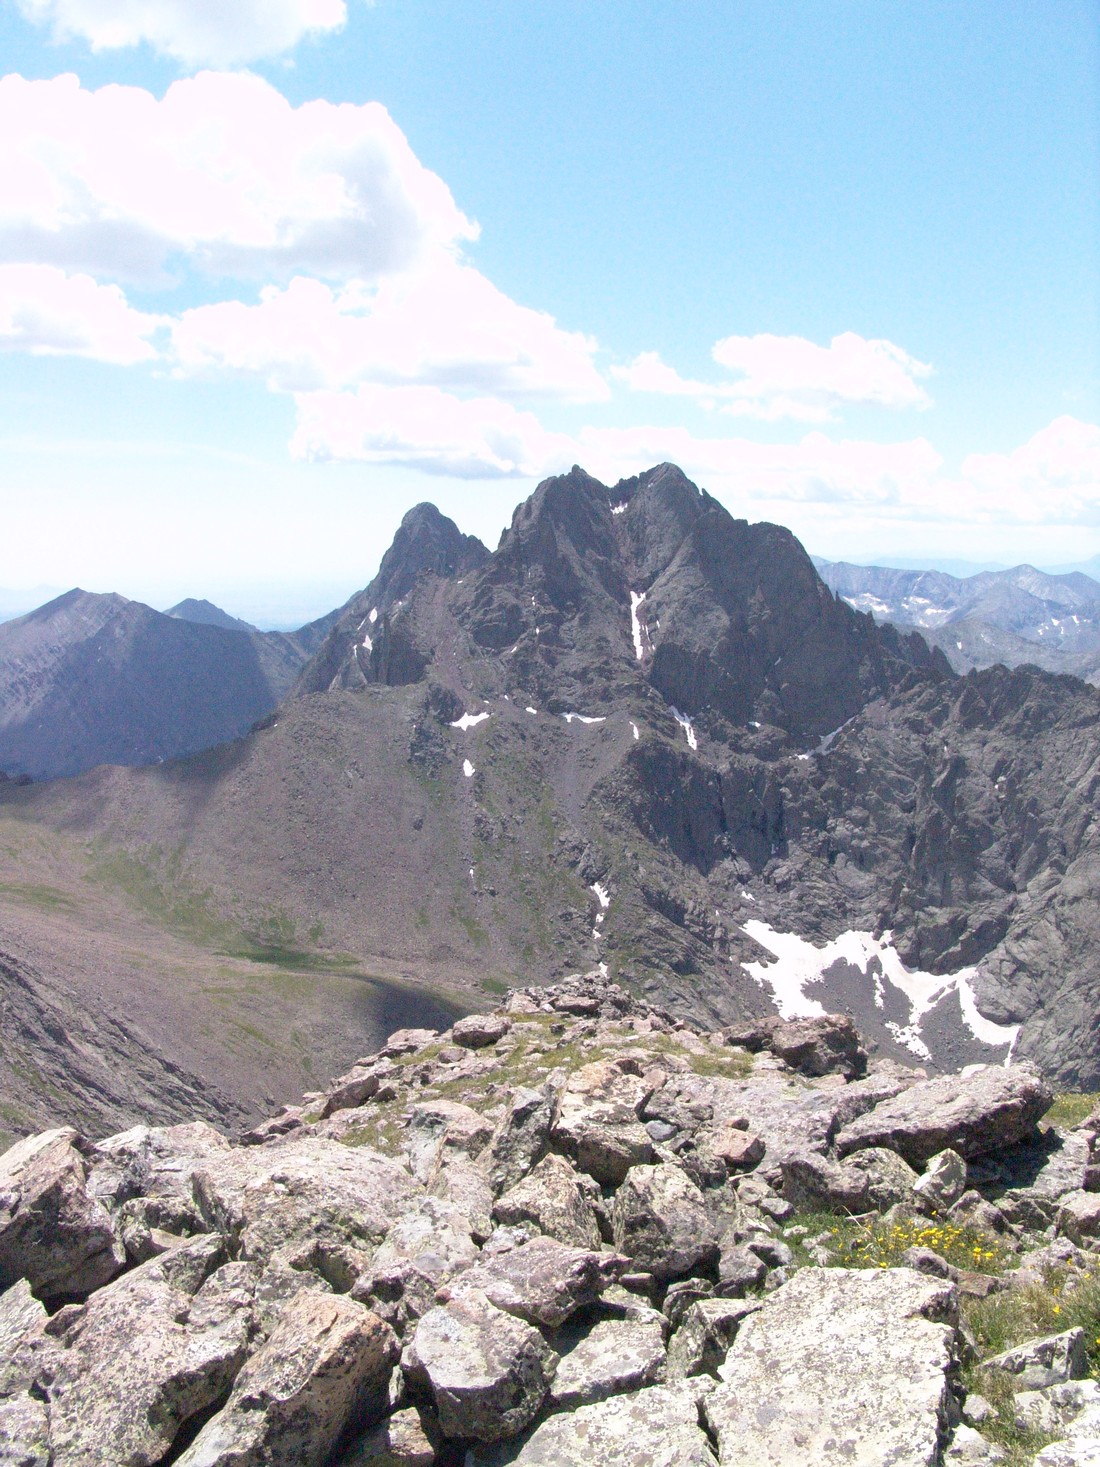
After enjoying the views from “Kitty Kat Carson,” I decided to go BACK over to Columbia Point one more time to try to find the plaque. Unfortunately I was not able to find it. Looking east, I noticed that some clouds were building so I decided it was time to head back towards Kit Carson and back up the Kit Carson Avenue. Another look back towards Kit Carson revealed that another climber was coming up Columbia Point so I knew I needed to be careful not to kick any rocks down on him.
I reached the top of the Outward Bound Couloir between Kit Carson and Columbia Point and headed back over towards Kit Carson Avenue by way of a steep gully with a large rock terraced over it, which created a nice and tight fit back over to the Kit Carson side of the couloir.
After reaching the top of Kit Carson Avenue, I climbed back down to the saddle between Kit Carson and Challenger Point and decided to re-summit Challenger Point as to ensure that the same route we took to get up would be the one used to get down. Once at the top of Challenger Point again, the nasty weather was building and looking more and more ominous.
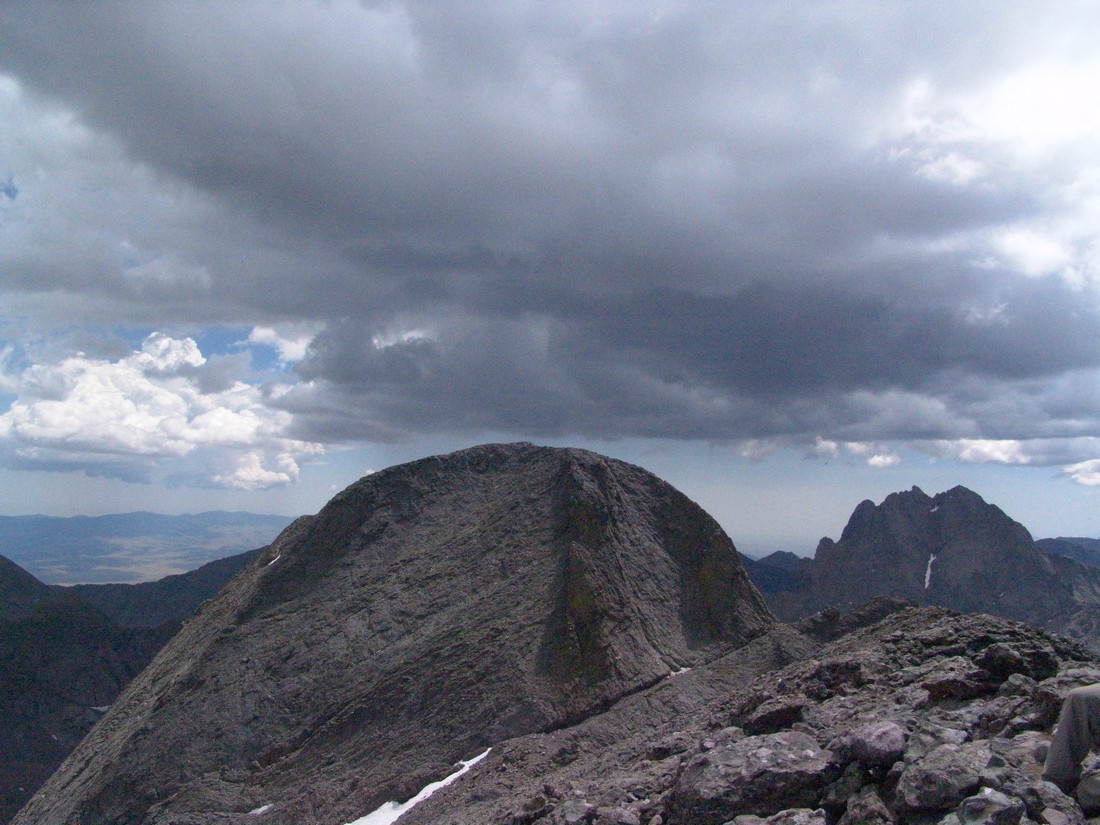
Fortunately the weather cooperated just enough to let us get back down to the lake in our haste. It was pretty cool seeing the flora down there since it was dark earlier in the morning when we were coming up. 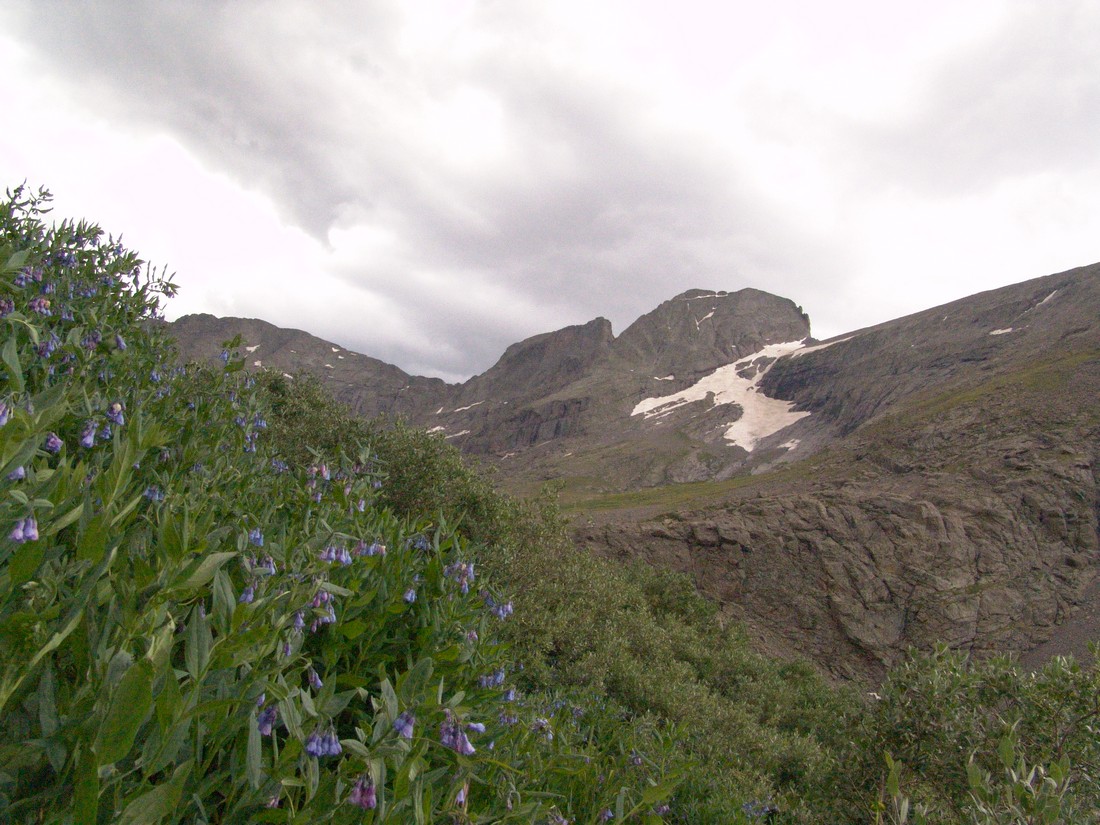
We made it back to camp, packed-up, and headed out. We got back to Colorado Springs at about midnight and I was exhausted.
I would rate this climb highly. It is challenging, offers many routes, and there are several peaks to ascend in the area. All in all, this is a must-do climb for any serious Colorado mountain climber.
Blanca Peak and Ellingwood Point - Introduction to the Sangres
Blanca Peak has always mystified me. It is one of the most prominent mountains in Colorado - it towers over the San Luis Valley and the Great Sand Dunes National Park. It is easily one of the most impressive looking mountains in the State, from almost any angle. With that being said, it was quite exciting to finally get to climb it along with its neighbor, Ellingwood Point.
Here are some meaningful statistics from this adventure:
Blanca Peak - 14,345 ft. (ranked 4th highest in Colorado)
Ellingwood Point - 14,042 ft. (ranked 42nd highest in Colorado)
Total mileage: Approximately 10 miles
Elevation gain: 4,600 ft.
My friend Terry and I started our epic July climbs with a bang by heading down to the Sangres to tackle some of the most impressive mountains in the State. To accomplish this - we would need to backpack up a fairly long road to reach some high mountain lakes.
Terry picked me up at my house on Friday morning at about 7AM and we started the drive down to Walsenburg. Once we reached Walsenburg, we headed west over La Veta Pass and then through the towns of Fort Garland and Blanca. From Blanca, some pretty awesome views of the Blanca massif can be seen. Blanca is the highest one in the middle towards the back and Little Bear is the pointy one on the left.
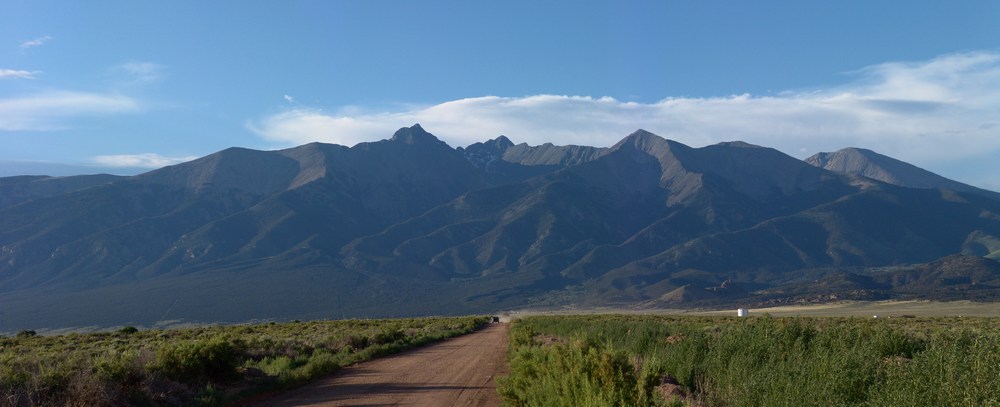
Next we headed north towards the Great Sand Dunes and turned up towards Lake Como. The Lake Como road is one of the premier 4-wheeling roads in the State, as evidenced by the three Rubicons at the start of the road. We started up the road in Terry's Blazer and encountered what I believe to be some of the most intense off-roading I've ever seen. Terry was a total champ! He was able to maneuver up the crazy road over some impressive and daunting obstacles and got us to a large camping area at about 10,000 ft. Turns out Terry damaged his engine mounts in the process. Here is a nice article on the road we were driving on.
In 2010, I went up the same road with my friend David, and there are more photos of that adventure in my Little Bear report.
The road is full of obstacles called "Jaws" which we stopped just short of. We got out of the vehicle and started our backpacking adventure. My pack weighed in at 55 lbs and Terry's weighed 40 lbs. I guess I carried heavier food!?
Here is the overall route we took up the valley and eventually up to the top of the peaks:
The hike took us up past the infamous "Jaws" obstacles and eventually we landed at Lake Como. We passed Lake Como and continued up the valley towards Little Bear Peak, Ellingwood Point, and Blanca Peak. We finally stopped above tree-line at 12,200 feet to set-up our camp-site. Here is a nice panoramic photo of the view from our campsite:
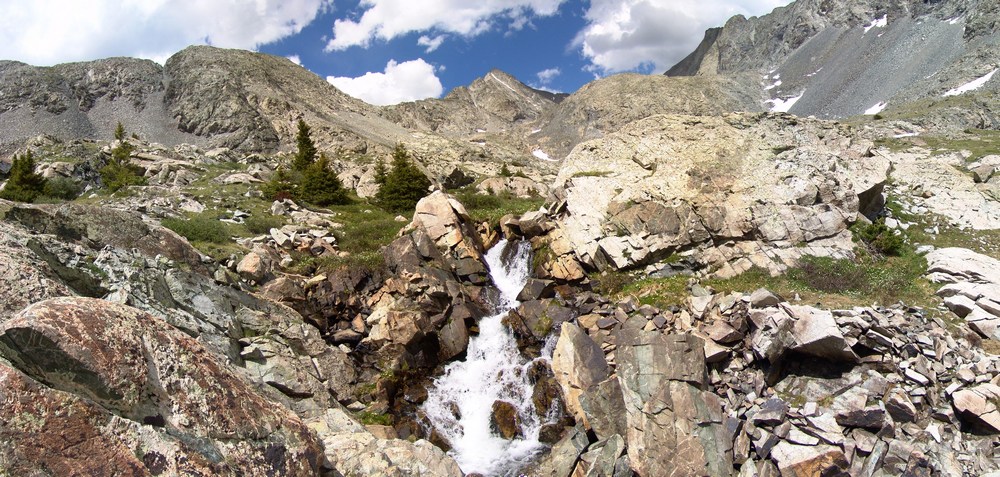
We were camped right next to a mini-waterfall that looked right up at Ellingwood Point. After we unpacked and got settled in, we decided to take a short hike further up the trail to one of the Blue Lakes. On the way there, I saw a small bird scurry past me. My first thought was, that bird can't fly! Then my second thought was, that's a baby bird! Sure enough, there were several small baby birds right in the area that were standing very still.
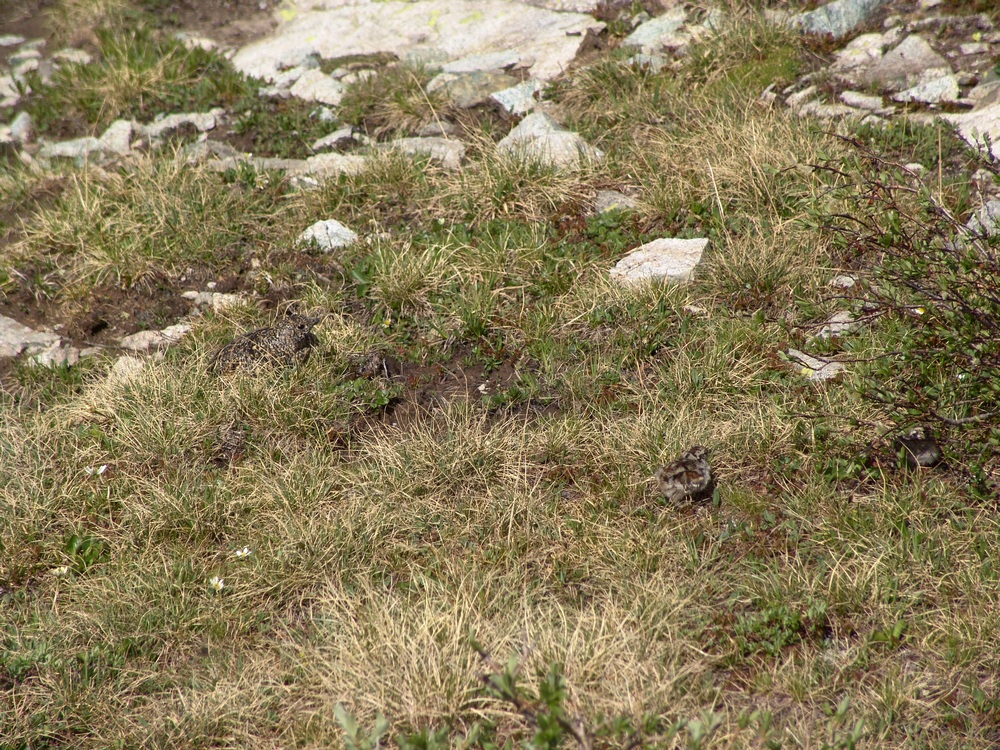
Then I spotted the mama bird - a full-grown Ptarmagin hiding in the brush:
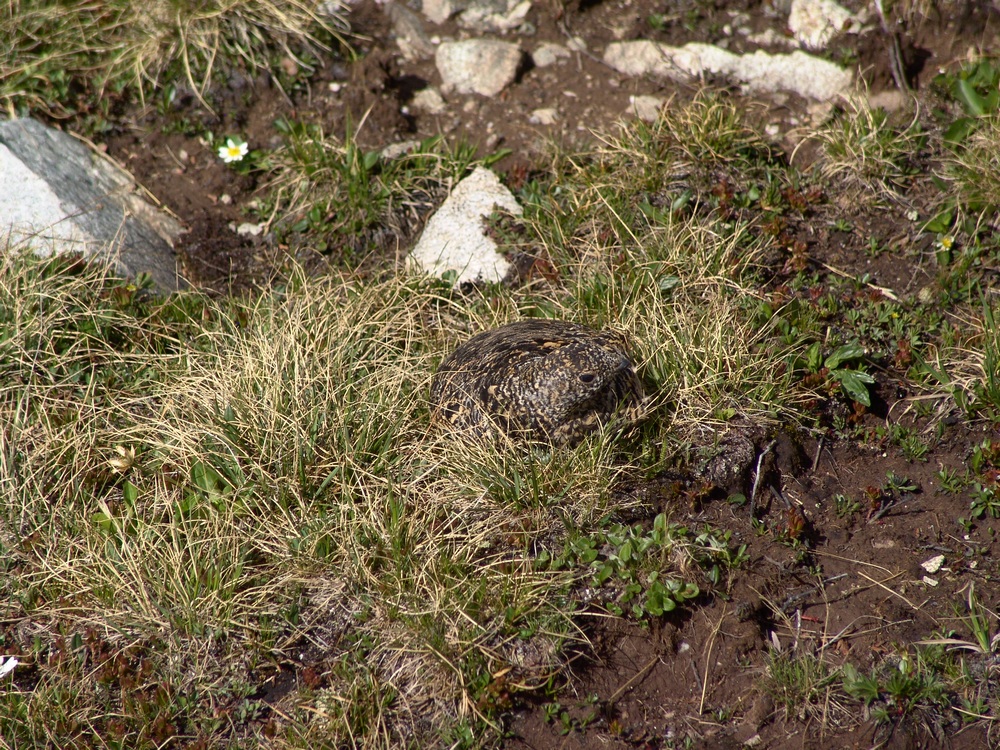
She got up and started running around me like a crazy lady (can't blame her - I was invading her space and she was protecting her chicks) and I took one more picture of her and continued up to the lake.
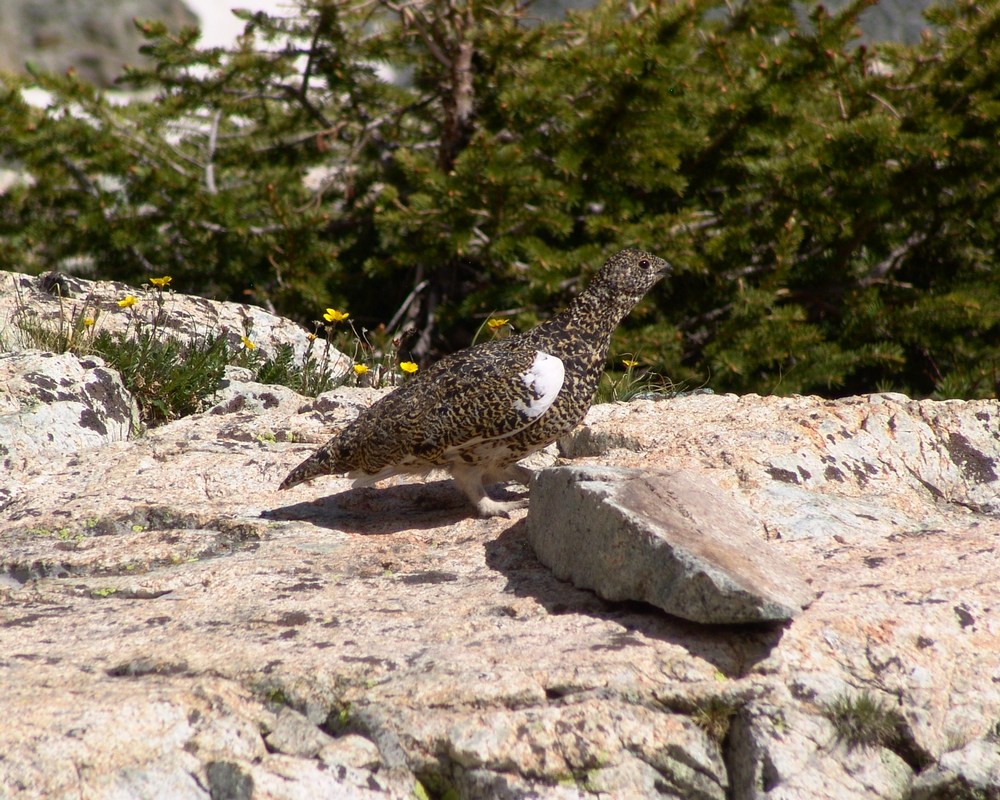
At the lake, we were able to get more awesome views of Ellingwood Point (left of center) and the waterfall at the base of the headwall for the Blanca / Ellingwood Point saddle.
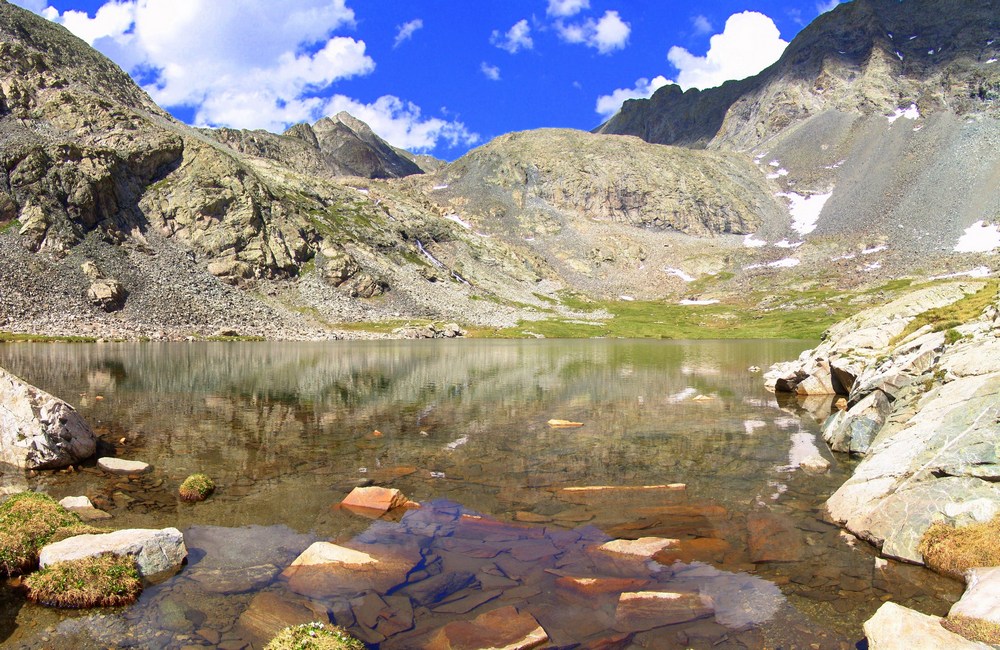
From the lake you could see all the way up and down the valley, including nice views of Little Bear.
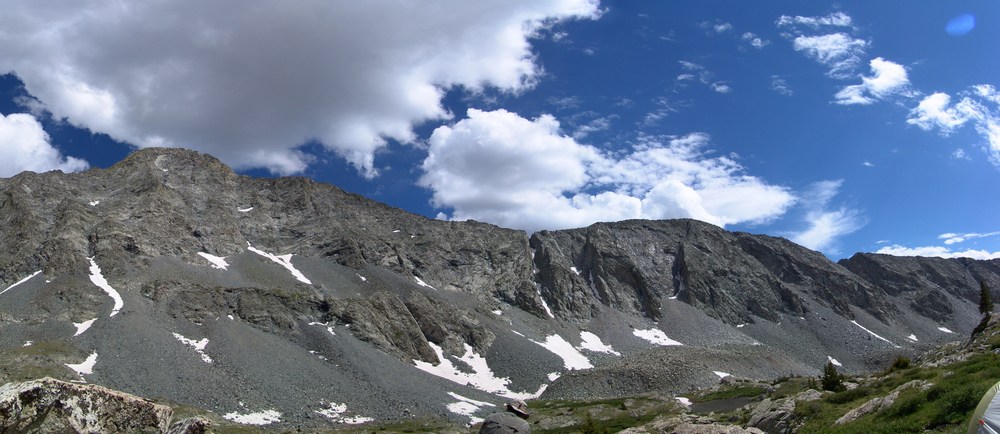
On the way back to our camp-site, we encountered a very friendly Marmot hanging out on a rock. This whole area was full of marmots and we were very careful to hang our food bags in a tree to prevent Marmots from eating our food.
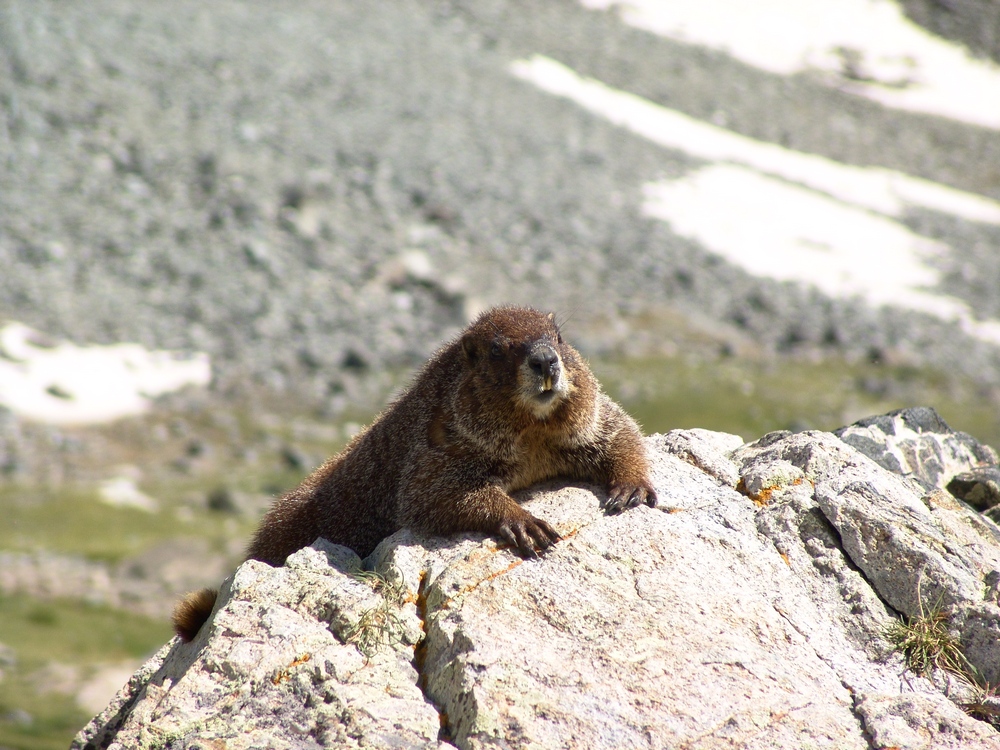
When we returned to camp, we both set-off to prepare dinner. Terry boiled some water for his freeze-dried meal and I opened up a can of tomatoes, chicken, and green chilies. I got out my pre-chopped onion and sauteed everything together and made some yummy burritos. My pack may have weighed a lot, but I got to eat well, so it was worth it.
We saw that rain was on the way so we prepared our area for rain and got into Terry's tent. The rain was fairly heavy and lightning was off-and-on the rest of the evening. I was particularly uncomfortable being so high during a lightning storm, but we survived... We set the alarm for 4:30 AM and went to sleep.
At about 1AM I woke up to the loud sound of rocks falling. I think a goat knocked down some rocks in the valley, which sounded like fireworks in the middle of the night. At 4:30 we both got up and prepared for the climb. I ate some breakfast bars and Terry boiled more water for another freeze-dried meal. In the process he melted some plastic on his stove on accident. Fortunately, it appeared that his stove was still functional. We started up the trail around 5:30 AM as the sun was just beginning to light up the valley. Shortly after we began, we reached one of the upper lakes. The lake was pretty cool because it was reflecting the light that had just started to shine on Little Bear - right of center.
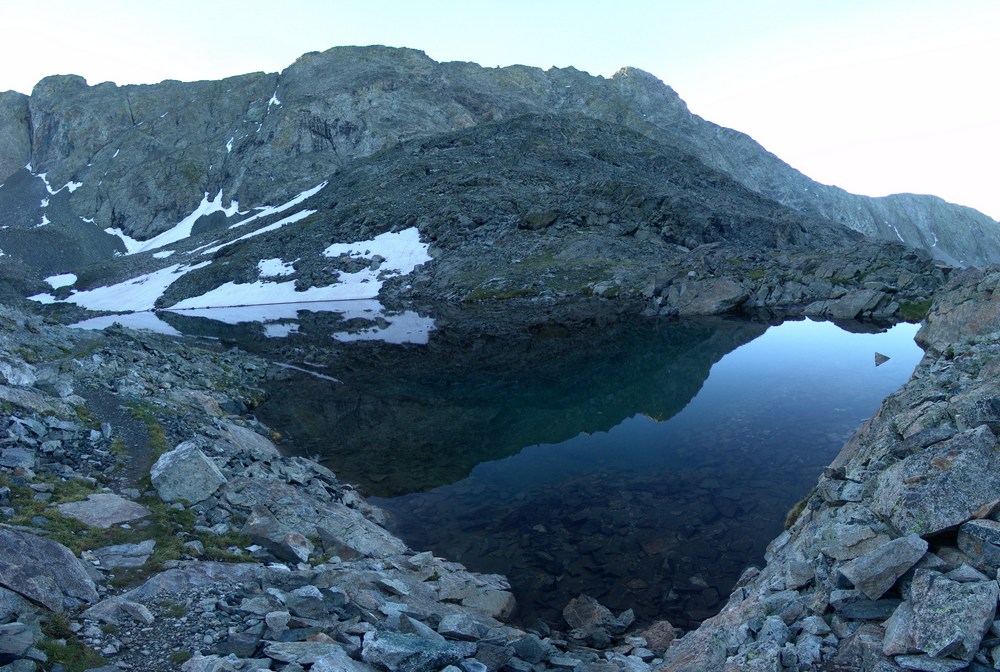
The lakes were really calm and provided some nice views.
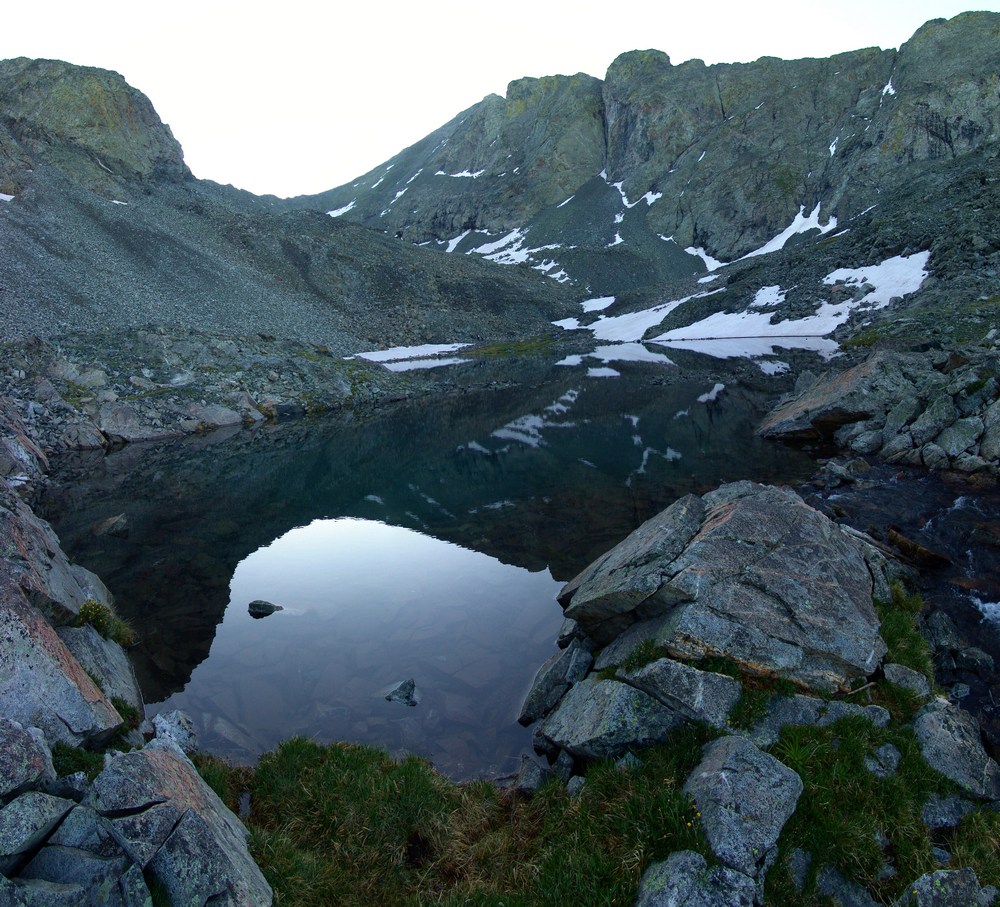
We continued up the trail and began the steel climb up snow fields and boulders. We followed cairns towards the saddle between Ellingwood Point and Blanca and heard the sound of rocks falling above us. A pair of Mountain Goats were doing the traverse from Blanca to Ellingwood above us!
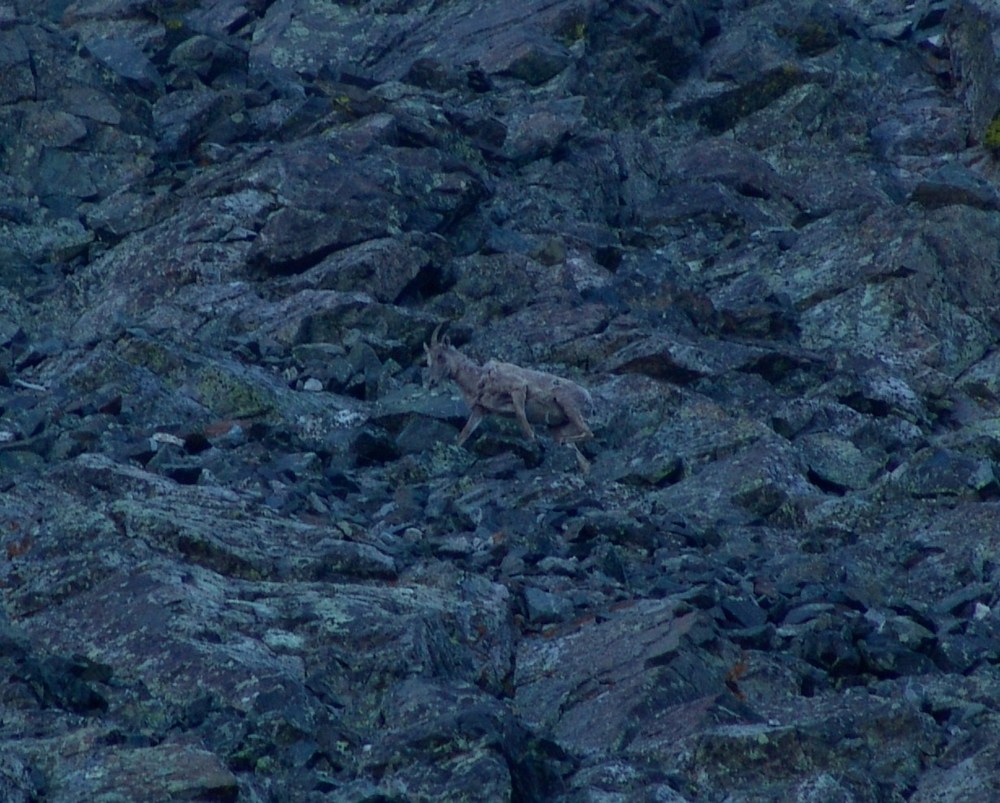
Terry finally reached the trail connecting Blanca and Ellingwood just below the saddle and he led us up towards Ellingwood.
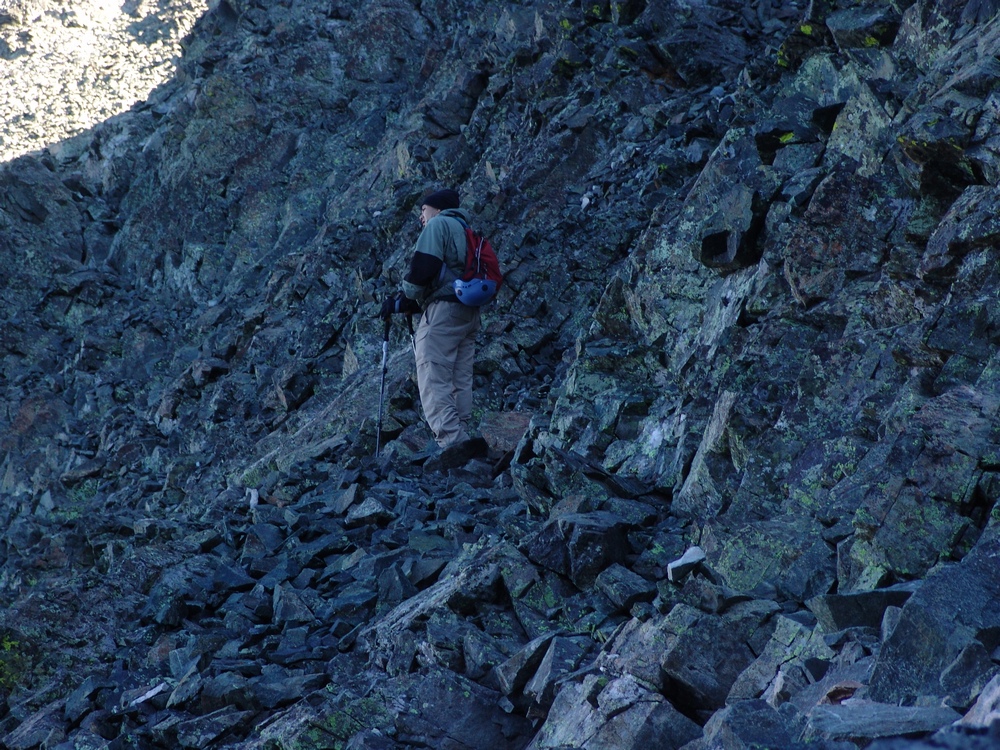
Finally we reached the saddle between Blanca and Ellingwood and were afforded the first very impressive views of the morning. We could begin to make out Crestone Needle (the pointy mountain peaking through left of center).
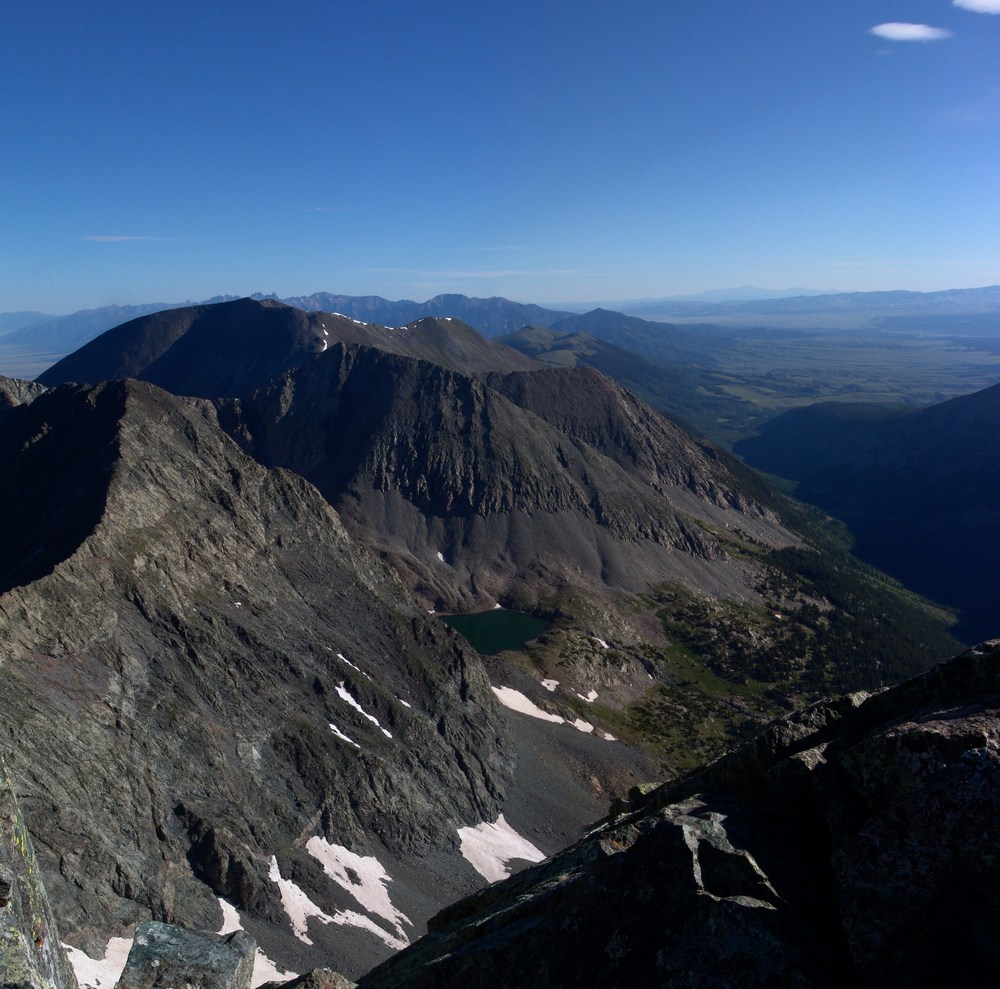
I also took a 300 degree pano from here, which turned out really nicely. On the right you can see the Lake Como valley from where we came from, and on the left you can see the Huerfano River valley and Mount Lindsey, which I climbed last weekend.

We continued up Ellingwood Point and kept looking back behind us in awe of the sheer size of Blanca Peak. It really is impressive. Here's some panos of Blanca and Little Bear, across the valley from us:
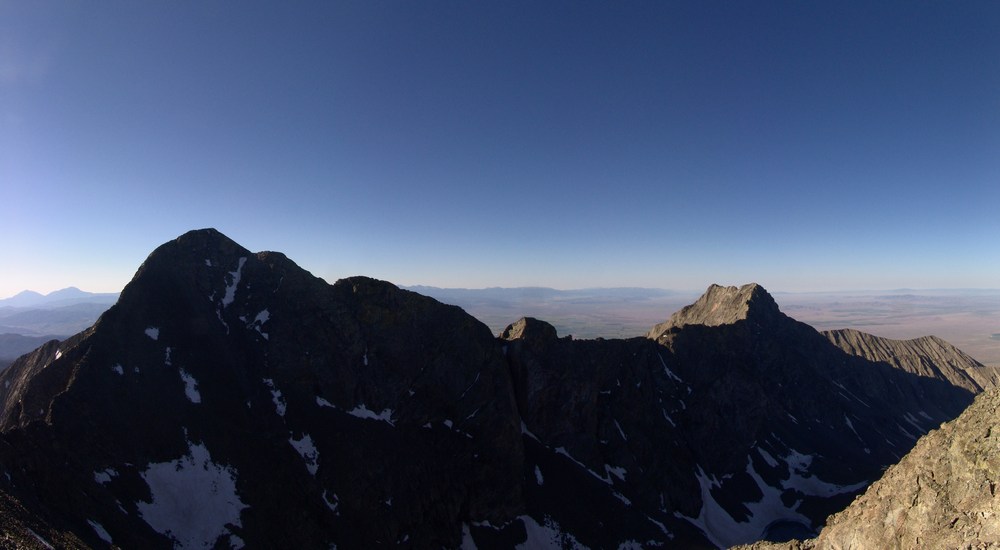
While I was taken by all of the views and therefore occupied by photo-taking, Terry was making great progress towards the top of Ellingwood. He couldn't see it, but unfortunately he was not the first to summit Ellingwood today. The goats were!
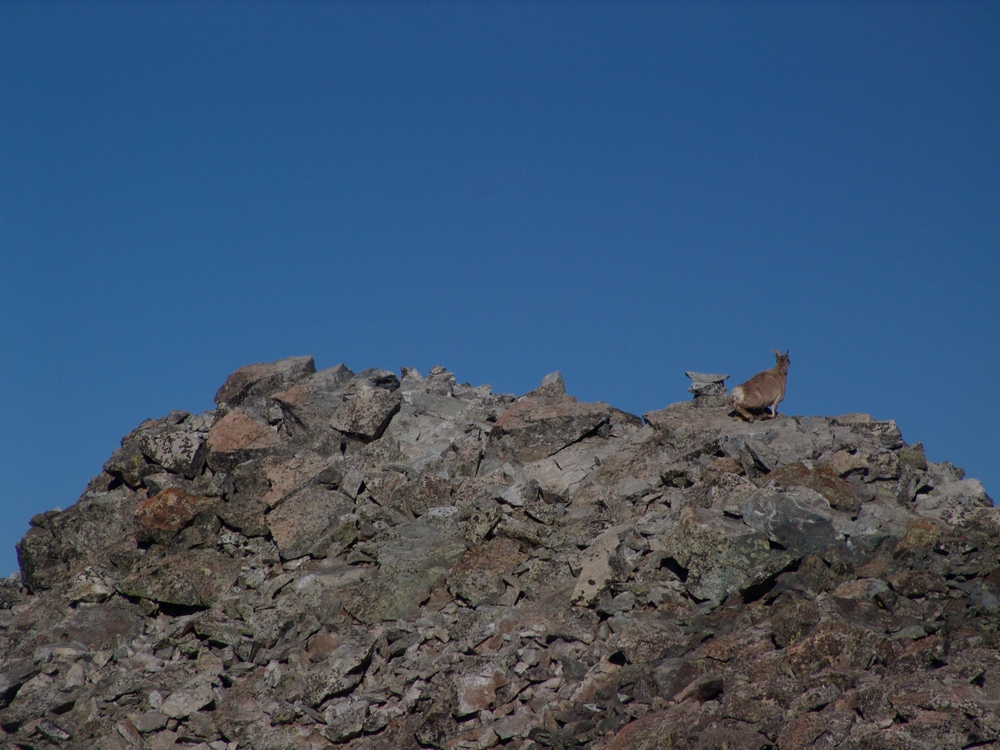
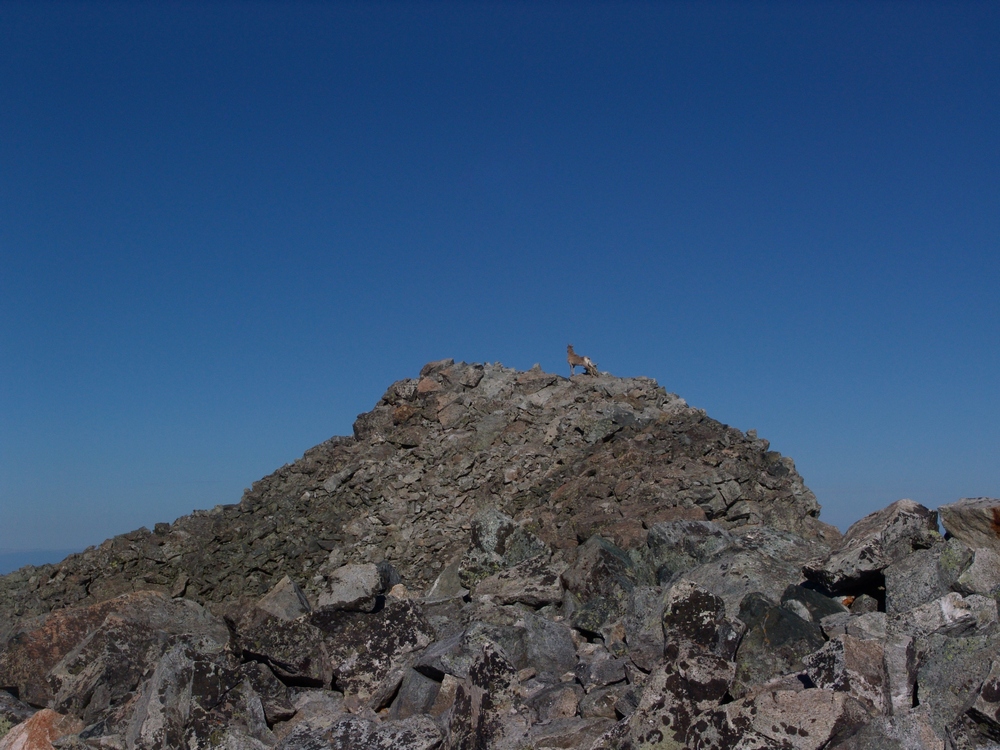
As Terry approached the summit, the goats left and Terry was afforded solitude once more on Ellingwood. Here's Terry with the moon above him as he took in the views from atop Ellingwood:
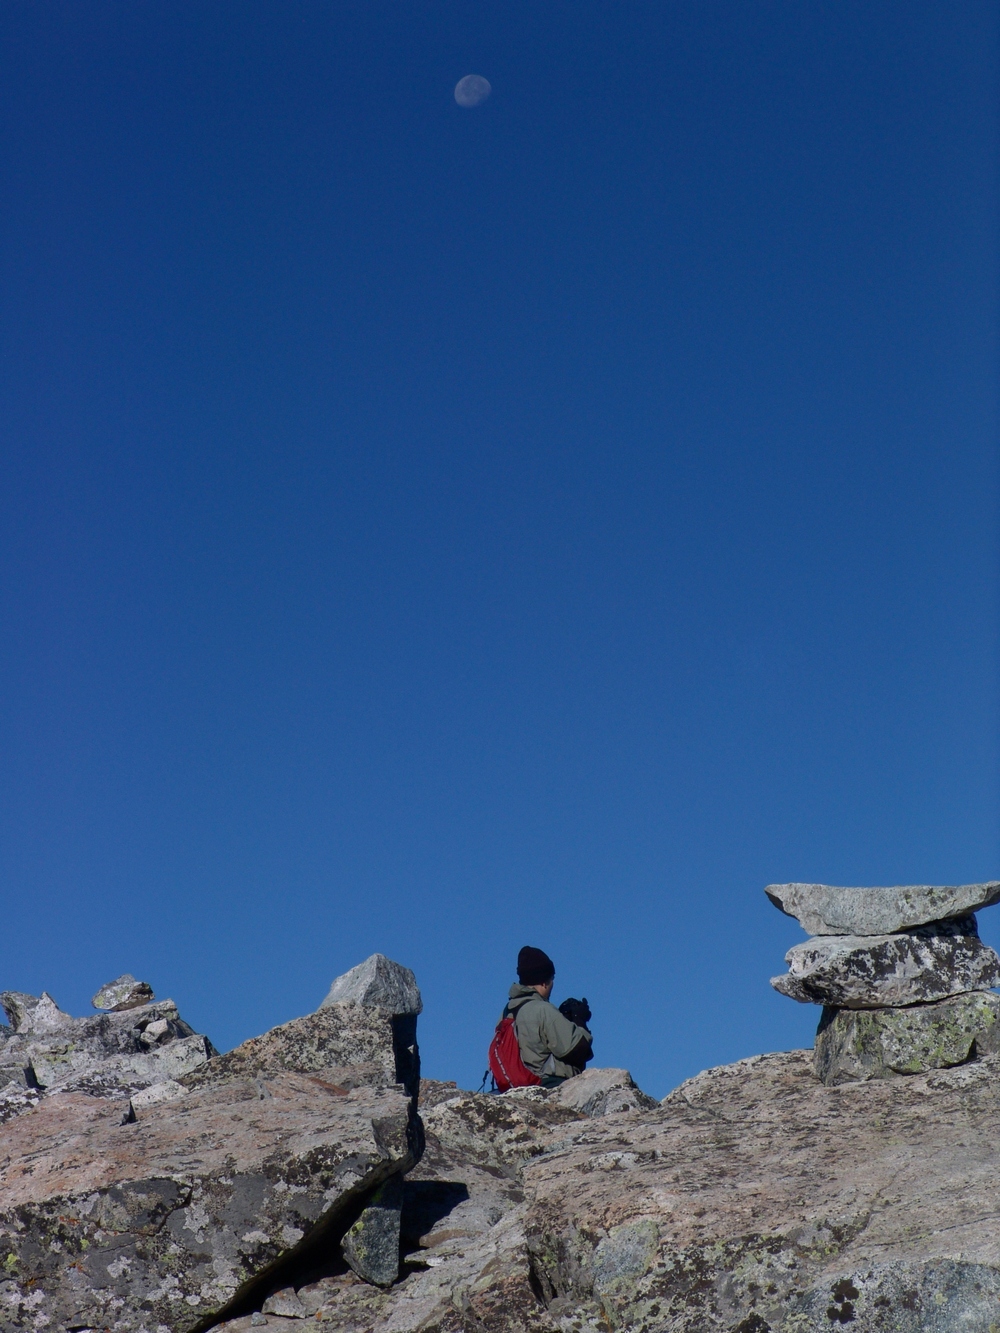
As I reached the false summit of Ellingwood, I looked to my right (north) and saw an impressive ridge connecting Ellingwood to California Peak. If you look closely at this pano, you can see something really cool...
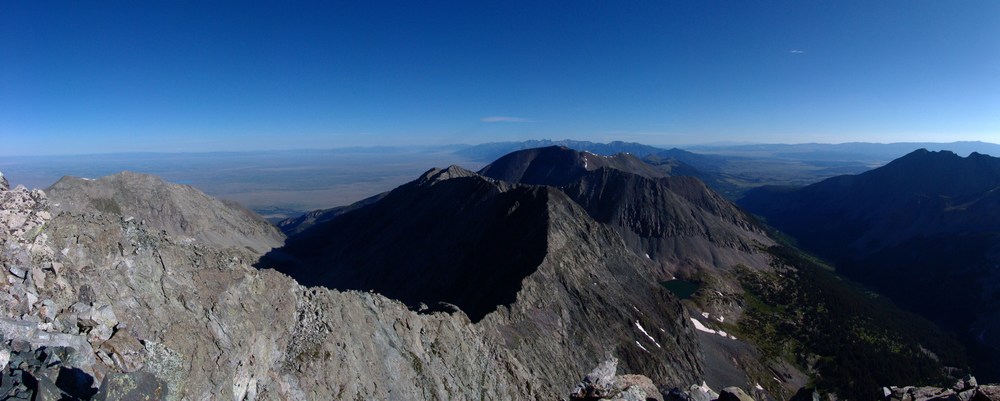
... goats!
Here's a zoomed in view of the Goats! They were doing the traverse down the spiny ridge. It was really amazing seeing wildlife this high.
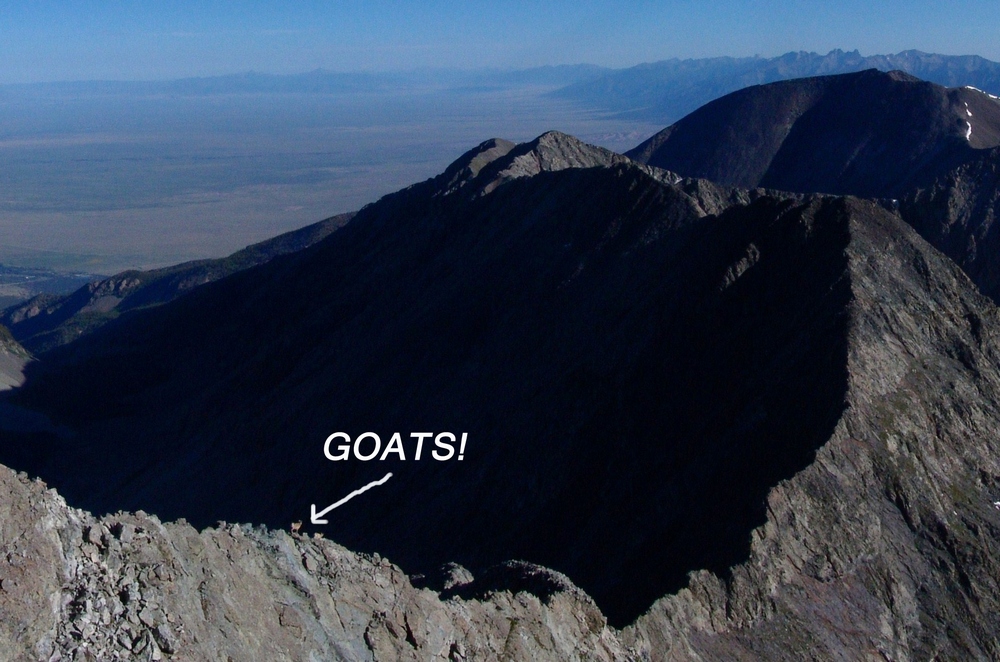
I finally reached the summit and Terry was already taking pictures. He took this one of me as I was also taking photos:
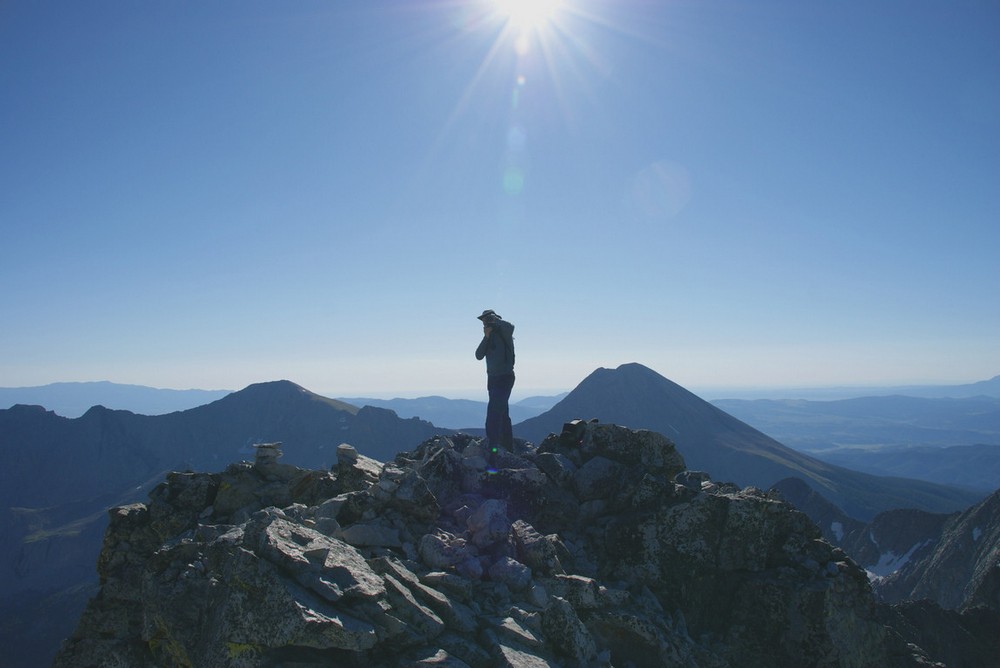
Here's a 360 pano from Ellingwood. Under the sun is Lindsey, and left of Terry is Little Bear and finally Blanca:

Terry and I stayed on top for about 20 minutes, watching groups of people summit Blanca and Little Bear across the valley. We refueled and began the traverse over to Blanca. This was a fairly sketchy route, perhaps because we stayed pretty high on the airy ridge. To our east was a sheer drop-off of at least 1,000 feet. The route required some careful footholds, ledge-walking, and even an icy couloir. Terry went down the icy couloir first, acting like Spiderman on the edge. I decided to around the ice and then right through it, using my hand to pick up ice and snow and throwing it out of my way. We started up Blanca and passed one gentleman coming over from Blanca. Looking back at Ellingwood, you can see the route we took, basically right down the ridge and up again towards Blanca.
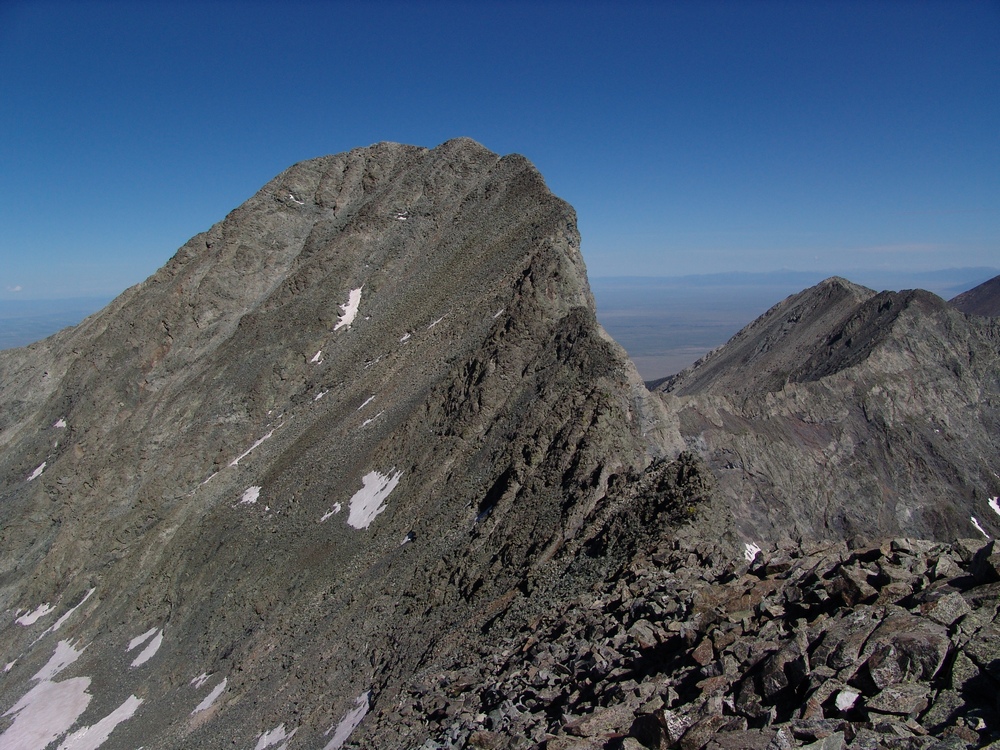
The scramble up Blanca was fairly straightforward class 2+ climbing and I eventually reached the summit. Terry summited about 10 minutes later and we both began to take pictures like crazy. The weather was absolutely perfect - no wind. Terry took my summit shots, and then we both started walking around the summit block in search of great photos.
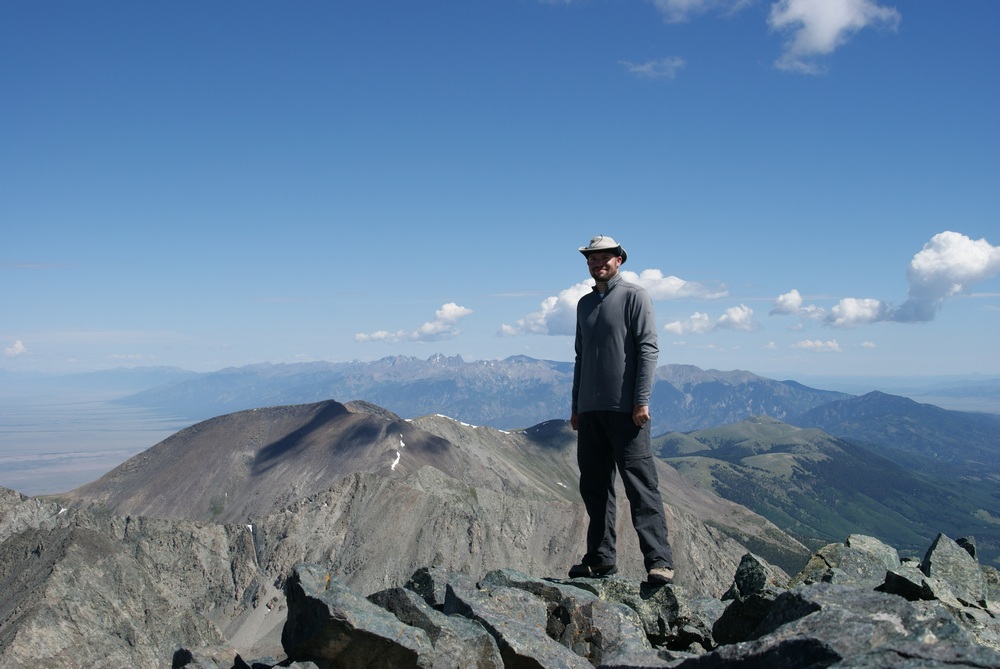
I took my normal 360 pano...

...and then took some higher detail panos of Lindsey Peak and the Winchell lakes to our Southeast.
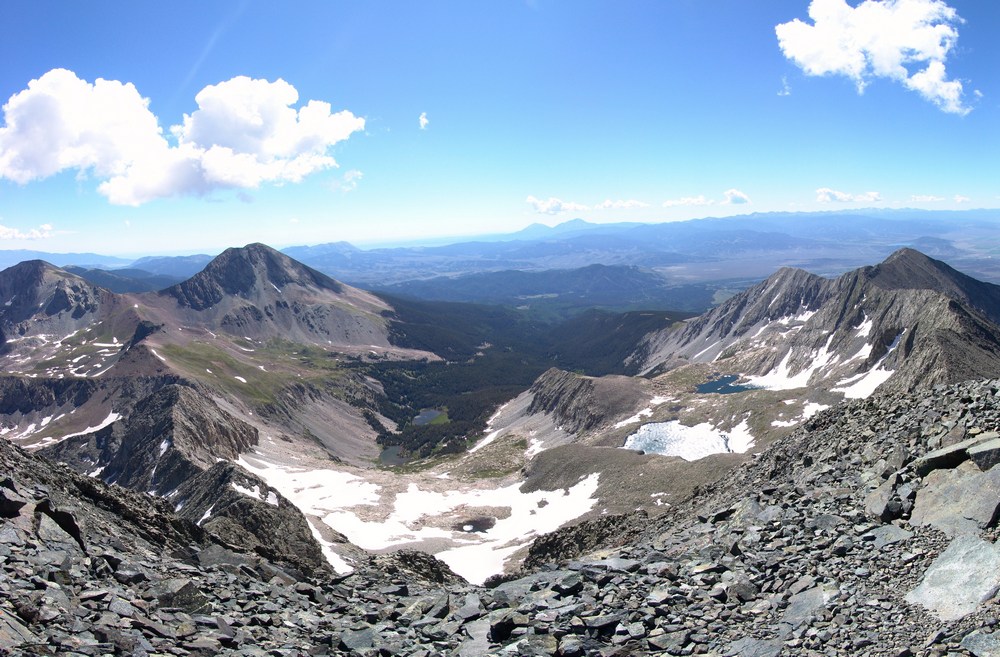
Here's a zoomed in view of one of the Winchell lakes: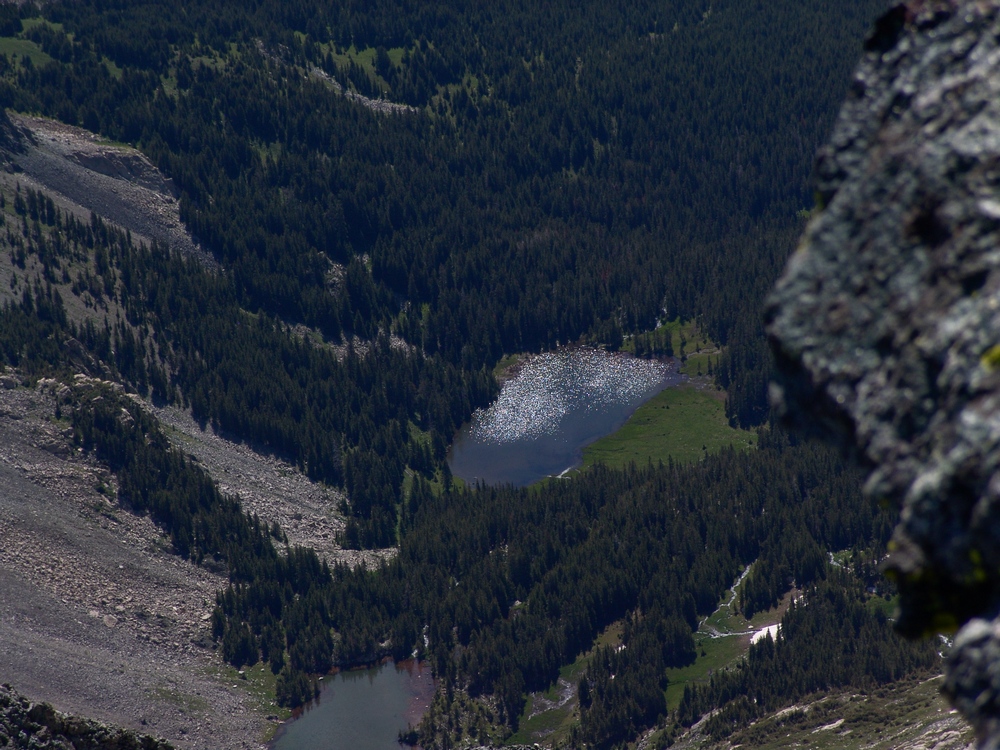
Then I took a very detailed set of photos of Little Bear and the traverse from Little Bear to Blanca - one of the hardest traverses in the State. You can also see Lake Como in the valley to the right of Little Bear.
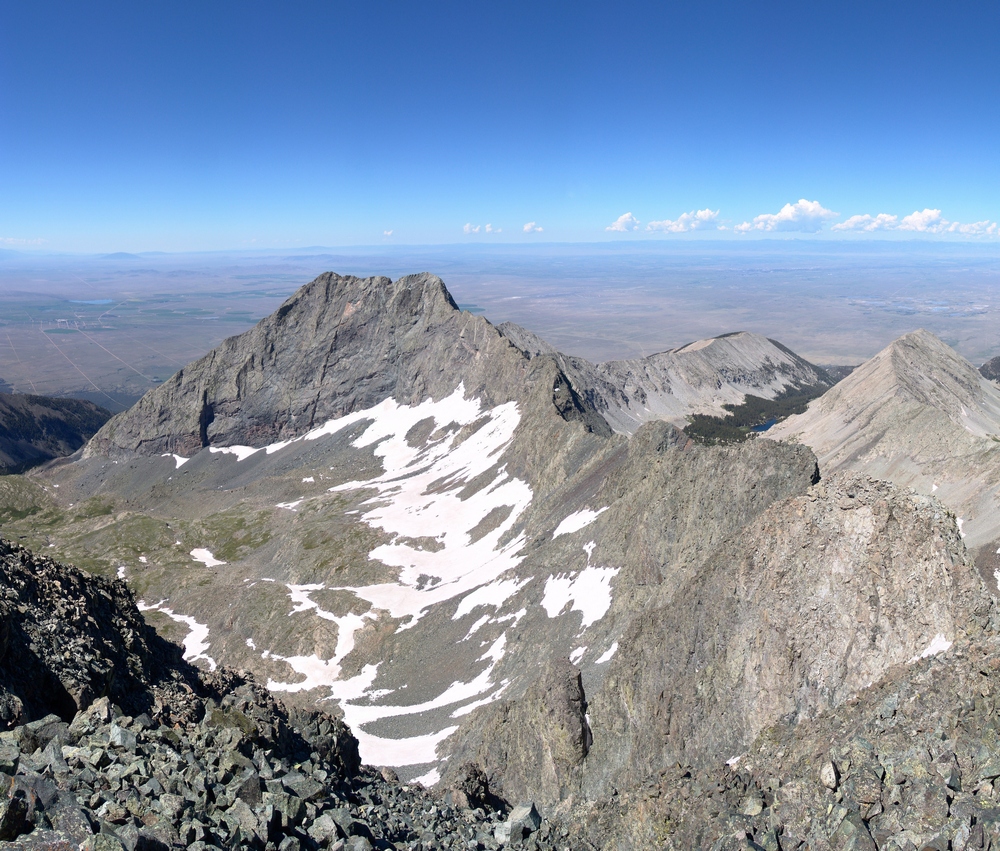
After hanging out on the summit for awhile, we decided to head back down, which turned out to be fairly uneventful except for the awesome views. We eventually got back down to the waterfall, which I had to take a picture of!

When we got back to camp, we both decided it would make sense to just pack-out today, so we packed up our camp and headed back down towards Terry's vehicle. At Como Lake, we encounted a large group of 4-wheelers, one of which we followed down most of the trail to watch him go over the Jaws obstacles. His Willy's Jeep made the Jaws look more like baby teeth:
The hike back down to the car was fairly uneventful after seeing the Willys.
We then drove into Blanca to have some good food to prepare us for the drive home.
Mount Massive - A Frozen Wonderland
Some fun information about this great hike:
Mt. Massive - 14,421 ft. - 2nd highest in Colorado; third highest mountain in the contiguous U.S.
8 miles round-trip via Southwest slopes route
3,950 ft. elevation gain
More snow than I expected...
I thought that my climbing season had ended after being snowed on in mid-September on Grays and Torreys; however, I got the itch to climb again this weekend. Serendipitously, a fellow climber from Colorado Springs, Rob, posted on 14'ers.com that he was going to Mt. Massive on Saturday and that anyone from Colorado Springs was welcome to join him. I jumped all over the opportunity and we made plans to meet at 4:15 AM on the west-side of town to car pool. Rob had his friend Brad with him and we departed for Mt. Massive at around 4:30 AM.
Our route took us directly up the snowy south face of Massive.
On the way over we had good conversation, shared stories about our climbs and got to know each other. We arrived at the turn-off for Mt. Massive at 6:45 and met up with two other climbers from Denver. We reached the trail-head and began hiking at 7:40 AM. Right at the trail-head lies a memorial to the soldiers that died in a helicopter crash earlier this year on Mt. Massive. Here are some photos of the Memorial, notice a section of the helicopter is seen as well:
A memorial cross for the victims of the Blackhawk Helicopter crash on Mount Massive, 2009.
The forecast for the day was clear skies and a high of 60, and wow the weatherman did not disappoint! We swiftly hiked up the valley and reached the turn-off for Mt. Massive. Our view back down the valley was stunning:
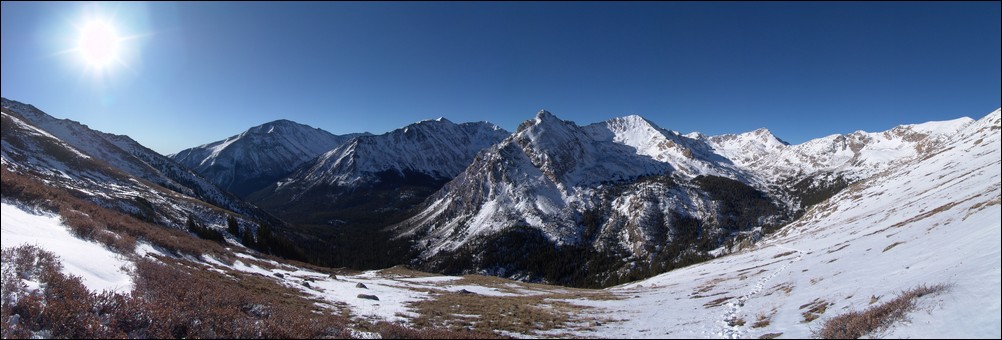
The trail was covered in snow, making for a quite interesting hike. As we gained elevation, the trail became less and less apparent and eventually we just started hiking straight up towards Massive.
Looking back towards Elbert, you can see our footprints through the snow...
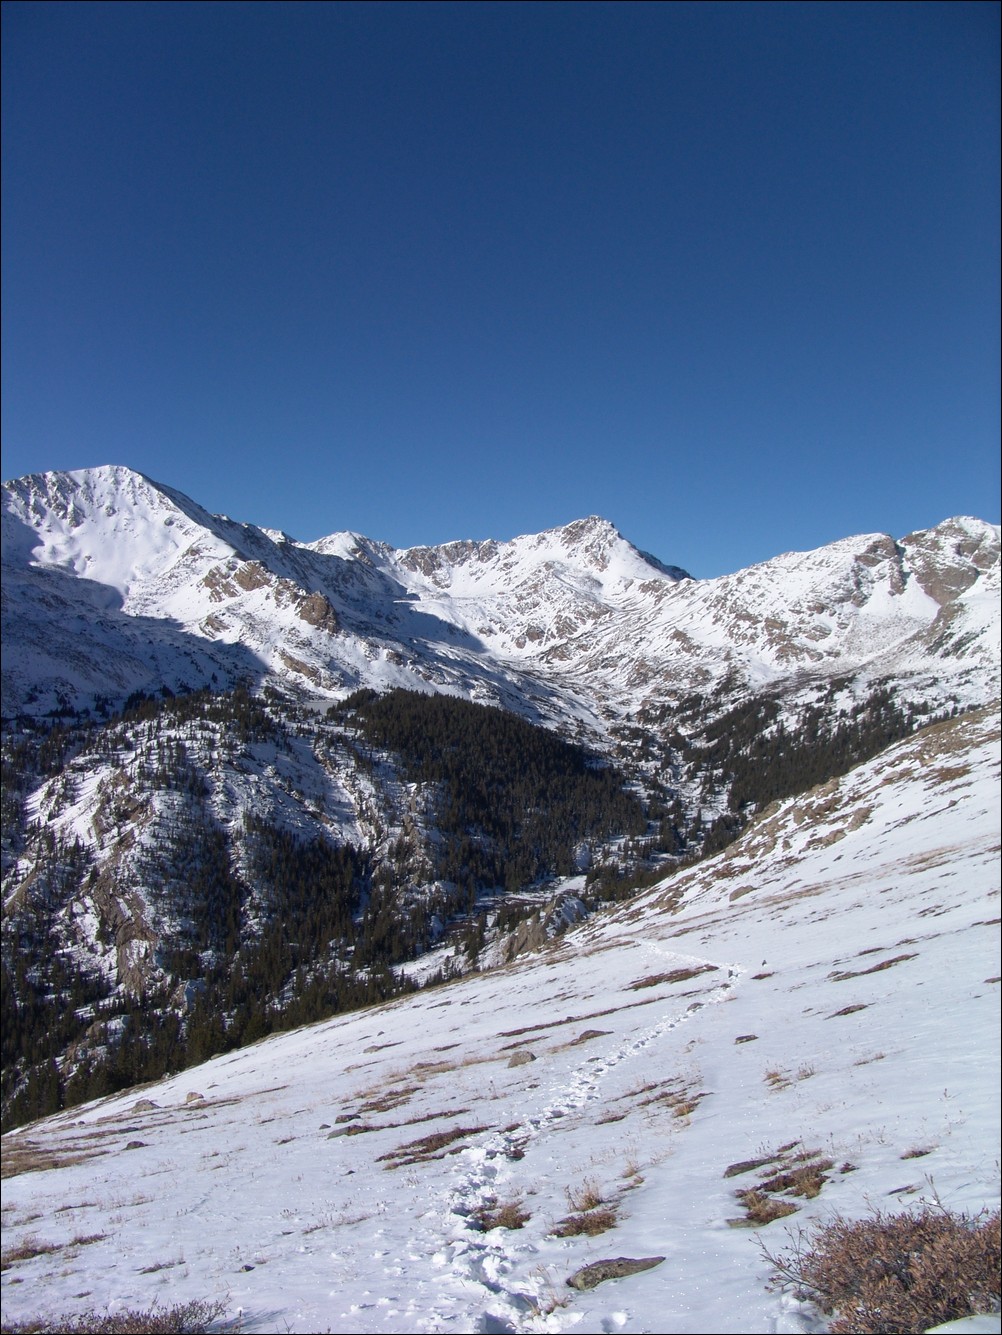
None of really expected to see so much snow, but it made for a very challenging hike. The snow was up to 3 ft. in depth in some spots, and it was quite slippery due to the 30-40 degree slopes were climbing on. We stopped several times to rest on the way up, and about halfway up I was able to take some shots, combined here into a smaller panoramic photo:
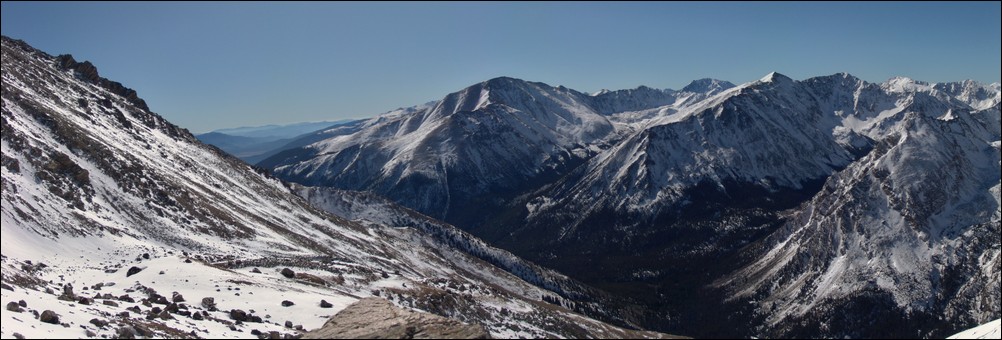
After approximately three hours, we were able to reach the saddle, which joined us with the standard route. By now I was pretty tired, partially due to the extra effort required by the snow, and partly due to the fact that I had not had much to eat. I made sure at this point to eat some snacks, and we headed back up. We found ourselves climbing up some pretty deep snow, as evidenced by this shot, looking up the ridge towards the summit, taken on our way back down:
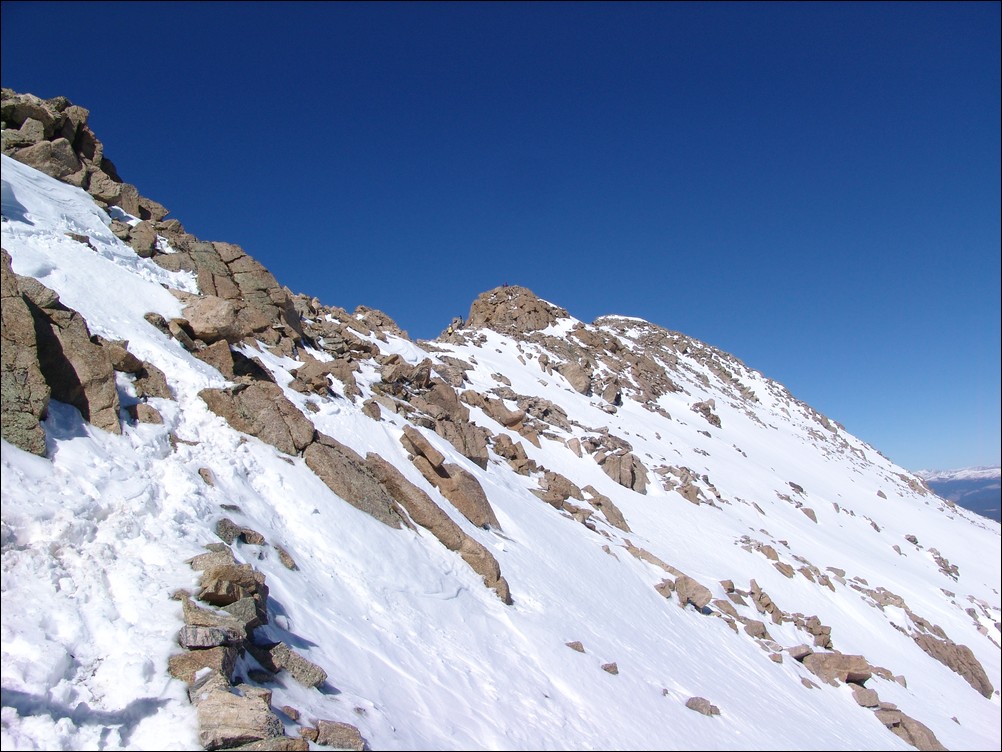
After trudging through the snow, we were able to reach the summit at 12:40 PM, a full 5 hours after we started. The snow really took a lot out of us! I was just really glad I brought my gators and had tons of warm clothing... Here is my obligatory summit pose, with the Elk range behind me:
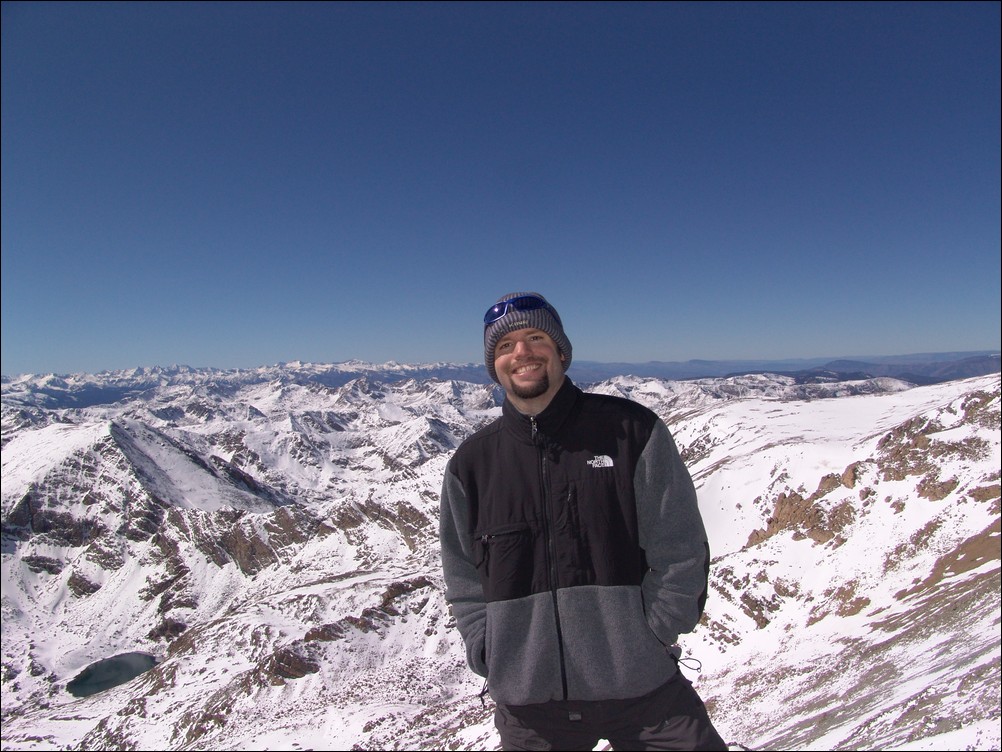
And of course my traditional 360 degree pano:

Before we left from the summit, I took some zoomed in shots of the Elk range, including the Maroon Bells. This stitched pano is one of my favorites from this 2009's shots:

We headed back down and had a good time rumbling down the snowy slopes. I took one last set of the valley, combined into a pano here:

All in all, I would highly recommend this route for Mount Massive. Even in October, the route is solid, and I could see this being feasible even through November or later.


