Displaying items by tag: Tutorial
Creating Planets out of 360 Degree Panoramic Photos

This tutorial will teach you how to create "planets" out of your 360 degree panoramic photos and requires Photoshop.
It is no secret that one of my favorite things to do is to create panoramic photos from very high and unique vantage points in crazy situations like sunrise, sunset, etc. One way that I have made this practice even more artistic is to create "planets" out of those panoramics. This process is actually easier than it sounds, as long as your panoramics are done well. The first step, of course, is to create a 360 panoramic out of your images. I have written a tutorial on how to do that HERE. Once you have your panoramic created, open it in Photoshop. For this tutorial, I have chosen a 360 degree panoramic that I took 2 months ago from the summit of Windom Peak, one of Colorado's more remote and rugged 14,000 ft. mountains. You don't have to use 360 degree panoramics for these planets, but it makes the editing process much easier.
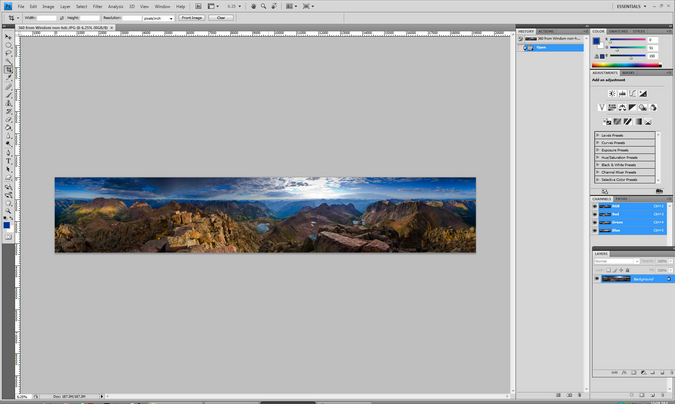
Now that you have your panoramic loaded up into Photoshop, you will need to change the size of the photo itself so that the length and width are equal. To do this, you need to click on the "Image" menu and select "Image Size." Uncheck "Constrain Proportions" and "Scale Sizes." Lastly, make the width and height the same value. I like to just use an approximation roughly equal to half the value of the width for this.
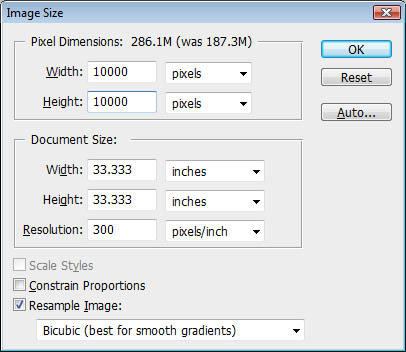
Hit "OK" and you will see the image warp into a squished looking image. Click again on the "Image" menu and rotate the image 180 degrees. It will turn the image up-side-down.

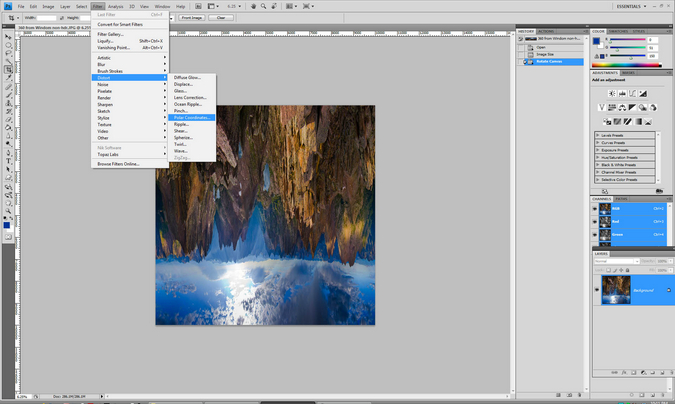
The next step is to turn it into a sphere around a polar coordinate. To do this, click on "Filter" and then on "Distort" and then "Polar Coordinates."
The result is a square image with your scene distorted to look like a planet. Crop it to your desired size. The last step is sometimes not necessary, depending on how clean your panoramic photo is and which software you used to create it. You may need to go into the seam where Photoshop joined the two ends and do some clone stamping and/or healing brush work to get it to look good. In this case, the pano fits together perfectly and is ready to publish! Here are the final results:
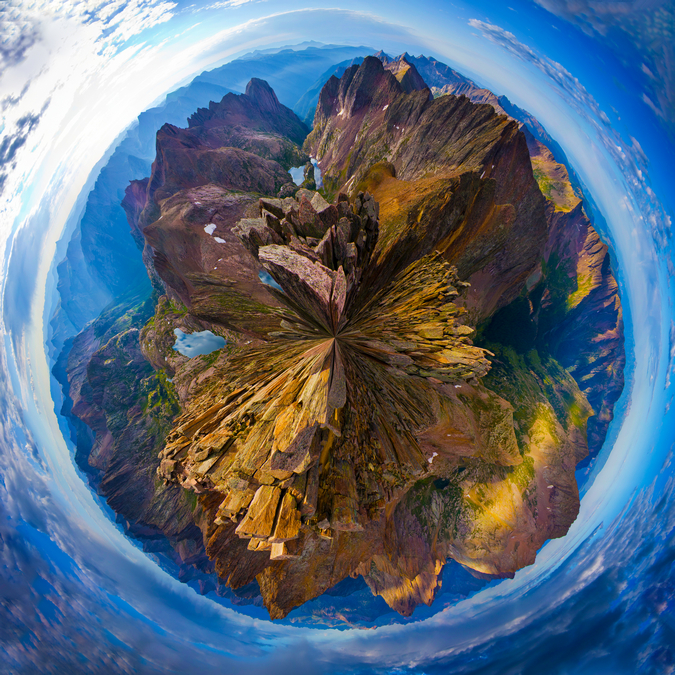
The very last thing that I sometimes will do with these is to clean up the corners, as you may notice some interesting lines shooting out from them. I usually just use the healing brush and paint in the corners. I hope that this tutorial was helpful! Please feel free to share your results with me in the comments below.
{fcomment}
Panoramic Landscape Tutorial
A lot of people have been asking me how I do my panoramic landscapes, so I thought I would write up a guide on how to do them. Since I would love to see your results, feel free to share them with me and I will let you know what I think. Anyone can publish content on 100summits.com, so feel free to have at it! Without further ado, here's the tutorial:
The first thing you'll need to do is find a good subject to photograph. My personal favorite scenes are landscapes in the mountains; however, you could use this technique for all kinds of applications like in your house, architecture, real estate, city-scapes, etc. There are very few "rules of thumb" for shooting panoramics; however, the best thing to do is to develop a work-flow and be consistent with it. Ideally, you'll want a tripod and a good camera that allows you to change a ton of settings. My current camera is a Nikon D7000; however, most of my current (as of March 2011) panoramics were done using an older Sony DSC-828. Let's talk about the camera settings you'll want to change.
- Set focus to manual and infinity. You'll want as much depth of field as possible, with the lens focused on everything in the scene.
- Set mode to either aperture (A) or manual (M) mode. Aperture mode allows you to control the aperture of the lens (how much light is let in) and the camera automatically adjusts the shutter speed. Manual mode allows you to control both shutter speed and aperture. I prefer to shoot in manual mode. If you use aperture mode, it is generally best to use a lower f-stop (higher number) in order to make sure your depth of field correctly focuses on the whole scene. This will force you to have a longer shutter speed, and necessitate a tripod or a very steady hand. Note, almost all of my summit panoramic photos are taken without a tripod! Practice makes perfect.
- Set ISO to 100 if possible. The lower the ISO, the less noise will be present in your images. Lower light will force you to use a higher ISO unless you can shoot long-exposures on a tripod. Take a few practice shots and preview them to see how the image is exposed. This will indicate your need to adjust ISO and / or shutter speed / aperture. Play with the settings until you have a desireable photo.
- Set your exposure readings on the brightest subject in the scene so that you don't blow out highlights.
- Set metering to matrix / pattern.
- DO NOT set white balance to "auto." The same goes for ISO. If you use auto white balance or ISO, each frame you take of your scene will look different, making it impossible to align the images for stitching in post-processing. I like to use cloudy white balance for landscapes. It tends to bring out more color in the photo.
- Do not use a filter. Filters will also alter the way you will be able to stitch photos in post-processing.
OK so you have your camera dialed-in and ready to rock. You have your pristine scene and you are itching to get a panoramic. In order to get enough image data for the post-processing steps, you'll want to try to get at least 1/3 overlap on each photo. For example, if you shoot a photo and then move to the next photo slightly to the right, you'll want that second photo to overlap with the first by at least 33%. Also remember that there will be distortion from shooting this many photos, so you will want to compensate by taking extra photos of the top and bottom parts of the scene. You'll see what I mean later on.
Q: Should I shoot left-to-right or right-to-left?
A: It does not matter! Just be consistent. A good tip is to take all of your photos and then shoot one with your hand over the lens or with the lens cap on so that you know where the pano series ends on the memory card.
For some advanced shooting techniques, you can zoom into a scene and do panoramics that way. Just know that you'll need to be extra careful to get sufficient overlap and that the work in post-processing will take much longer. The reward is that you get a lot more detail in the photo. An even more advanced technique that involves this is called "gigapan."
OK so you have your photos and they are on your computer ready for processing, now what!?
Step 1: load the photos into your favorite panoramic software. Fortunately for you, there are some free versions out there. This tutorial will show you how use both Autopano Pro by Kolor, and Windows Photo Gallery Live by Microsoft.
I will start with Autopano Pro:
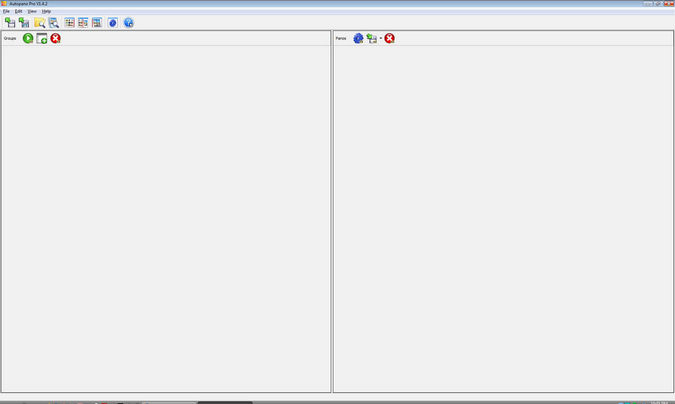
Open Autopano Pro and you'll see this screen:
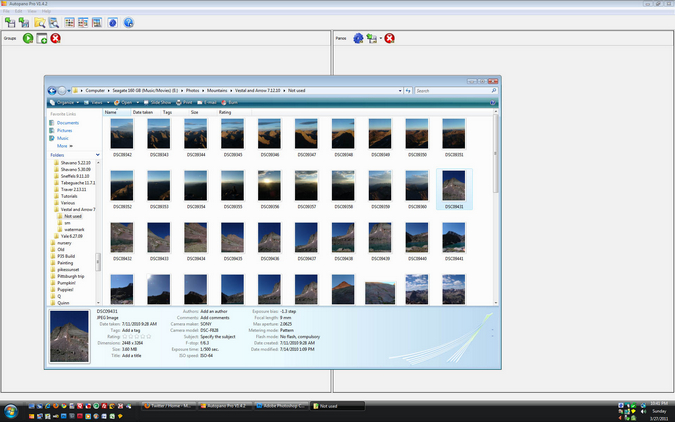
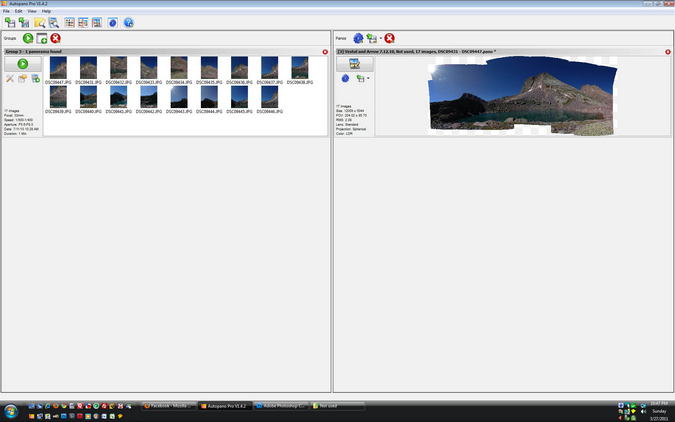
For this tutorial, I am going to use a pano I made last year from Vestal Peak, taken from Vestal Lake. It is one of my favorite photos from last year. Using My Computer, find the folder where your photos are located. Holding down the control key, select each photo from the pano and drag-and-drop them all into Autopano Pro. Alternatively, you can drop a whole folder into Autopano Pro and it will try to figure out which panos can be made from those files, which is a pretty cool feature; however, sometimes it does not do this correctly, so your mileage may vary.
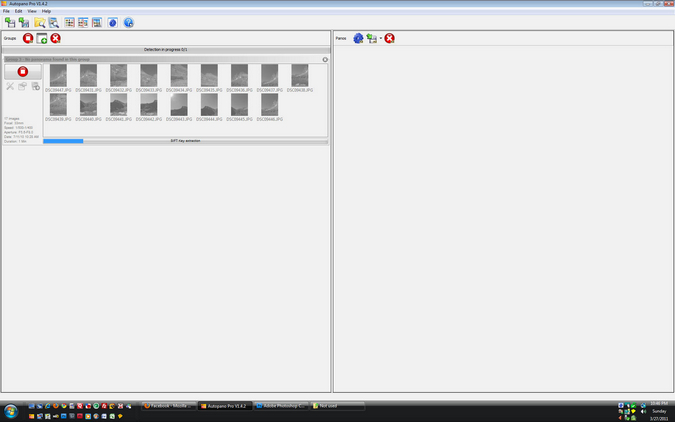
Once you drop your photos into Autopano Pro, you will see them in the left hand side. The next step is to hit the green play button which forces the program to detect possible panos from the photos you selected.
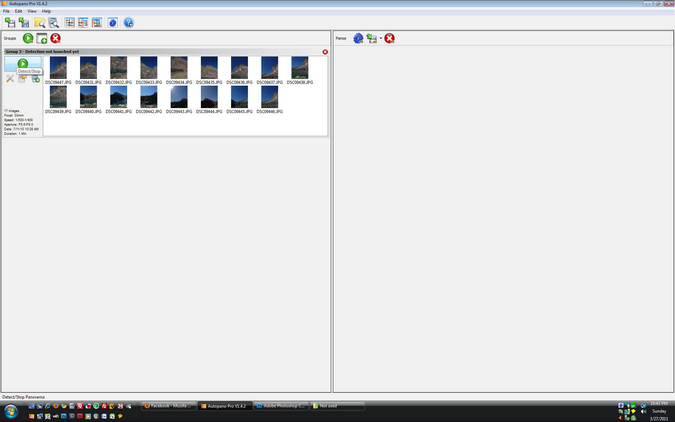
Once you click the button, it will begin the recognition process, seen below:
It will then paint a preview of the pano that will result in the stitching of the photos you selected, seen on the right hand side of the screen.
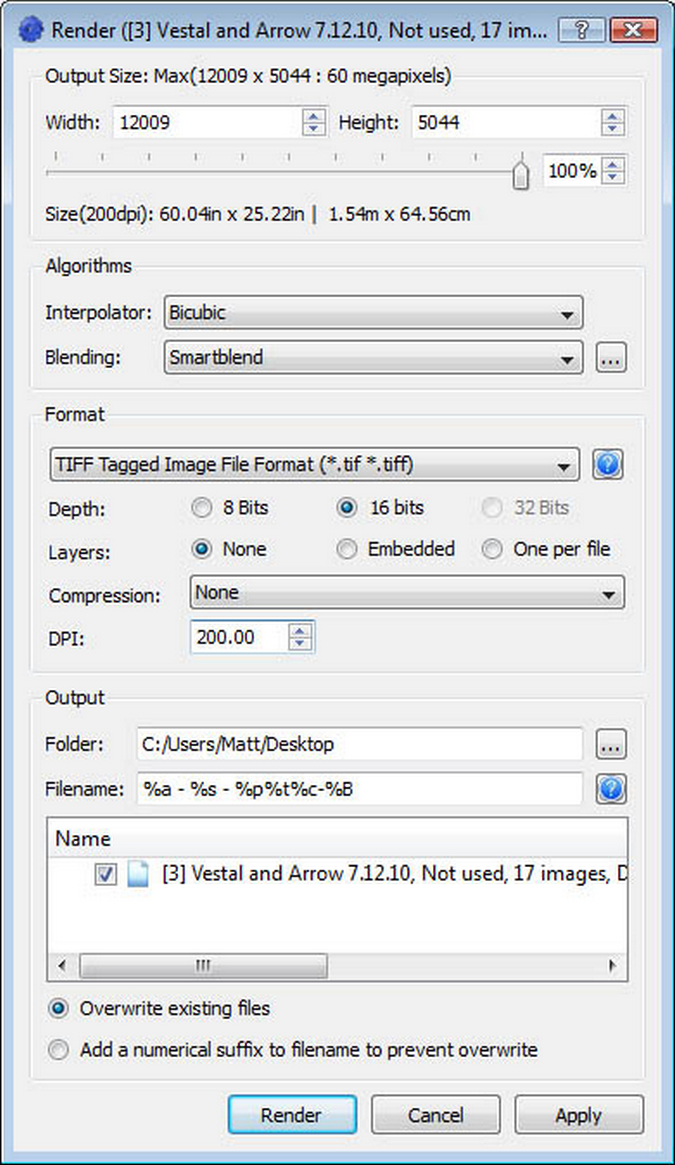
If everything looks good, hit the render button, which is the blue gear button. Hitting that button brings up a dialog box asking you how you want the file processed, where to save it, what to name it, etc. I prefer to stitch my panos into .TIFF files with no compression, especially if I am going to be post-processing HDR's etc. However, .jpgs are usually just fine. The settings I like to use are seen below:
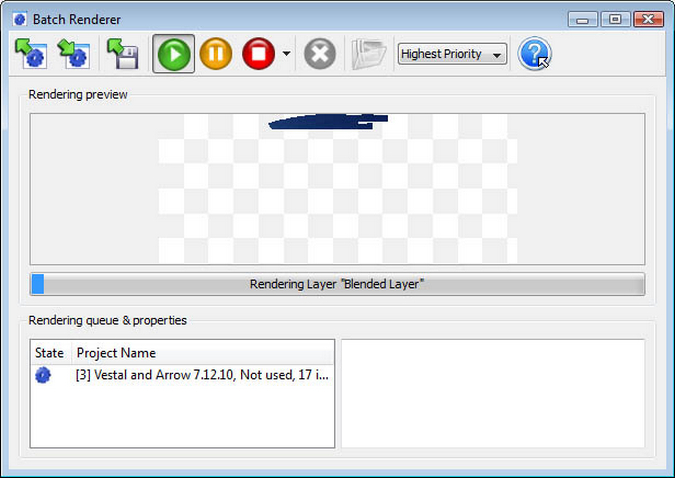
The next step is to hit render and the software does its thing. It begins by blending all of the images together into one giant photo. This process takes longer if you have a ton of photos to combine.
The process completes and you can open the file up in your favorite image editing program or the default program (Windows Photo Gallery Live seen below). You can see how there is some blank areas as well as a little bit of distortion, both of which can be fixed in post-processing. You can see the gaps in the middle bottom, where I could have benefited from taking one more photo to cover that area. Oh well! My mistake is now for your benefit!

Go ahead and crop the image to your liking. I like to use Capture NX2 or Windows Photo Gallery Live to crop because they have the ability to show you an overlay of a rule of thirds grid. If you don't know what the rule of thirds is, read this article.
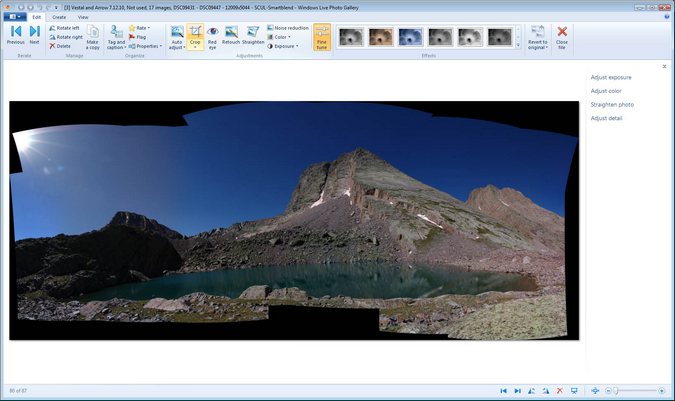
Most of the time, I like to crop as little as possible to retail all of the images. You can see the final result below. After cropping, feel free to do other post-processing work on the image before publishing it for others to view.

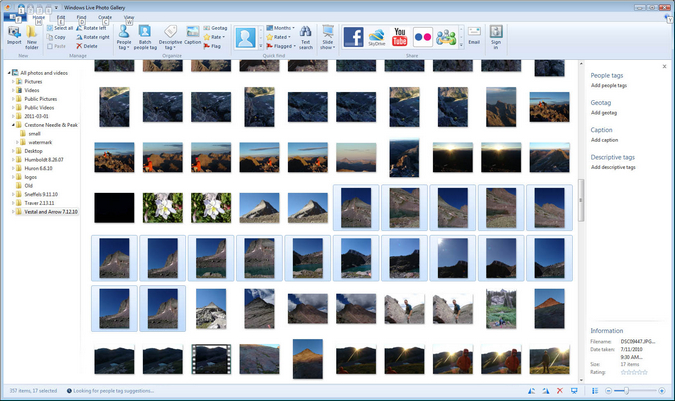
Now, let's see how to repeat this process in the free software, Windows Photo Gallery Live. Below you will see the images from the Vestal folder in Windows Photo Gallery Live. Holding down the Control key, select all of the photos needed for the pano. They will be highlighted.
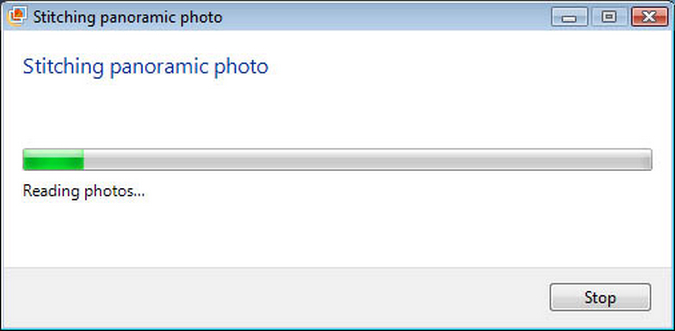
Next, go to the menu and click on create. You will see the panorama option. Select it. You will see a "stitching panoramic photo" dialog box pop-up. Once it is finished, your stitched photo will be ready for further editing such as cropping.
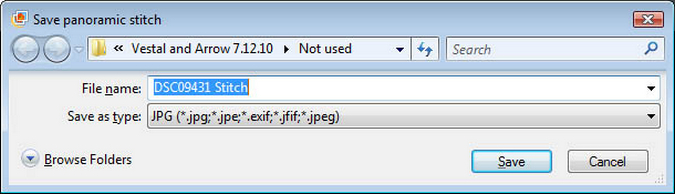
After it completes the stitching, it asks you to rename the file.
The rest of the steps are identical to the final steps in Autopano Pro. Simply crop and edit as needed.
That concludes this tutorial on how to create panoramic photos. I'd love for you to share your results. Feel free to quickly register on the site and begin uploading your own photos today! If you'd like to be featured as an artist on 100summits.com, feel free to contact me!
I would love you to stay up-to-date on the latest trip reports, photography tutorials and other new material. Follow me on Facebook and Twitter!